Description
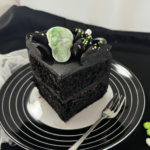
This ultimate Halloween showstopper with this rich black velvet cake topped with smooth black buttercream frosting. Perfect for spooky celebrations, this cake is as delicious as it is dramatic!
Ingredients
Scale
Cake Batter
- 265 grams all purpose flour
- 180 grams caster sugar
- 120 grams light brown sugar
- 80 grams black cocoa powder
- 1 teaspoon baking soda
- 1 1/2 teaspoons baking powder
- 1/2 teaspoon salt
- 120 ml vegetable oil
- 2 teaspoons vanilla extract
- 240 ml buttermilk
- 240 ml hot water
- 1 tbsp instant coffee
- 2 large eggs
Black chocolate buttercream frosting
- 300 grams unsalted butter
- 400 grams icing sugar
- 75 grams black cocoa powder
- 1/2 teaspoon milk (depends on the consistency)
- 1 1/2 teaspoon vanilla extract
- A pinch of salt
Decoration (optional)
- Fondant
- Edible tints (I use apple green and matt black)
- Halloween sprinkles
Instructions
Prepare the cake batter
- Line two 7-inch square baking pans with parchment paper. Preheat the oven to 160℃ Fan / 325℉.
- Combine instant coffee and hot water in a jug and stir until dissolved. Add in black cocoa powder and mix well. Set aside to cool.
- Sift in all purpose flour, baking soda and baking powder in the mixing bowl of a stand mixer. Remove the sieve, add in caster sugar, light brown sugar and salt.
- Mix for 30 seconds on medium low speed with the paddle attachment of a stand mixer.
- Roughly make a well in the centre of the mixed dry ingredients with a silicone spatula, add in eggs, vegetable oil, vanilla extract and buttermilk.
- Mix well on medium speed until it turns a smooth batter. Scrape the mixing bowl, if needed.
- Lower the speed to low, slowly add in the cooled black cocoa powder-coffee mixture. Continue to beat until everything is fully incorporated. The batter should be silky and runny.
- Evenly distribute the batter into two prepared pans. Each pan with approximately 650 grams of batter.
- Bake in the preheated oven for about 34 – 36 minutes or until an inserted skewer comes out clean.
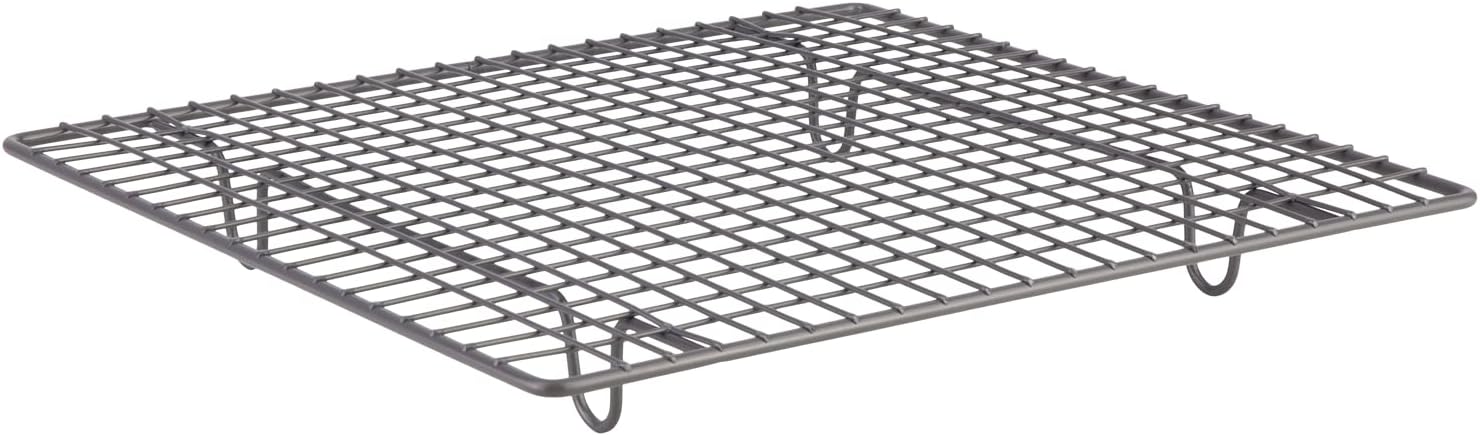
- Remove the pans from the oven and let the cakes sit in the pans for 10 to 15 minutes. Carefully unmold the cakes and cool them completely on a wire rack.
Prepare the buttercream frosting
- Mix the salt and icing sugar and set aside.
- Beat the unsalted butter in a mixing bowl with a paddle attachment on medium speed until fluffy.
- Gradually add in the icing sugar in a few additions to prevent the ingredients from flying everywhere.
- Continue to beat until light and pale.
- Add in the black cocoa powder in a few additions, you can roughly mix it in with a silicone spatula before turning the mixer on, to prevent it from flying.
- Once all the black cocoa powder is added, add in vanilla extract and mix well.
- Continue to beat the buttercream until everything is well mixed. Add milk to adjust to a spreadable consistency. I added ½ teaspoon. Cover with a lid and set aside until needed.
Crumb coat the cake
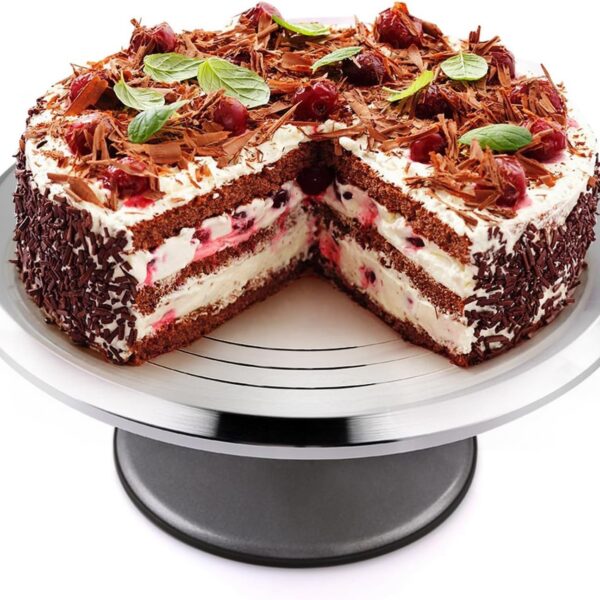
- Place a non-slip mat on a turntable with a cake board on top. Spread a little amount of frosting in the centre of the cake board to keep the cake in place. Place a serrated knife on the side of the cake and cut while turning the turntable to trim off any dome to level it off. Once done, repeat the same process for the second layer.
- Spread a small amount of frosting in the centre of the cake board to stick the cake if needed. Add the frosting to the top of the first layer, I use an ice cream scoop to control the portion size. Use an offset spatula to spread the frosting across the cake as evenly as possible.
- Place the second layered cake upside down on top of the frosted layer. Scoop the same amount of frosting on top. Use the offset spatula to spread it across the cake, as evenly as possible. Gradually push / spread the excess frosting to the sides to fill any gaps or holes.
- Use a dough scraper to sweep along one side with a light touch. Slightly pull the frosting away from the side to create the sharp edge. Scrape off the frosting from the dough scraper every time before sweeping the side. Repeat the same process until the remaining sides are done.
- Once done, place the cake in the refrigerator to chill for about an hour to set.
Final coat
- Load the remaining frosting into a piping bag. Twist the end and secure with an icing bag tie.
- Once the frosting is set, place the chilled frosted cake on the turntable with a non-slip mat underneath.
- Cut a medium hole on the piping bag. Pipe a layer of frosting on top of the chilled cake. Gradually spread it into an even layer using an offset spatula. Push any excess toward the sides and smooth out the frosting.
- Take a dough scraper and hold it at a 45-degree angle to the side of the cake, with a very light contact. Allow it to lightly brush the side of the cake. Then rotate the turntable 90 degrees and repeat the same process. If there are any holes or imperfections, spread a little more and smooth again with the dough scraper.
- To smooth out the top, take the offset spatula and glide over the top of the cake, starting from the edge and moving toward the centre.
- Once done, chill the cake for around 60 minutes to set.
Decorate the cake
- Knead the fondant for about 1 minute to soften it.
- Dust a small amount of icing sugar into the mould. Press firmly the fondant into the cavity of the skull mould. Trim off the excess with a spatula. Gently roll over the top to create a neat edge. Create as many fondant edibile skulls as you want.
- Bend the mould slightly to remove the fondant skulls from the mould. Place them on a surface lightly dusted with icing sugar to prevent sticking.
- Dust the edibile skulls with edible tints (I used apple green and matt black) to make the skulls look more realistic and terrifying!
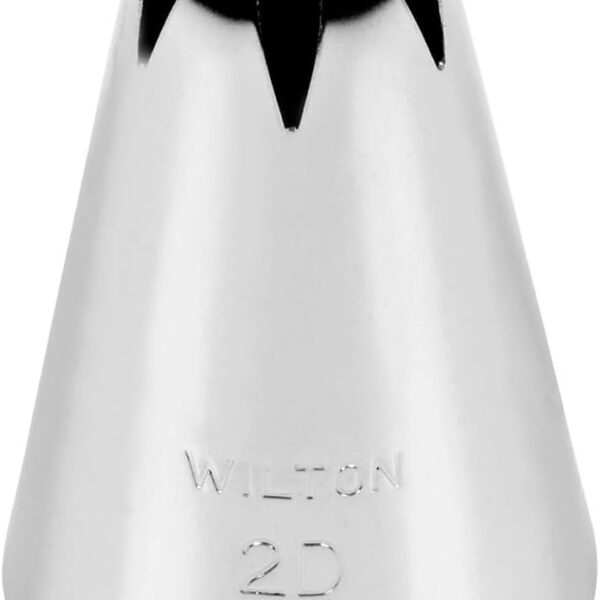
- For the cake borders, I used two different piping nozzles, 2D closed star and 0.5 cm closed star. To easily switch between them without making a mess, place a piping nozzle in a separate piping bag. Insert the frosting-filled bag into the piping bag, and pipe as desired. When you need to change the nozzle, simply pull out the frosting bag, switch the nozzle, and insert the frosting bag back in to continue decorating.
- Add some Halloween sprinkles on top to elevate the presentation. Finally, position the fondant edibile skulls as you desire.
- Enjoy a slice — absolutely delicious! Happy Halloween!


Notes
- watch my video tutorial to see how I made this stunning cake in action.