Share this!
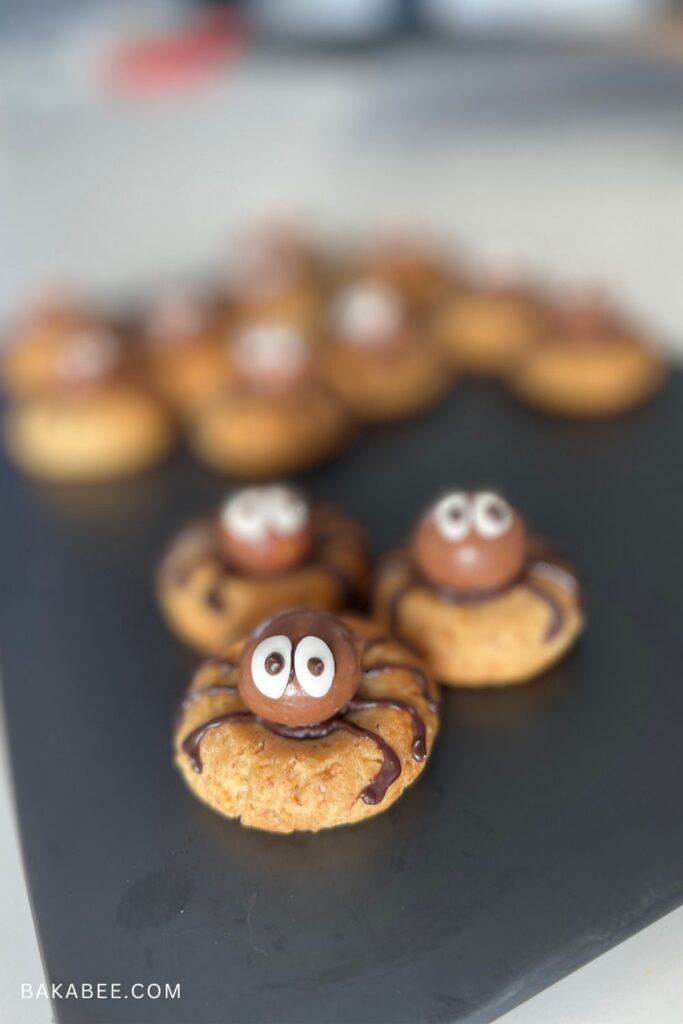
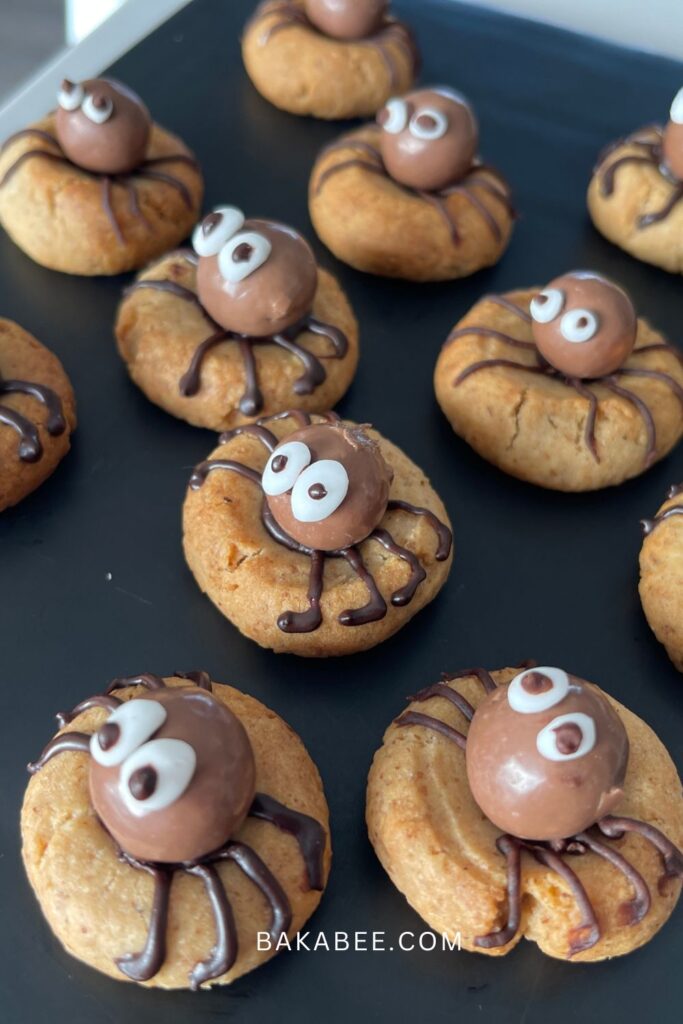
Get ready for some spooky fun in the kitchen with these adorable Halloween Spider Walnut Cookies! Perfect for baking with kids, these treats combine the delicious, nutty flavor of ground walnuts with the rich sweetness of chocolate. With chocolate balls forming the spider bodies and delicate chocolate legs, these cookies are not only tasty but also a creative Halloween project. They’re the perfect balance of cute and creepy, making them an irresistible addition to your holiday celebrations!
Why you’ll love this Spider Cookies
- Delicious flavour: Rich ground walnuts and sweet chocolate make a perfect combination.
- Easy to make: Simple ingredients and steps, great for bakers of all levels.
- Fun for kids: A creative and hands-on baking project that kids will enjoy.
- Eye-catching design: Adorable spider shapes add a cute and spooky touch to your Halloween treats.
- Perfect for parties: These cookies are a hit with guests of all ages and ideal for Halloween celebrations.
More walnut recipes you might like
If you like using walnuts in your bakes. I am excited for you to try my Flourless walnut Swiss roll with coffee cream, Coffee Walnut Cake or my breakfast go-to recipe – Banana Walnut Muffins. I love these recipes and I hope you will love them as much as I do.
Tips for making these Spider Cookies
- Chill the dough: Chilling the cookie dough for at least 30 minutes helps it firm up, making it easier to shape and bake evenly.
- Finely ground walnuts: Ensure the walnuts are finely ground for a smoother dough texture and better cookie structure.
- Pipe the legs with care: Use a steady hand when piping the chocolate legs for a clean, professional look.
- Work quickly with melted chocolate: Melted chocolate hardens as it cools, so pipe the legs and attach decorations promptly.
- Have fun with decorations: Get creative! You can add candy eyes or use coloured frosting to make the spiders extra playful.
Check out the video tutorial
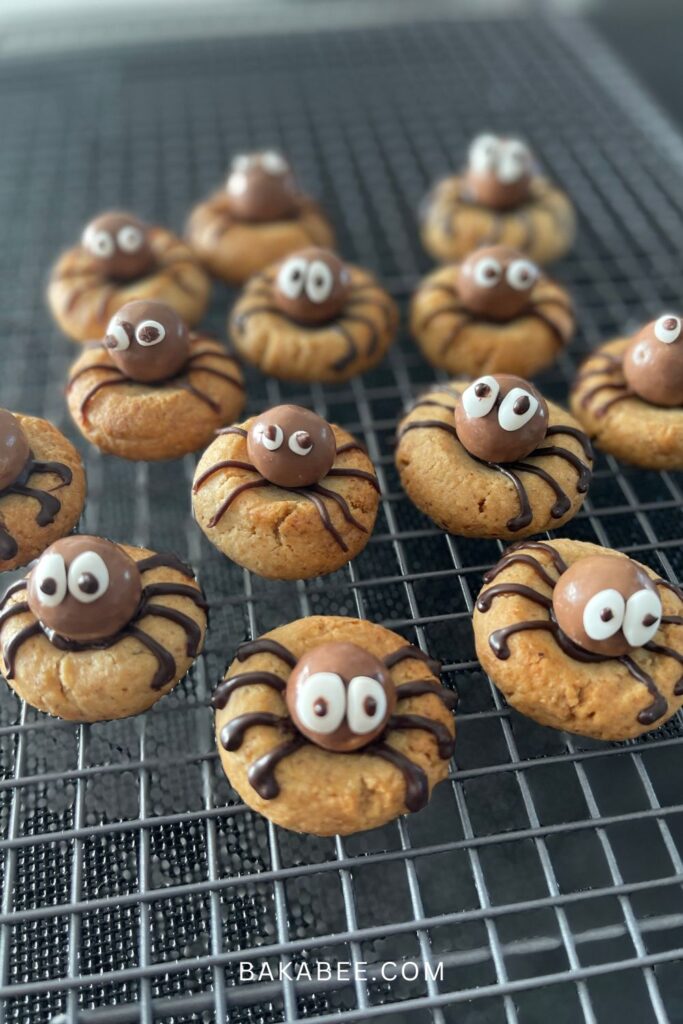
Watch me how I create these adorable spider cookies in action!
Recipe Frequently Asked Questions
Yes, you can substitute walnuts with other nuts like almonds, pecans, or hazelnuts. If you need a nut-free option, you can try using seeds like sunflower or pumpkin seeds, or simply omit the nuts and use more flour to adjust the consistency.
Absolutely! You can replace the regular flour with a gluten-free flour blend. Almond flour also works well, though the texture will be slightly denser. Make sure the other ingredients are gluten-free too, like the chocolate balls.
You can use malted milk balls, chocolate truffles, or even chocolate-covered nuts. If you want a variety of sizes, you could mix it up with mini chocolate eggs or chocolate-covered raisins for a fun look.
Store the cookies in an airtight container at room temperature for up to 4 days. If you’d like them to last longer, you can refrigerate them for up to a week. Just make sure to bring them to room temperature before serving.
Yes! You can bake the cookies up to two days in advance and decorate them closer to the time you need them. You can also make the dough ahead of time and refrigerate or freeze it until you’re ready to bake.
Definitely! A dash of cinnamon or nutmeg will enhance the flavour. You can also experiment with a pinch of pumpkin spice to give the cookies a more seasonal twist.
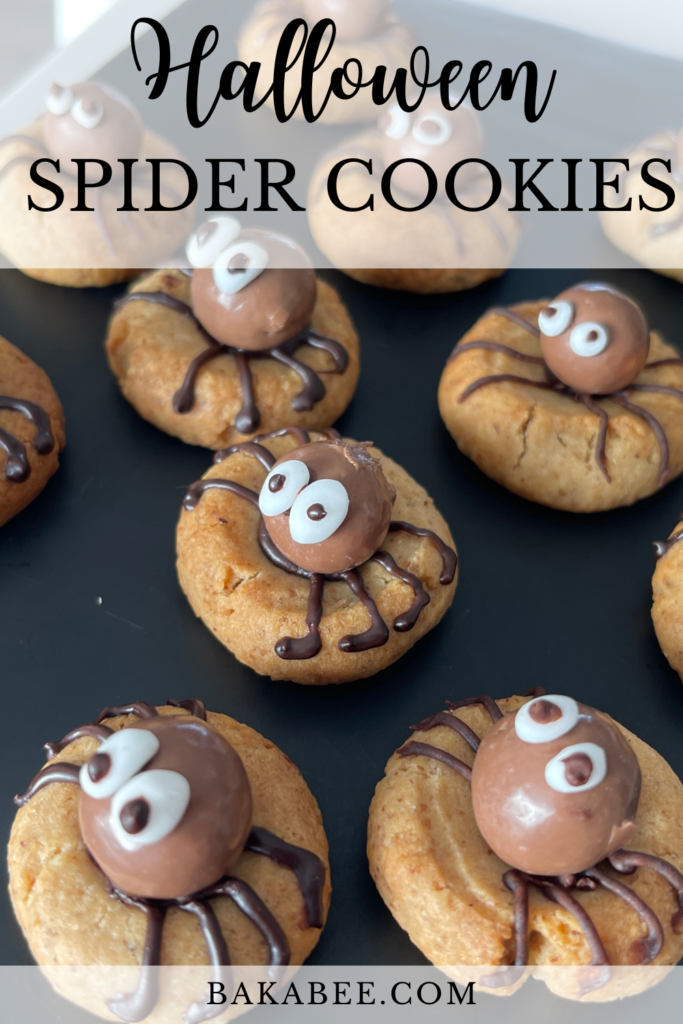
Pin this Spider Cookies recipe for later

Spider Cookies
- Author: Bakabee
- Prep Time: 20
- Chill Time: 1 hour
- Cook Time: 20
- Total Time: 1 hour 40 minutes
- Yield: 23 cookies 1x
- Category: Cookies
- Method: Bake
- Cuisine: European, Western
Description
Halloween Spider Walnut Cookies combine the nutty goodness of ground walnuts with rich chocolate, creating a tasty and festive treat. These cute spider-shaped cookies are fun to make with kids and perfect for adding a spooky touch to your Halloween celebrations.
Ingredients
Cookie dough
- 50 grams unsalted butter (softened)
- 40 grams icing sugar
- 1/4 teaspoon salt
- 1 egg white
- 1/2 teaspoon vanilla extract
- 100 grams cake flour
- 1/2 teaspoon baking powder
- 100 grams walnuts, ground
Decorations
- 20 – 23 chocolate balls
- 50 g 70% dark chocolate (melted)
- some white fondant / candy eyes
Instructions
To make the cookies
- Ground the walnuts in a food processor until almost powder-like texture.
- Add softened butter, icing sugar and salt in a mixing bowl and beat at medium speed until fluffy. Scrape down the sides of the bowl if needed.
- Add egg whites and vanilla extract and continue to beat for a minute until the mixture is well blended.
- Place a sieve on top of the mixing bowl, sift in flour and baking powder. Then remove the sieve and add the ground walnut.
- Mix it with a silicone spatula until a dough forms.
- Wrap the dough in cling film and chill it for an hour or until firm.
- While the dough is almost finished chilling, preheat the oven to 170℃ fan / 375℉.
- Divide the dough into approximately 13 – 14 g each using a kitchen scale.
- Roll each portion into a ball and use a ½ teaspoon to press down in the centre to create an indentation for the spider body. Arrange it on a line baking sheet. Continue to shape the rest of the dough.
- When you are done, place the whole baking sheet in the fridge to chill the shaped dough for 10 minutes to go firm.
- Bake the chilled cookies in a preheated oven for about 18 – 20 minutes or until the edges turn golden brown.
- Once they are done, remove the baking sheet from the oven and let the cookies sit in it for about 5 minutes. Then transfer them on a wire rack to cool completely.
To decorate the cookies
- Melt the dark chocolate using a double-boiling method for the spiders’ legs and eyes. Load it into a piping bag when it is cooled.
- For the eyes, use a tiny amount of white fondant and roll it into a ball, use the fondant tool or a knife to cut it in half and shape it into an oval, flatten it slightly. Roll the 2nd half into an oval and flatten it to create a pair of eyes.
- Pipe a small amount of chocolate in the centre of the cookie and pipe four spider legs on each side, total eight legs. Place a chocolate ball in the centre to create the body.
- Pipe a tiny amount of chocolate to stick the fondant eyes on. Pipe a tiny drop of chocolate on each fondant to create the pupil. Continue to create as many spiders as you need. Happy Halloween!
Equipment
 Buy Now →
 Notes
- Watch my video tutorial to see how I create these spiders in action!
It would be fantastic if you could take a moment to rate this recipe with stars ⭐️ after trying it. Your feedback helps other readers!
Thanks for joining me in the kitchen today. Keep Baking and Happy Halloween! 🕸️👻
Share this!


