Share this!
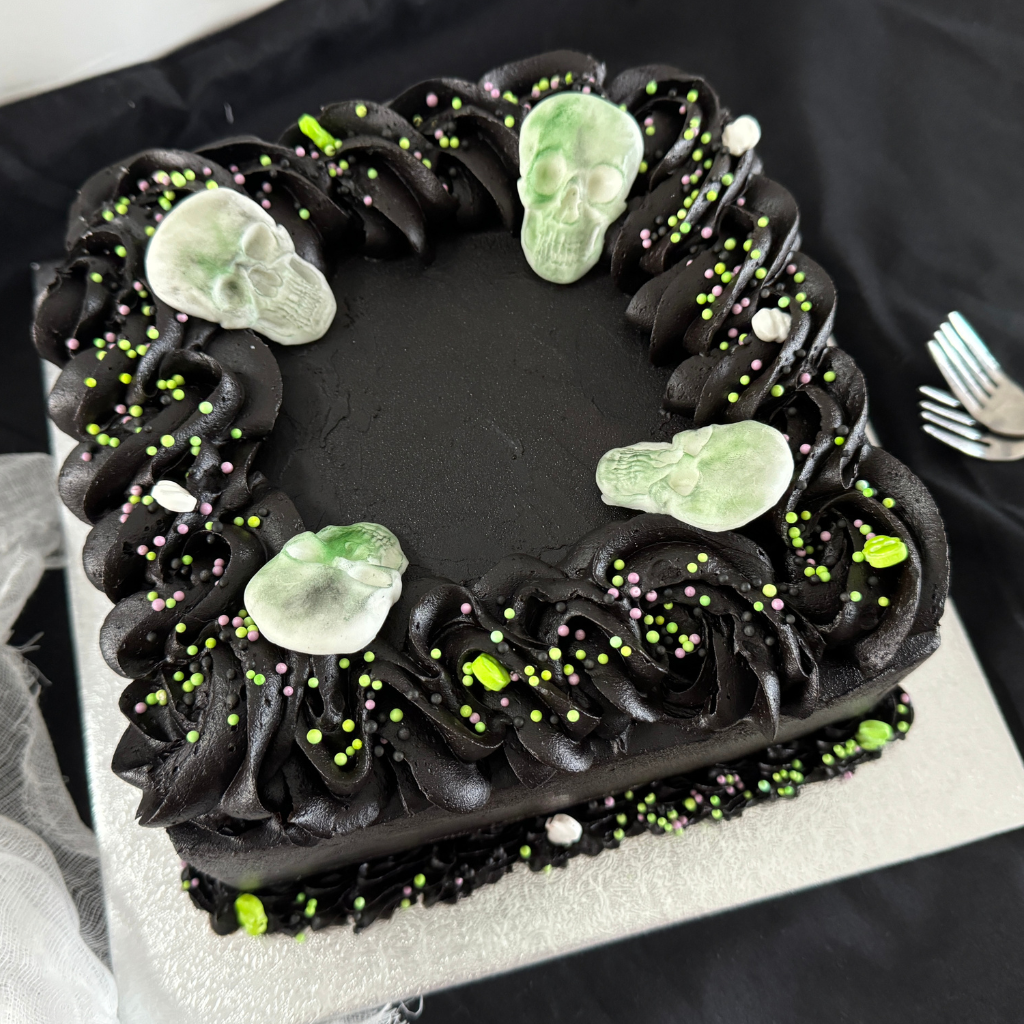
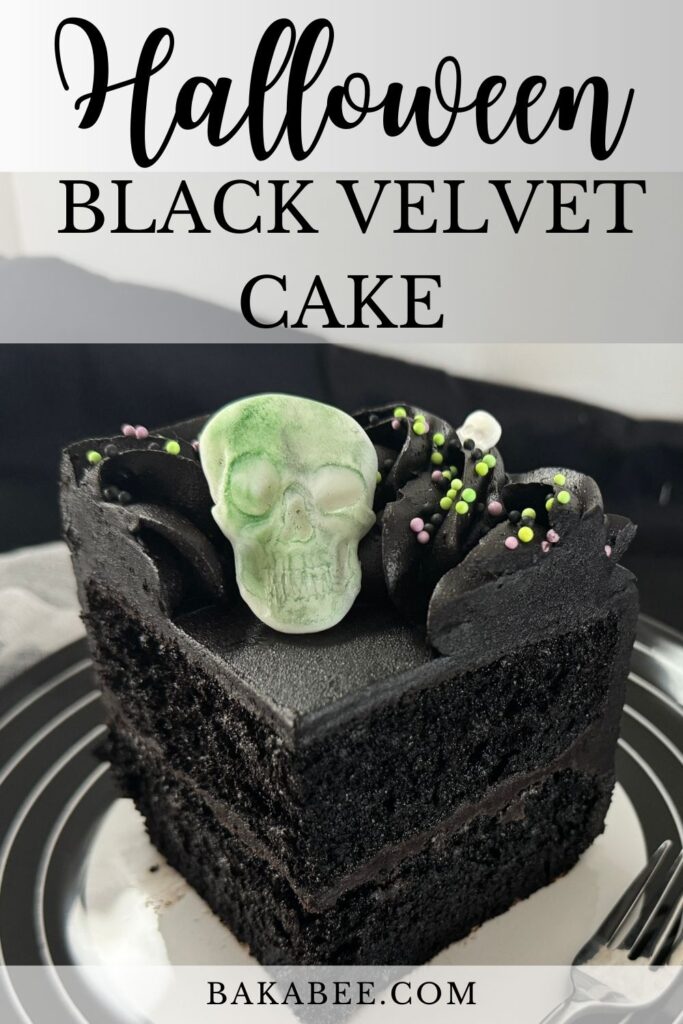
Get ready to elevate your Halloween dessert table with this Halloween Black Velvet Cake, featuring rich black cocoa powder and dark, dreamy buttercream frosting.
This Black velvet cake is intense in flavour and striking in appearance—perfect for those looking to make a bold statement at their Halloween celebration, guaranteed to impress your guests.
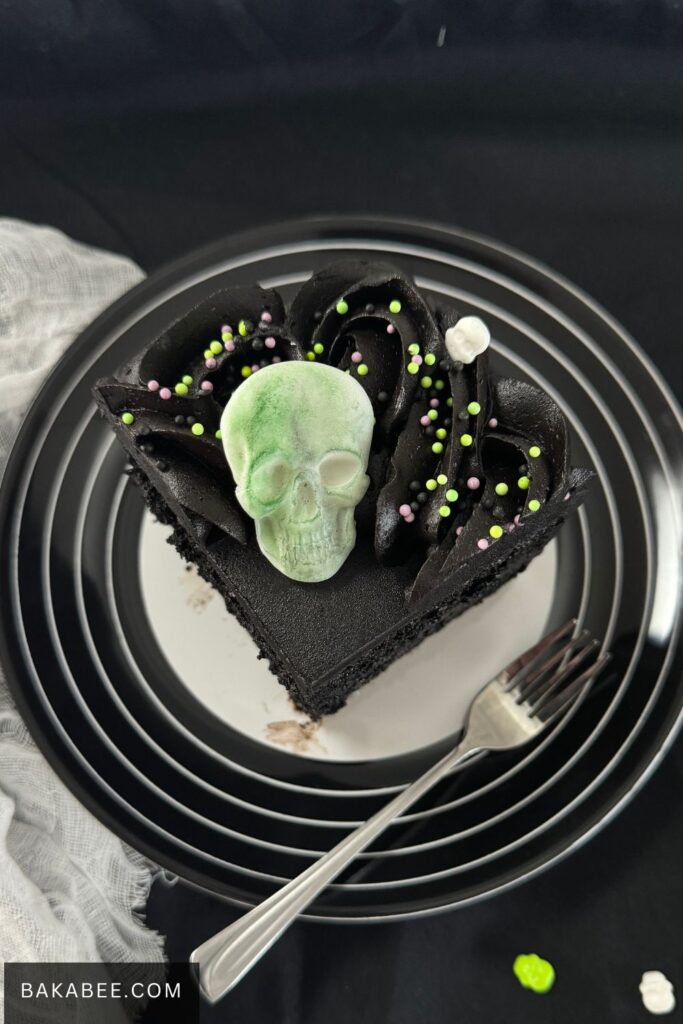
On top of that, this cake frosted with a smooth, velvety texture black buttercream and a touch of haunting elegance skull decorations, this Halloween black velvet cake is sure to be the showstopper of the night.
Ready to bake up something wickedly delicious?
Let’s dive into the details!
Why you’ll like this Black Velvet Cake recipe
- Easy-to-Follow Steps: With clear instructions, no matter what skill levels you are, I am sure you can confidently create this unique dessert.
- Bold, Rich Flavour: The black cocoa powder adds an unique intense depth for a smooth, velvety texture. It is so moreish.
- Halloween-Perfect Look: The Dark black buttercream creates a striking, dramatic finish, perfect for any spooky celebration.
- Showstopper Appeal: This cake is designed to ‘WOW’ your guests and make a memorable centrepiece.
Recommended Products
 Buy Now →
  Buy Now →
  Buy Now →
  Buy Now →
  Buy Now →
 Ingredients in this Black Velvet Cake recipe

At a glance: Here is a quick snapshot of what ingredients are in this recipe.
Please see the recipe card below for specific quantities.
Tips for making the BEST Black Velvet Cake with Black Buttercream Frosting
- Use room-temperature ingredients: Bring eggs, buttermilk, and butter to room temperature for a smoother, well-incorporated batter.
- Don’t over mix: Once the flour is added, mix on low speed until just combined to avoid a dense cake.
- Weigh the batter: Divide the batter evenly by weighing it before pouring into pans to ensure even layers.
- Chill the cake properly: Make sure the cake is well chilled before applying the final coat to create a smooth and perfect finish.
- Add black cocoa powder gradually: For the buttercream, add black cocoa powder little by little and taste as you go to avoid overpowering the flavour.
- Keep a light hand with the scraper: When smoothing the buttercream, hold your scraper lightly to avoid pulling or uneven frosting. Please watch the video tutorial to learn how to create the sharp corner finish looking cake.
Check out the video tutorial
Pin this Black Velvet Cake for later
Recipe Frequently Asked Questions
Yes, you can, but the cake will have a lighter color and a milder flavour. Black cocoa gives the deep, dramatic colour and rich taste that makes this cake so striking.
Store the cake in an airtight container at room temperature for up to 2 days, or in the fridge for up to 5 days. If refrigerated, let it sit at room temperature before serving for the best texture.
Absolutely! You can bake the cake layers a day or two in advance. Wrap them tightly in plastic wrap and store at room temperature or in the fridge. Frosting can also be made ahead and stored in the fridge; just bring it to room temperature and re-whip it before using.
Use an offset spatula to apply more frosting at each corner, then smooth the sides with a dough scraper. A light hand helps to create crisp edges without dragging frosting off the corners. Watch my video tutorial to see how I achieve those sharp corners in action.
More recipes you might like
- Chocolate Yoghurt Cake – a cake that you’ll absolutely love!
- Halloween Pattern Swiss Roll – a fun cake add to your Halloween celebration!
Let me know if you try out this recipe — tag me on Instagram @bakabeecom or leave me a comment / rating with stars ⭐️. I appreciate your feedback!
Thanks for joining me in the kitchen today.
Keep Baking and Happy Halloween! 👻
Print
Black Velvet Cake with Black Buttercream
- Author: Bakabee
- Prep Time: 40 mins
- Chill Time: 90 mins
- Cook Time: 35
- Total Time: 2 hrs 45 mins
- Yield: 1 2-layered cake 1x
- Category: Cake
- Method: Bake
- Cuisine: European, Western
Description
This ultimate Halloween showstopper with this rich black velvet cake topped with smooth black buttercream frosting. Perfect for spooky celebrations, this cake is as delicious as it is dramatic!
Ingredients
Cake Batter
- 265 grams all purpose flour
- 180 grams caster sugar
- 120 grams light brown sugar
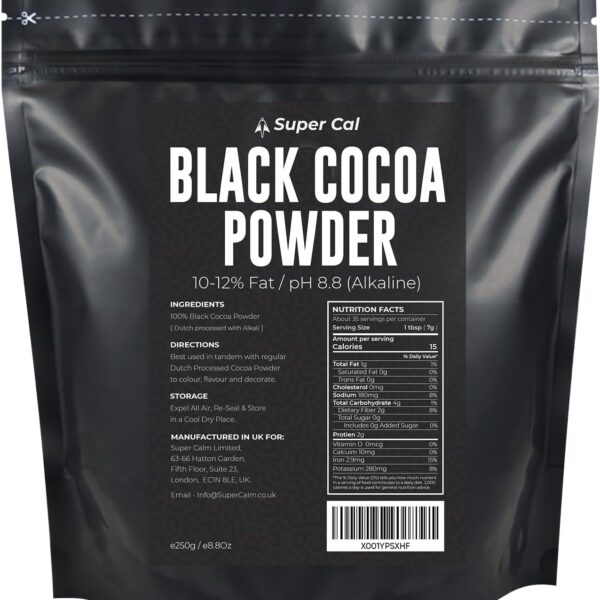
- 80 grams black cocoa powder
- 1 teaspoon baking soda
- 1 1/2 teaspoons baking powder
- 1/2 teaspoon salt
- 120 ml vegetable oil
- 2 teaspoons vanilla extract
- 240 ml buttermilk
- 240 ml hot water
- 1 tbsp instant coffee
- 2 large eggs
Black chocolate buttercream frosting
- 300 grams unsalted butter
- 400 grams icing sugar
- 75 grams black cocoa powder
- 1/2 teaspoon milk (depends on the consistency)
- 1 1/2 teaspoon vanilla extract
- A pinch of salt
Decoration (optional)
- Fondant
- Edible tints (I use apple green and matt black)
- Halloween sprinkles
Instructions
Prepare the cake batter
- Line two 7-inch square baking pans with parchment paper. Preheat the oven to 160℃ Fan / 325℉.
- Combine instant coffee and hot water in a jug and stir until dissolved. Add in black cocoa powder and mix well. Set aside to cool.
- Sift in all purpose flour, baking soda and baking powder in the mixing bowl of a stand mixer. Remove the sieve, add in caster sugar, light brown sugar and salt.
- Mix for 30 seconds on medium low speed with the paddle attachment of a stand mixer.
- Roughly make a well in the centre of the mixed dry ingredients with a silicone spatula, add in eggs, vegetable oil, vanilla extract and buttermilk.
- Mix well on medium speed until it turns a smooth batter. Scrape the mixing bowl, if needed.
- Lower the speed to low, slowly add in the cooled black cocoa powder-coffee mixture. Continue to beat until everything is fully incorporated. The batter should be silky and runny.
- Evenly distribute the batter into two prepared pans. Each pan with approximately 650 grams of batter.
- Bake in the preheated oven for about 34 – 36 minutes or until an inserted skewer comes out clean.
- Remove the pans from the oven and let the cakes sit in the pans for 10 to 15 minutes. Carefully unmold the cakes and cool them completely on a wire rack.
Prepare the buttercream frosting
- Mix the salt and icing sugar and set aside.
- Beat the unsalted butter in a mixing bowl with a paddle attachment on medium speed until fluffy.
- Gradually add in the icing sugar in a few additions to prevent the ingredients from flying everywhere.
- Continue to beat until light and pale.
- Add in the black cocoa powder in a few additions, you can roughly mix it in with a silicone spatula before turning the mixer on, to prevent it from flying.
- Once all the black cocoa powder is added, add in vanilla extract and mix well.
- Continue to beat the buttercream until everything is well mixed. Add milk to adjust to a spreadable consistency. I added ½ teaspoon. Cover with a lid and set aside until needed.
Crumb coat the cake
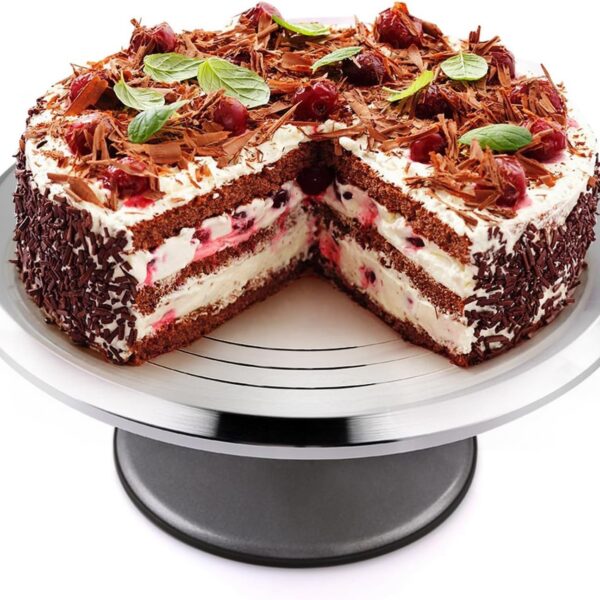
- Place a non-slip mat on a turntable with a cake board on top. Spread a little amount of frosting in the centre of the cake board to keep the cake in place. Place a serrated knife on the side of the cake and cut while turning the turntable to trim off any dome to level it off. Once done, repeat the same process for the second layer.
- Spread a small amount of frosting in the centre of the cake board to stick the cake if needed. Add the frosting to the top of the first layer, I use an ice cream scoop to control the portion size. Use an offset spatula to spread the frosting across the cake as evenly as possible.
- Place the second layered cake upside down on top of the frosted layer. Scoop the same amount of frosting on top. Use the offset spatula to spread it across the cake, as evenly as possible. Gradually push / spread the excess frosting to the sides to fill any gaps or holes.
- Use a dough scraper to sweep along one side with a light touch. Slightly pull the frosting away from the side to create the sharp edge. Scrape off the frosting from the dough scraper every time before sweeping the side. Repeat the same process until the remaining sides are done.
- Once done, place the cake in the refrigerator to chill for about an hour to set.
Final coat
- Load the remaining frosting into a piping bag. Twist the end and secure with an icing bag tie.
- Once the frosting is set, place the chilled frosted cake on the turntable with a non-slip mat underneath.
- Cut a medium hole on the piping bag. Pipe a layer of frosting on top of the chilled cake. Gradually spread it into an even layer using an offset spatula. Push any excess toward the sides and smooth out the frosting.
- Take a dough scraper and hold it at a 45-degree angle to the side of the cake, with a very light contact. Allow it to lightly brush the side of the cake. Then rotate the turntable 90 degrees and repeat the same process. If there are any holes or imperfections, spread a little more and smooth again with the dough scraper.
- To smooth out the top, take the offset spatula and glide over the top of the cake, starting from the edge and moving toward the centre.
- Once done, chill the cake for around 60 minutes to set.
Decorate the cake
- Knead the fondant for about 1 minute to soften it.
- Dust a small amount of icing sugar into the mould. Press firmly the fondant into the cavity of the skull mould. Trim off the excess with a spatula. Gently roll over the top to create a neat edge. Create as many fondant edibile skulls as you want.
- Bend the mould slightly to remove the fondant skulls from the mould. Place them on a surface lightly dusted with icing sugar to prevent sticking.
- Dust the edibile skulls with edible tints (I used apple green and matt black) to make the skulls look more realistic and terrifying!
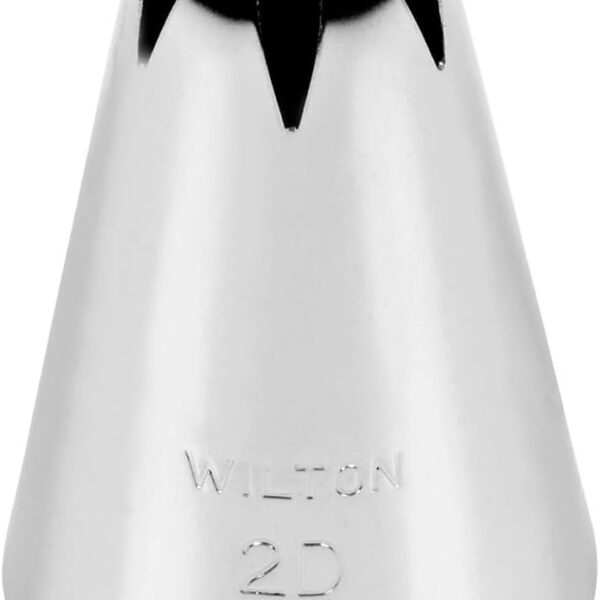
- For the cake borders, I used two different piping nozzles, 2D closed star and 0.5 cm closed star. To easily switch between them without making a mess, place a piping nozzle in a separate piping bag. Insert the frosting-filled bag into the piping bag, and pipe as desired. When you need to change the nozzle, simply pull out the frosting bag, switch the nozzle, and insert the frosting bag back in to continue decorating.
- Add some Halloween sprinkles on top to elevate the presentation. Finally, position the fondant edibile skulls as you desire.
- Enjoy a slice — absolutely delicious! Happy Halloween!
Notes
- watch my video tutorial to see how I made this stunning cake in action.
Share this!

