Share this!
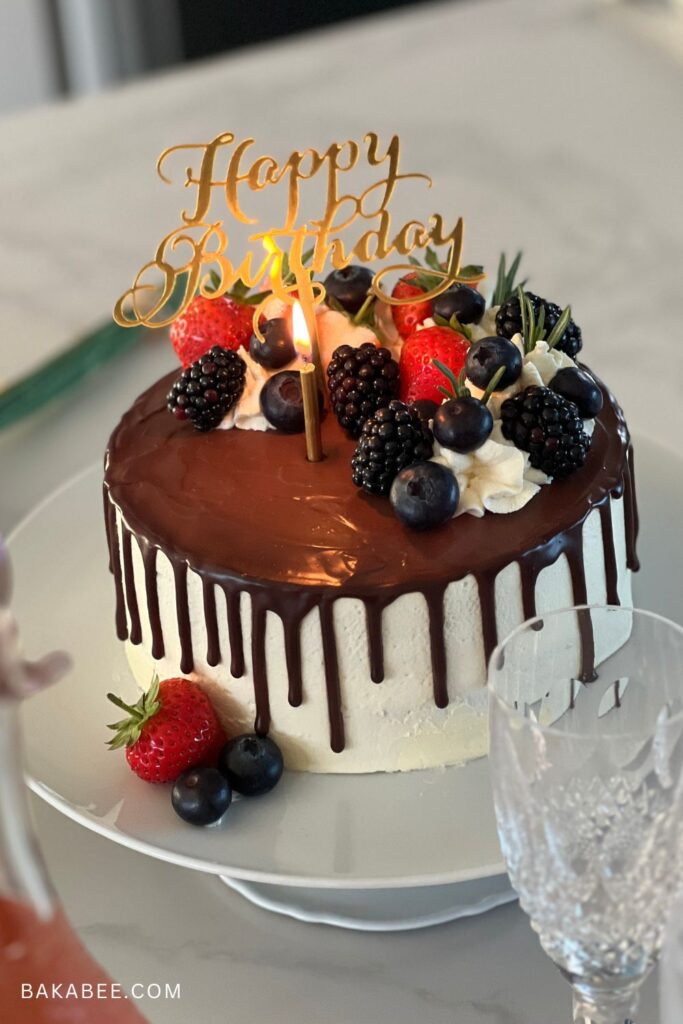
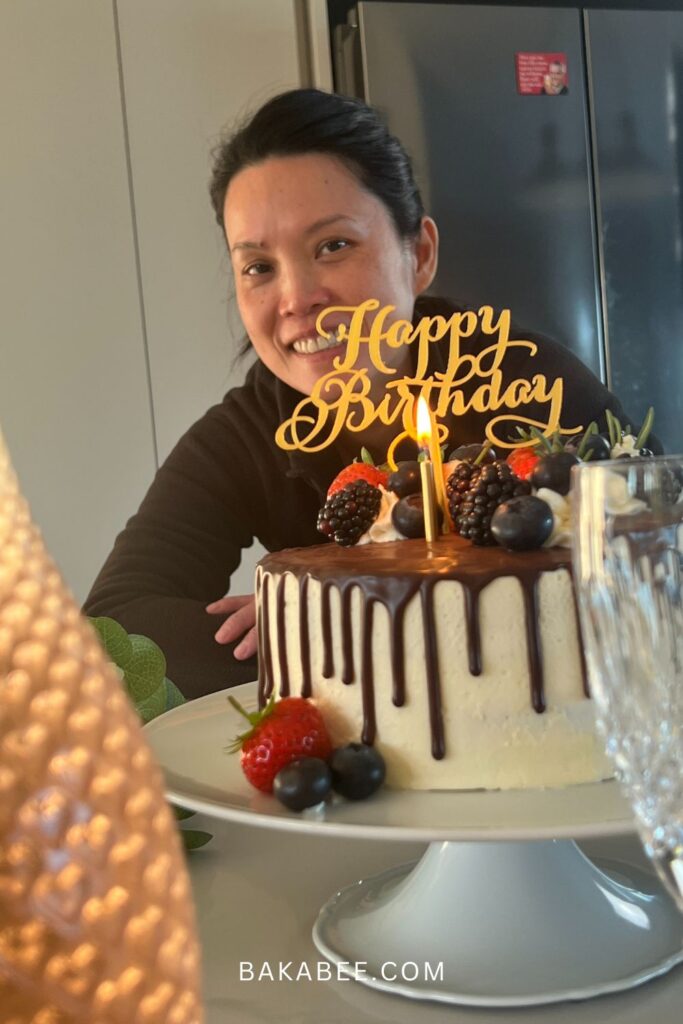
Every year, as my birthday approaches, I feel a familiar sense of excitement—a chance to relive a tradition I’ve carried with me since childhood: choosing my own fruit cream cake. It’s more than just a dessert to me; it’s a slice of nostalgia wrapped in fresh fruit and whipped cream, a perfect reflection of the cakes I’ve loved growing up.
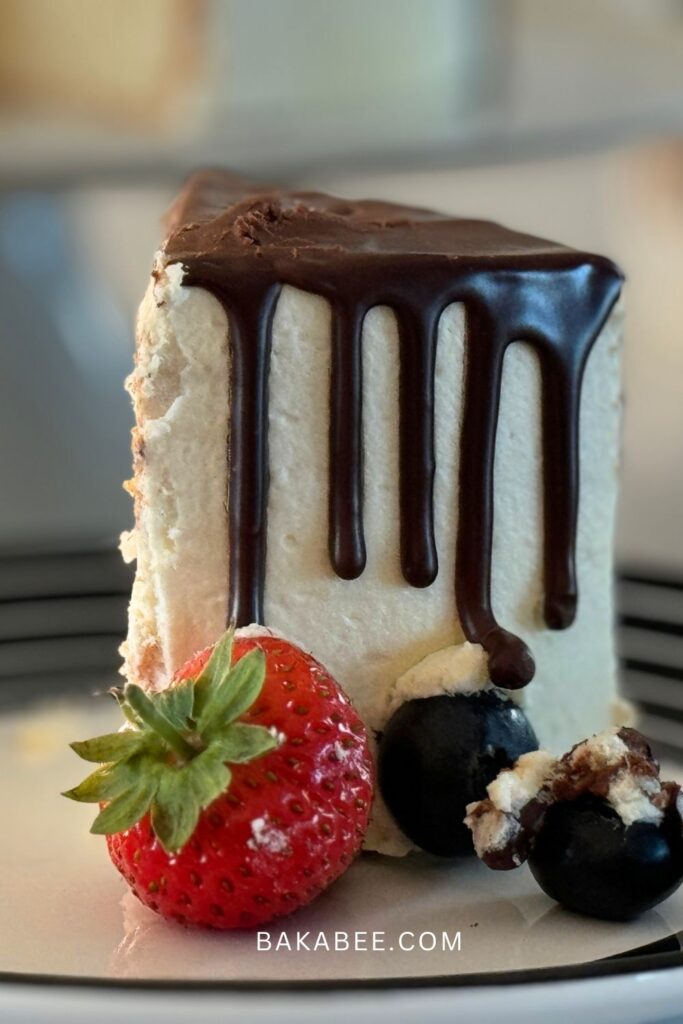
As the years passed and I became a baker, I decided to give that childhood favourite a modern twist. I still treasure the light sponge and fresh cream, but now I add a rich chocolate drip, a nod to my current style as a baker. It’s my way of honouring the past while embracing who I am today.
I think we all have those foods that transport us back to simpler times. For me, this cake is a tangible link to my past.
If you’re feeling inspired to bake your own nostalgic cake with a modern twist, here’s the recipe, let’s bake!
Why you’ll like this Fruit Cream Cake with Chocolate Drip recipe
- Straightforward recipe: the process is simple and easy to follow.
- Delicious: Light, airy sponge cake with a melt-in-your-mouth texture.
- Refreshing: sweetness from fresh fruit and fluffy whipped cream frosting.
- Elegant presentation: a rich chocolate drip for a modern, indulgent twist.
- Nostalgic: brings back the warmth of childhood memories with the nostalgic flavours
- Versatile: ideal for special occasions or a treat just because!
Recommended Products
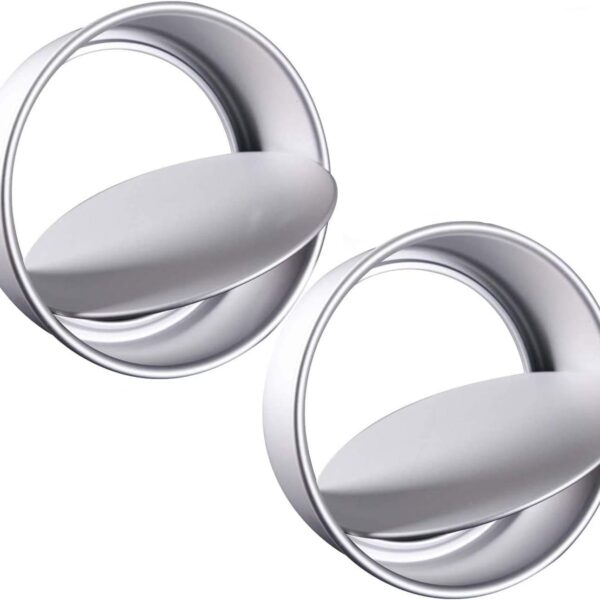
7-inch baking pan with loose base
Buy Now → Buy Now →
  Buy Now →
  Buy Now →
  Buy Now →
  Buy Now →
  Buy Now →
Tips for making the BEST Fruit Cream Cake with Chocolate Drip
- Use the right temperature ingredients: For a light and fluffy sponge, ensure your eggs are at room temperature before mixing. For easy whipping the cream, make sure the double cream and the mixing bowl is chilled.
- Gently fold the batter: When combining wet and dry ingredients, gently fold the mixture to keep the air in for a soft, airy texture.
- Stabilise whip cream to soft peaks: Use gelatine powder to stabilise the whip cream for better frosting.
- Chill the cake before adding the drip: Chill your cake before adding the chocolate drip to prevent melting or sliding.
- Pat fruits dry: Make sure any fruits you use are patted dry before placing them on the cake to avoid extra moisture that could affect the frosting.
- Add the drip slowly: Use a piping bag to slowly add the chocolate drip, allowing it to cascade naturally for a clean, professional finish.
Check out my video tutorial
Pin this Fruit Cream Cake recipe for later

Frequently Asked Questions
Absolutely! You can customise the fruit to your liking—strawberries, kiwis, raspberries, or even mangoes work great. Just make sure to use fresh fruits and pat them dry to avoid excess moisture.
Make sure your double cream is cold before whipping, and whip it to stiff peaks. You can also add a stabiliser like a small amount of gelatine powder to help it hold its shape longer.
Yes! You can bake the sponge cake a day in advance and store it covered at room temperature. For best results, frost and add the fruit on the day of serving.
Use high-quality semi-sweet chocolate for a rich flavour. You can also mix in a little cream to make the drip smoother and easier to pour. In this recipe, I use 54% (not any higher percentage) for this result.
Let the chocolate cool slightly after melting before applying it to the cake. This helps control the drip speed. Use a spoon or piping bag and work slowly, allowing the chocolate to naturally cascade down the sides.
Yes, you can! While whipped cream adds a light texture, you can use buttercream or cream cheese frosting if you prefer a richer taste.
More recipes you might like
- Chocolate yoghurt cake – an indulgent chocolate cake
- Victoria sponge cake with fresh berries – a refreshing delight
Fruit Cream Cake with Chocolate Drip
- Author: Bakabee
- Prep Time: 60 mins
- Chill Time: 2 hours
- Cook Time: 25 mins
- Total Time: 3 hours 25 minutes
- Yield: 1 2-layered cake (8 slices) 1x
- Category: Cake
- Method: Bake
- Cuisine: Asian
Description
This light and airy sponge cake is layered with fresh whipped cream and fruit, then elevated with a rich chocolate drip. A perfect blend of nostalgia and modern flair, making it a delightful treat for any celebration!
Ingredients
Chinese Sponge Cake Batter
- 117 grams cake flour
- 20 grams cornstarch
- 1 teaspoon baking powder
- A pinch of salt
- 6 large eggs (separated)
- 80 grams caster sugar (50 g + 30 g)
- 1/4 teaspoon cream of tartar
- 65 grams vegetable oil
- 1 teaspoon vanilla extract
Stabilised Whipped Cream
- 1 teaspoon gelatine powder
- 1 tablespoon water
- 600 millilitres double cream (chilled)
- 66 grams icing sugar
- 2 teaspoon vanilla extract
Chocolate Drip
- 50 grams 54% dark chocolate (not any higher percentage)
- 70 grams double cream
Decoration
- whipped cream
- seasonal fruit (I chose berries)
Instructions
For the Chinese Sponge Cake Batter
- Preheat the oven to 170℃ Fan / 325℉. Line 2 7-inch baking pans with removable bottoms with parchment paper.
- Separate the eggs, place the egg whites in a large mixing bowl while the egg yolks in a medium mixing bowl.
- Start whisking the egg whites with a balloon whisk attachment using a handheld mixer at medium speed until a layer of foam forms.
- Add cream of tartar to stabilise them to help better structure and continue to whisk until foamy.
- Add 50 g of caster sugar in three stages, a minute in between to allow the sugar to dissolve.
- Once all the sugar is added, turn the mixer to medium-high speed until stiff peaks. The beaten egg whites (the meringue) can hold a firm shape and curls at the tip.
- In a separate small mixing bowl, sift the dry ingredients, cake flour, baking powder, salt and cornstarch to make sure they are free of lumps. Mix well and set aside.
- Add 30 g of caster sugar into the egg yolks. Whisk them vigorously until the mixture turns pale and nearly doubles in volume.
- Mix in vanilla extract and vegetable oil, gently whisk until fully emulsified.
- Scoop a small amount of meringue into the cake mixture to loosen the texture.
- Then alternately add the meringue and mixed dry ingredients in a few additions, gently folding after each until fully incorporated. Switching between a whisk and a silicone spatula to ensure everything is evenly mixed.
- Pour the cake batter into the prepared pans evenly, approximately 300 g per pan.
- Bake in the preheated oven at 170℃ Fan / 325℉ for around 25 to 28 minutes or an inserted skewer comes out clean.
- Remove the cakes from the oven and let them sit in the pan for 5 to 10 minutes. Run a palette knife along the edges to remove the cake from the pan and cool completely on a wire rack.
Make the stabilised whipped cream
- Combine the gelatine powder and water in a small bowl. Set it aside to allow the gelatine powder to bloom for 5 minutes.
- Place the chilled double cream, icing sugar and vanilla extract in a chilled mixing bowl.
- Use a handheld mixer with a balloon whisk attachment to whisk at medium speed until soft peaks form.
- At this moment, stop the mixer and microwave the bloomed gelatine mixture for a few seconds until it is fully dissolved. Let it cool slightly before pouring into the chilled whipped cream.
- Continue to whisk until stiff peaks form. Cover it with a lid and refrigerate it until needed.
Fill and crumb coat the cake
- Place a non-slip mat on a turntable with a cake board on top. Spread a little amount of whipped cream in the centre of the cake board to keep the cake in place. Place a serrated knife on the side of the cake and cut while turning the turntable to trim off any dome on top to level it. Once done, repeat the same process for the second layer.
- Spread a small amount of whipped cream in the centre of the cake board to stick the cake if needed. Add the whipped cream to the first layer, I use an ice cream scoop to control the portion size. Use an offset spatula to spread the whipped cream across the cake as evenly as possible.
- Add about 1 tablespoon of raspberry jam – any flavour you like, on top of the whipped cream and spread it across. Then add more whipped cream on top of the jam and roughly spread it across surface.
- Place the second layered cake upside down on top of the whipped cream. Scoop the same amount of whipped cream on top. Use the offset spatula to spread it across the cake as evenly as possible. Gradually push / spread the excess whipped cream to the sides to fill any gaps or holes.
- Once done, place the cake in the refrigerator to chill for about an hour to set.
Final coat
- Load the remaining whipped cream into a piping bag. Twist the end and secure with an icing bag tie.
- Once the cream is set, place the chilled cake on the turntable with a non-slip mat underneath.
- Cut a medium hole on the piping bag. Pipe a layer of cream on top of the chilled cake. Gradually spread it into an even layer using an offset spatula. Push any excess toward the sides and smooth out the frosting.
- Take a dough scraper and hold it at a 45-degree angle to the side of the cake, with a very light contact. Allow it to lightly brush the side of the cake as you spin the turntable. If there are any holes or imperfections, spread a little more and smooth it again with the dough scraper.
- For the final smoothing, hold the dough scraper in one hand and spin the turntable with the other, gliding the scraper along the sides of the cake in one smooth motion.
- To smooth out the top, take the offset spatula and glide over the top of the cake, starting from the edge and moving toward the centre.
- Once done, chill the cake for around 60 minutes to set.
Make the chocolate drip
- Chop the dark chocolate into small pieces.
- Combine the chocolate and double cream in a microwave-proof bowl.
- Microwave for an initial 20 seconds, then continue in 5-second intervals until the chocolate is fully melted.
- Stir gently to form a ganache.
- Load the ganache into a piping bag and secure it with an icing tie. Cut a tiny hole at the top. Test it on a bowl first for the right consistency. It should run down and stop, not gloppy or running all the way to the bottom of the bowl. If the ganache is too thick, add a bit more cream. If it’s too thin, add a bit more chocolate until you reach the right consistency.
- Start squeezing the ganache on the edge of the cake and move around the edge slowly. Let the ganache drop onto the sides of the cake. If you squeeze harder, more ganache will come out and the drip will be longer.
-
When you finish the sides, squeeze ganache on the top of the cake, using an offset spatula to gently spread it evenly across the top; add more if needed, until the top of the cake is fully covered with the ganache. Chill the cake to set.
Decorate the cake
- If you prefer to serve the cake on a cake stand rather than the cake board, use a spatula to carefully lift and transfer the cake onto your desired stand or serving plate.
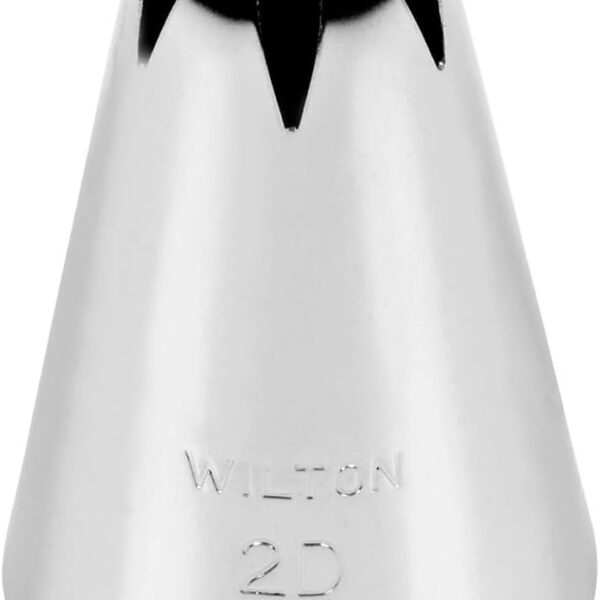
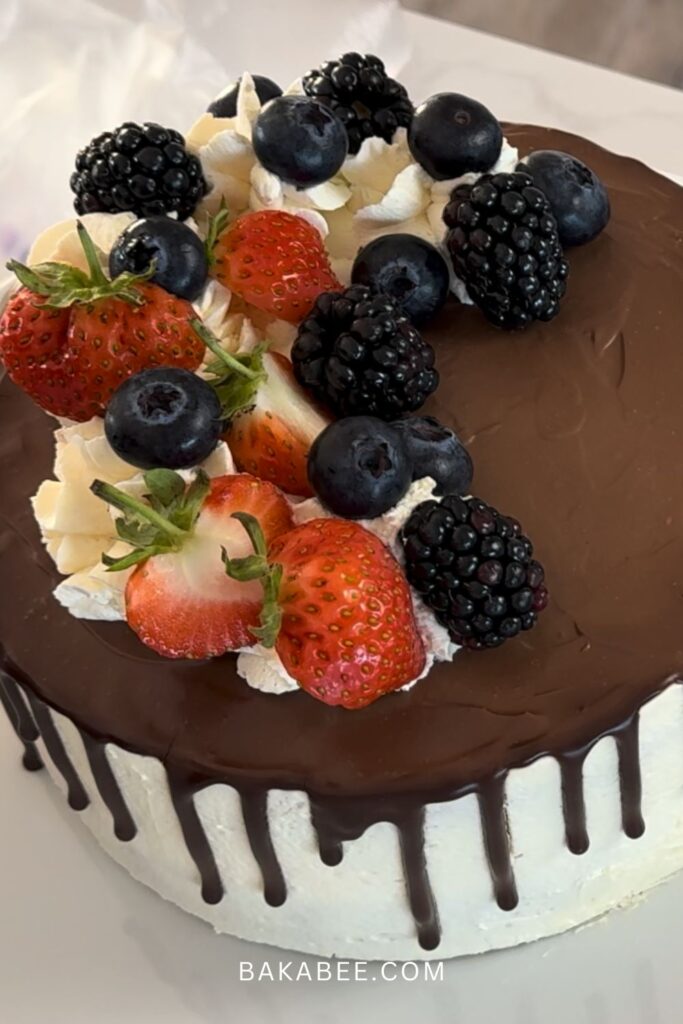
- For this decoration, I used the 2D piping nozzle to pipe the whipped cream on top of the cake. Add some fruit on top to elevate the presentation. (optional) – be as creative as you like!
Notes
- watch my video tutorial to see how I made this cake in action.
Nutrition
- Serving Size: 1 slice
- Calories: 420kcal
- Sugar: 18.6g
- Sodium: 4971mg
- Fat: 33g
- Saturated Fat: 1.2g
- Carbohydrates: 24.1g
- Protein: 6.4g
- Cholesterol: 246mg
It would be fantastic if you could take a moment to rate this recipe with stars ⭐️ after trying it. Your feedback helps other readers!
Thanks for joining me in the kitchen and share this special moment with me today.
Keep Baking!
Share this!


