Share this!
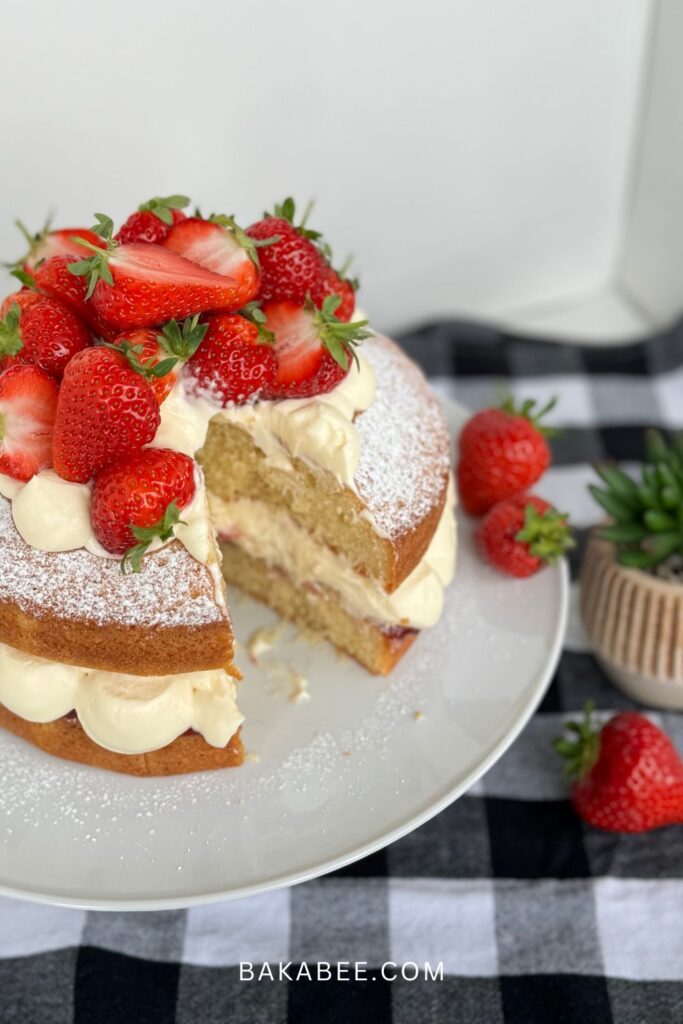
Victoria Sponge Cake
This, Classic Victoria Sponge Cake, must be the world’s best-known cake! I first heard of it from the well-known British food writer, chef and television presenter, Mary Berry. Amazingly, Mary has written over seventy cookery books…Wow! …. I bought her best seller – ‘Mary Berry’s Baking Bible’. This is also rated as one of the ten BEST baking books and it is seriously good for any enthusiastic home baker.
“I know people think I invented the Victoria sandwich, but I’m really not that old.” Mary Berry
Why this book?
A few years ago, I travelled to the UK with my husband during summer holiday to visit our family and friends. One day, we were in London and we wandered into a book cafe. It was so fascinating. The shop was huge and of course, I made a BEE line to the cookery book section. It had everything there but I was captured by the name of this book – Mary Berry’s Baking Bible. I was like a child finding her favourite candies in the cabinet.
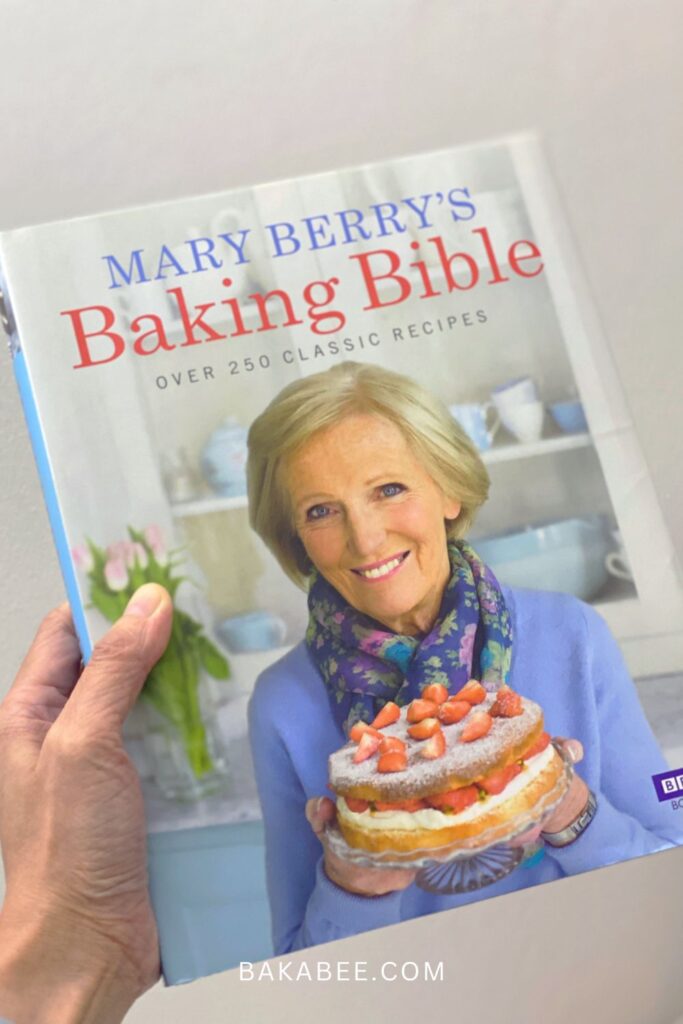
This book ticks all the boxes in my checklist.
- The first box is Mary Berry – Famous food writer and original judge of The Great British Bake Off, a well-known British television baking competition for amateurs (why am I telling you, you must have seen it). If you haven’t, seriously, once you start to watch it, you will become addicted to it: that was totally me!
- The second box is the name itself, Baking Bible – wow, what a name! It means THIS IS IT!!! The only baking book you will ever need. It actually says that on the back of the book.
- The third box is what you find inside – THE most delicious and mouth watering home baking recipes you could ever hope to find…and it’s true, it’s all in there, everything you need…
Mary’s famous Victoria Sandwich cake recipe is in Chapter One – Classic Cakes in this book. In the caption of this recipe, she says ‘this must be the best known and loved of all family cakes.’
So I decided to give it a try!
For your reference, this book – Mary Berry’s Baking Bible has had a cover makeover, revised and updated in March, 2023!
Here we go!
Divide the batter into two portions evenly either by eye or use a scale. I personally prefer using a scale because I want to get two completely even layers to the cake. Once divided, put the batter into the two prepared baking tins.
What next?
This method is the easiest cake-making method. What you need to do is measure all the ingredients into a mixing bowl, making sure the butter is soft, and beat it with a free-standing or hand-held mixer. That’s it! What magic! Read this to find out what to invest between a free-standing mixer or hand-held mixer.
After a few minutes, I can say not more than 10, your cake batter is done!
How do I prepare the baking tins?
To do this, you need to grease the tins by spreading the butter onto the surface with a brush. For added security, to avoid the cake layers getting stuck into the tins, then dust flour into the tins and angle them around so that the flour covers every bit. Finally, invert them to make sure no excess flour is left and then line the tins with a sheet of parchment each. Now your tins are well prepared and ready for action. For more details, you can watch my step by step tutorial to learn how to line your baking tins with parchment paper.
Bake the cake
Pour the batter in and use an offset spatula to level out. Then bake in a preheated oven at 170℃ for around 25 minutes or until well risen. If you are not so sure whether it is baked or not, you can simply insert a skewer (mind your hands, I am always picking up little burns!): if it comes out clean, it means it’s time to remove them from the oven.
Cool the cake
Leave the cakes to cool in the tins for a few minutes. Then you can turn them out to peel off the parchment paper and finish cooling on a wire rack.
How easy is that? If you ever want to start learning how to bake a cake, this is a MUST try recipe. Using this method, I guarantee success every time.
OK now I need to confess … from this point onwards I don’t actually follow Mary’s recipe 100% (which is fine – bring your creativity and curiosity to your baking, take some risks!). I like to decorate my sponge in a slightly different way to the ‘classic’ approach.
My personal twists on the classic approach
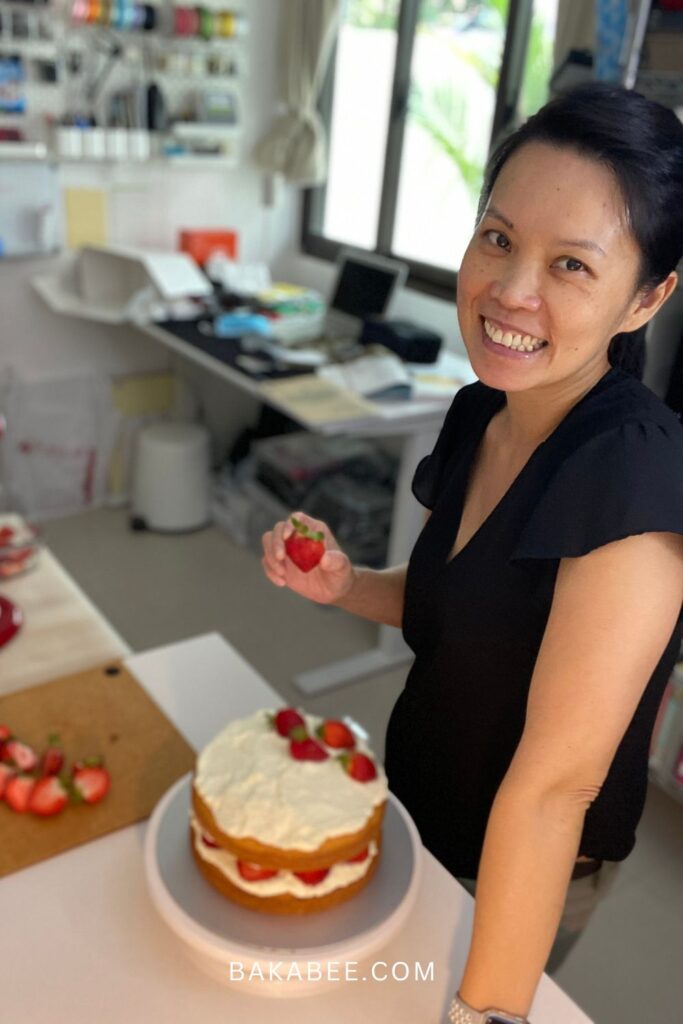
Whereas Mary uses strawberry jam for filling (which is, of course, delicious) I prefer to use whipped cream with fresh strawberries both for the filling and the topping. I feel this makes a really indulgent and luxurious twist while still keeping to the spirit of this classic Victoria Sponge Cake recipe.
Using whipped cream as a filling
So, Mary’s Victoria Sandwich, is sandwiched together with strawberry jam and sprinkled with caster sugar to serve. How simple is that?! In this simple presentation, it is already a perfect cake for sharing with your friends and family on a hot summer’s day!
But adding whipped cream as the filling makes it an even naughtier treat. Who doesn’t like whipped cream? I just think it says luxury and ‘go on, treat yourself’. Light, airy, sweet and just delicious. Hmmm … yum!
However, if you do decide to use whipped cream, you need to whip it wisely. Otherwise, the whipped cream can become deflated, or even worse, become runny. It will end up making the cake soggy and ruin your treat!
Stay chilled, be sweet!
There are a few things you need to keep in mind. First, the whipped cream has to contain at least 35% fat. Don’t try a low fat or nonfat option, it won’t whip. Remember to take the cream out from the fridge just before you start to whip it and not before.
Second, make sure the equipment mixing bowl and the whisk are chilled. It will help the whole whipping process to stay cool and to get the cream whipped easily into shape.
According to my recipe, I add 3 teaspoons of sugar into 2 cups of heavy cream. The amount of sugar is totally up to your preference. I can say this amount of sugar will make the cream slightly on the sweet side because it is going to compliment the sharper flavour of the strawberries. You can adjust the quantity of sugar to suit your taste buds.
Stabilise the cream
What does this mean? What ingredients do I need to use to stabilize the cream?
There’s nothing strange about stabilizing cream but I promise 100% certainty that your classic Victoria sponge Cake will not turn into a soggy disaster if you take this little extra piece of advice.
The secret? Gelatin powder and water are all you need.
First, put the gelatin powder into cold water and let it bloom for about two to three minutes. By doing this, it helps the gelatin become saturated with water. Initially it will set but then we need to liquify it in a microwave for a few seconds until the gelatin dissolves again. Keep in mind, the dissolved gelatin liquid has to be cool because we don’t want any warm liquid put into the whipping process … that could get messy. Always stay cool!
Watch the video tutorial instead
Save it to Pinterest for later!

The secret of wise whipping
Start whipping the cream at a low speed to encourage small bubbles to form and then build up the speed to create the bubbles continually. Then add your sugar in and keep whipping it’s
After a few minutes, you will see some whipping lines from the whisk form on the surface of the cream and the cream will begin to reach the soft peak form. Now you can increase the speed to medium and keep whipping. Meanwhile, the gelatin powder will have become solid because it is fully saturated with water. Pop it into the microwave for just a few seconds and return it into liquid form. Before you drizzle it into the chilled whipped cream, make sure it is at room temperature, never warm.
Now you can turn the mixer up to high speed and continue to whip until the cream reaches the stiff peak form. Keep an eye on it, we don’t want to over whip the cream or it will turn into butter – not the plan!
Finally, if you don’t use the whipped cream straight away after whipping, refrigerate it until you need it.
Flavouring the whipped cream
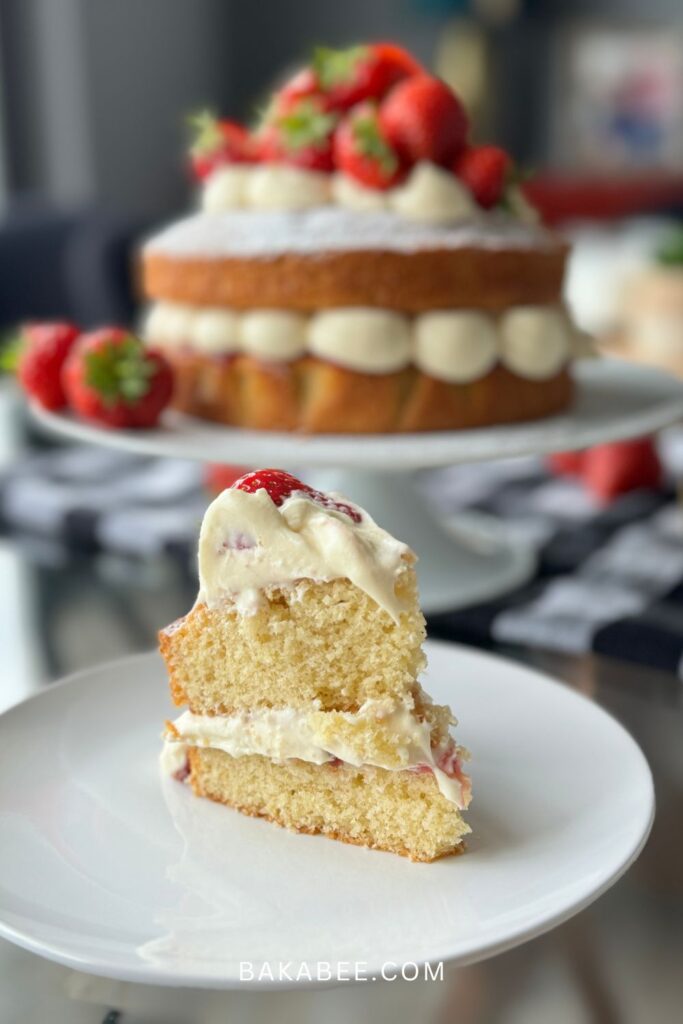
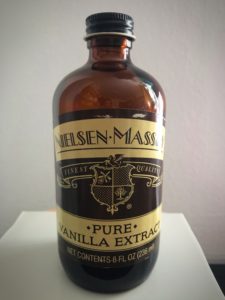
You can flavour the whipped cream according to your preference. I like to keep mine classic so I add high quality vanilla extract into it. Once again, it goes will the strawberry topping perfectly. Yum!!!
Preparing the fruit
In this recipe, I chose fresh strawberries. One of the reasons is because Mary uses strawberry jam as her filling so I feel using fresh strawberries keeps part of the spirit of her recipe. Another reason is very obvious, I love strawberries. Hahaha …
Wash and dry around 10 -12 strawberries thoroughly. Then take a few strawberries to cut into slices and remove the stems. Chop the rest into halves and keep the stems on. It always looks nice when there is some green against the red, doesn’t it?
There is no need for you to stick to the strawberry theme…pretty much any fruit or combination of fruits will work in this setting…be creative, play around with the possibilities.
Assemble the cake
After all the preparation, it finally comes to the fun part which is also my FAVOURITE part, assembling the cake. Make sure the cake layers are cooled completely. Otherwise, they will melt the chilled whipped cream…you know the drill – stay chilled!
I like laying out all the components on my workbench. Two delicate classic Victoria sponge cake layers, delicious chilled whipped cream and appetizing fresh strawberries. Just by looking at them, it excites me…feel your mouth watering? :))
Okay! Back to the business …
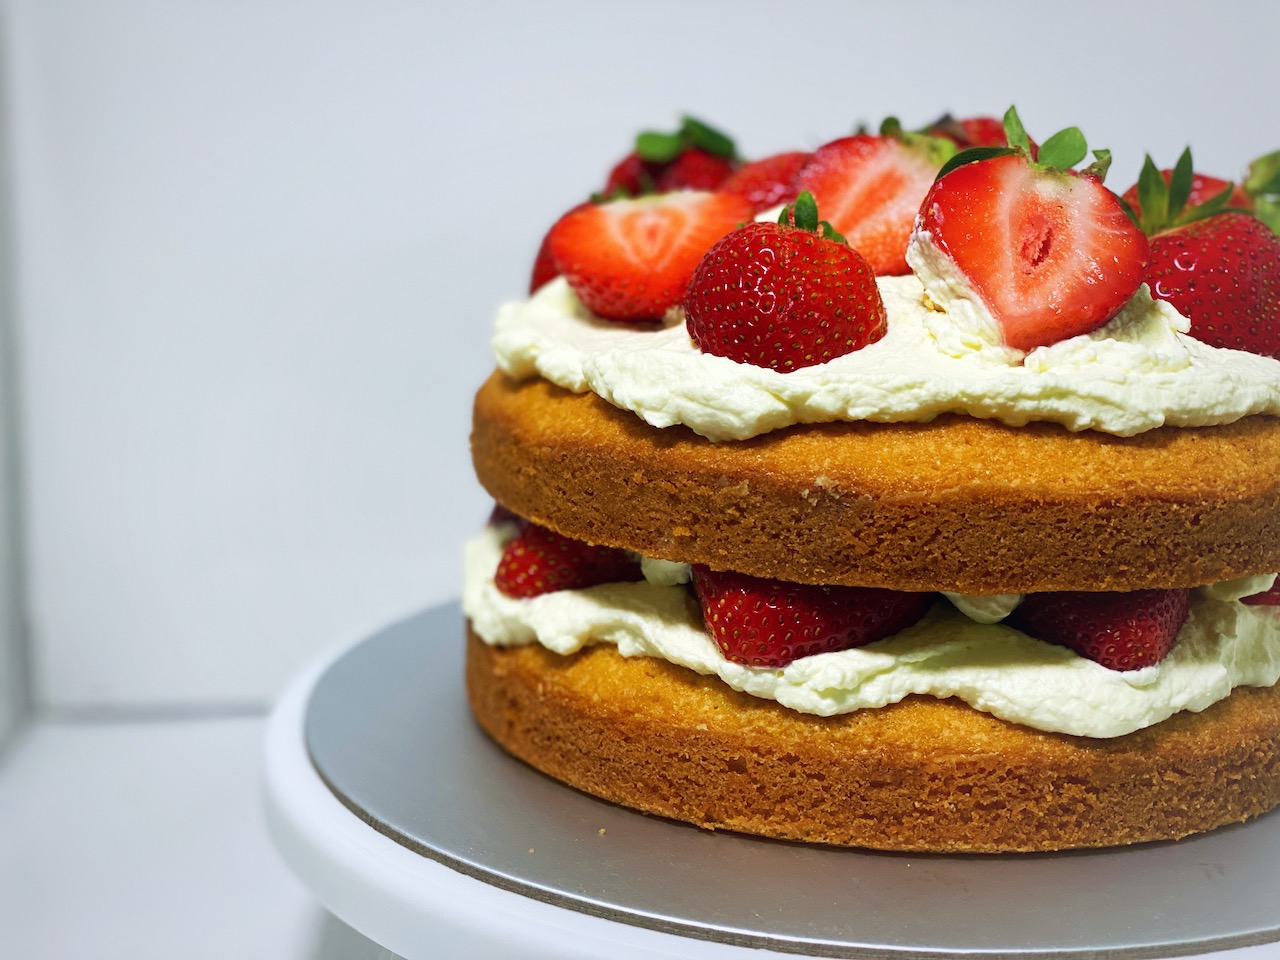
Place one layer onto your desired serving plate or cake stand (because it will be challenging to move it onto another surface). Then spread the chilled whipped cream onto the layer, and leave around 5 cm at the edge. Place the sliced strawberries onto the cream carefully, the pointy part facing outwards around the cake. Then spread a small amount of whipped cream to just about cover the sliced strawberries. By doing this, it can help the top layer of the cake stick onto it.
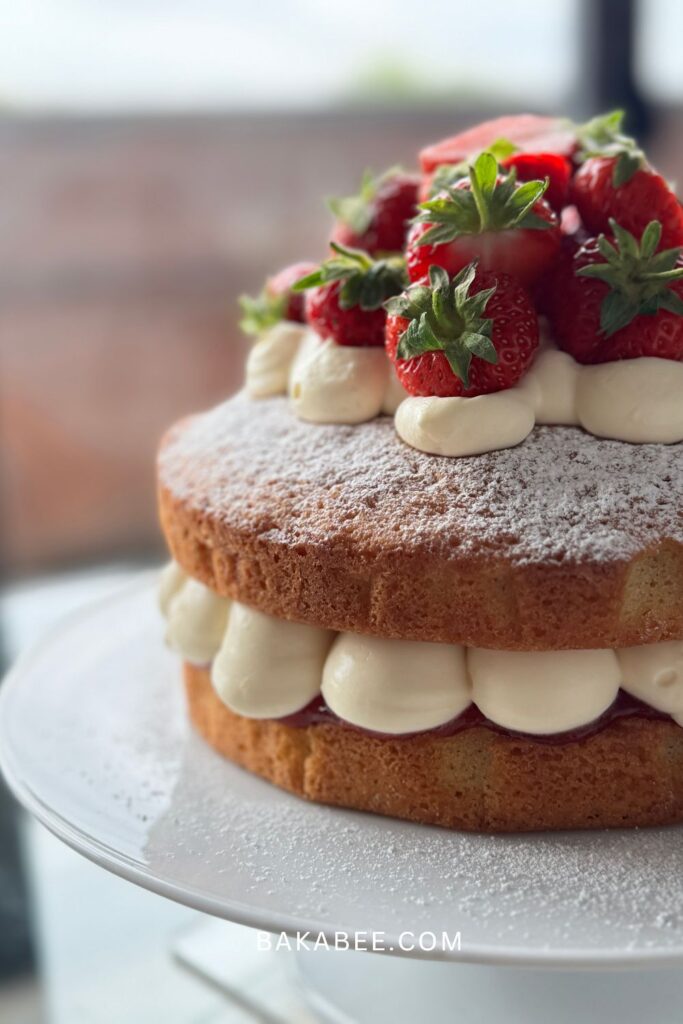
Make the sandwich by putting the top layer of cake on and then spread a generous amount of whipped cream on it and place the half strawberries on top…play with the design, there are lots of ways to make the top look pretty.
Ta-da!!! Done! What a cake! It is super duper simple to make and it tastes deeeee-licious. Try this and I’m sure you will definitely impress your friends and family!
Mary Berry says this in her Baking Bible, ‘Cakes are made to be shared so invite your friends and family to enjoy with a good pot of tea – Happy Baking!’
If I can bake it, so can you! Let me know how it turns out….
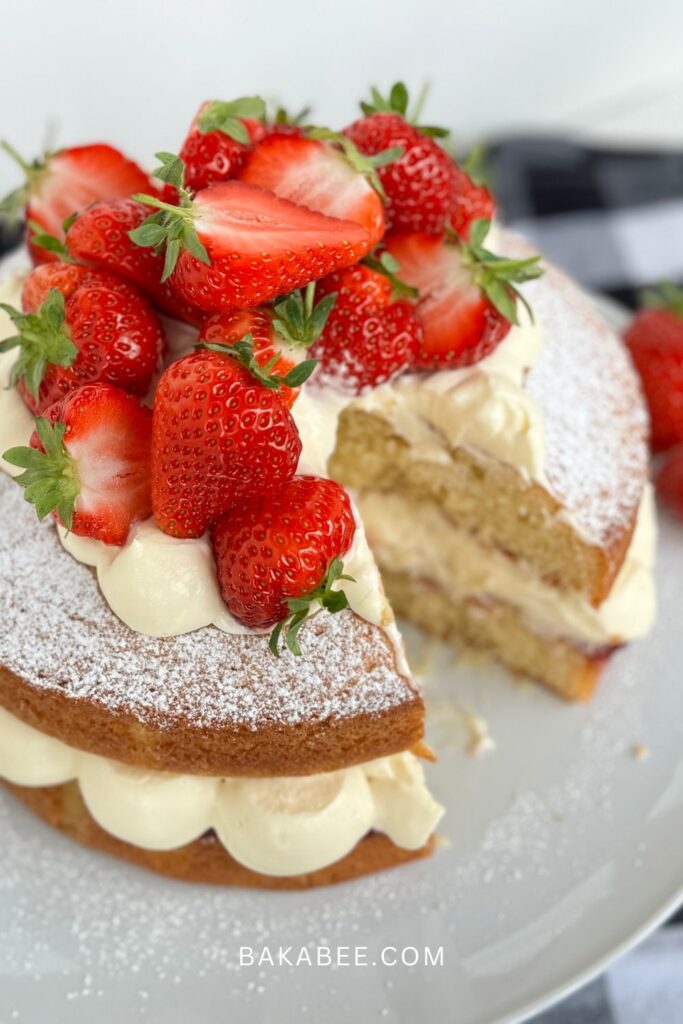
Classic Victoria Sponge Cake with cream and fresh strawberries
- Prep Time: 20 minutes
- Cook Time: 25 minutes
- Total Time: 45 minutes
- Yield: 8 slices 1x
- Category: afternoon tea, cakes, cream cakes, desserts, strawberry cakes
- Cuisine: British, Western
Description
This is the BEST known and most loved of all family cakes. This hassle-free method is an all-in-one mix and guarantees success every time. Once it's on the table, it won't last very long. Get a slice before it's all gone!
Ingredients
Sponge cake
- 225 g unsalted butter (soften)
- 225 g caster sugar
- 4 pc large eggs
- 225 g self raising flour (sifted)
- 2 tsp baking powder
Filling
- 2 cup chilled whipped cream (35% fat)
- 3 tbsp granulated white sugar
- 1/2 tsp gelatin powder
- 1 tbsp chilled water
- 1 tsp vanilla extract
Fruit topping
- 15 pc large strawberries (or fruit of your choice)
Instructions
- Grease two 20 cm (8 in) baking tins. Sprinkle some flour and invert the tins to tap out the excess: make sure the sides of the tin are evenly floured. Line the base of each tin with parchment paper. Alternatively, spray the cake release spray instead.
- Preheat the oven to 170°C.
- Measure the butter, sugar, flour, eggs, flour and baking powder in a large mixing bowl.
- Beat it at medium speed with a hand mixer until the ingredients are fully blended as a thick butter mixture.
- Divide the mixture evenly between two tins. Use an offset spatula to level out.
- Bake in a preheated oven for about 22 – 25 minutes or until a skewer inserted comes out clean.
- Leave the cakes to cool in the tins for about 5 minutes then turn out; peel off the parchment paper. Allow them to finish cooling completely on a wire rack.
Whipping the cream
- Before you start, make sure the mixing bowl and the whisk are chilled.
- Pour the cream into the mixing bowl with a whisk and start whisking at low speed with a stand mixer.
- In the mean time, sprinkle gelatin powder into the water and let it bloom for a few minutes until it becomes solid.
- As the cream is approaching the right consistency, heat up the bloomed gelatin in a microwave for a few seconds until it becomes liquid. When the cream has formed the desired soft peak form, drizzle the liquid gelatin into the cream slowly. Make sure, the liquid gelatin is cool.
- Turn the mixer up to medium / high speed and keep whisking the cream until a stiff peak forms. Keep an eye on it. DO NOT over whipped it.
- Put the whipped cream into the fridge.
Assemble the cake
- Cut some fresh strawberries into slices and the remainder into halves.
- Take the chilled whipped cream out from the fridge and load it into a piping bag inserted with a round piping tip.
- Place one layer of cooled cake on a cake turntable for easier decorating. Use a serrated knife to trim off the dome of the cake in order to have a flat bottom layer.
- Spread the strawberry jam onto it.
- Pipe the whipped cream whatever way you like. Then place the second layer on top.
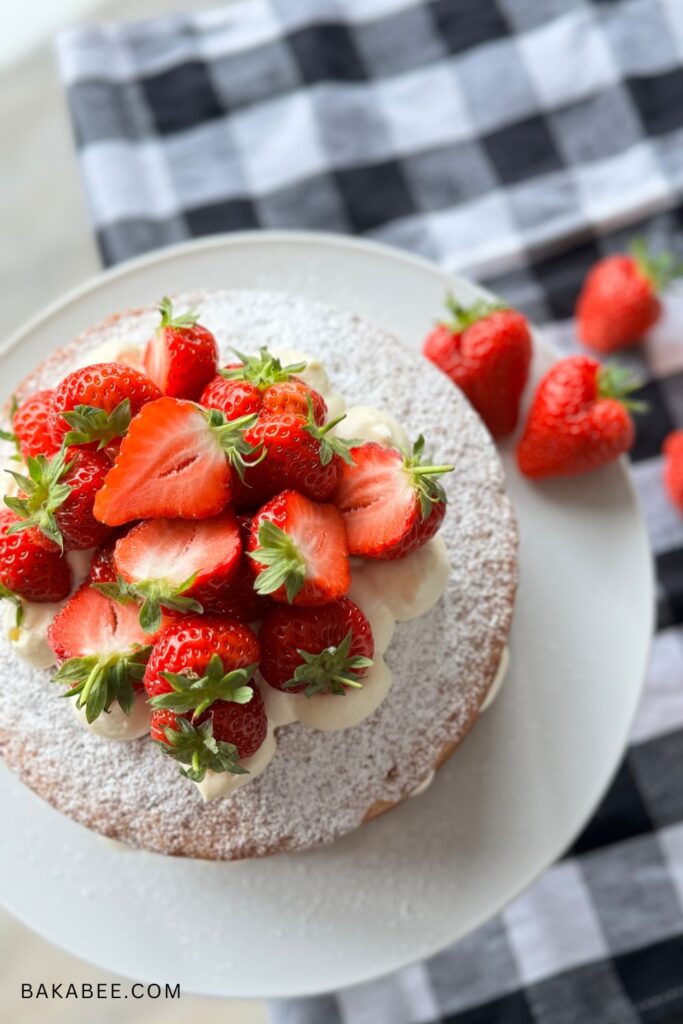
- Dust the circle of icing sugar onto the top layer with icing sugar using the icing sugar shaker. Leave the centre blank.
- Pipe the remaining whipped cream in the centre of the cake and decorate it with the fresh strawberries.
- Enjoy!
Notes
- Watch my video tutorial to see how I exactly made it.
- You can replace the whipped cream using strawberry jam instead or add a layer of jam instead of the sliced strawberries in the filling.
- You can dust some icing sugar on top if you prefer a plain Victoria Sponge.
- You can use seasonal fruit instead of strawberries.
- Keep the cake in the fridge before serving.
Nutrition
- Calories: 351
- Sugar: 45.6
- Sodium: 509
- Fat: 9.1
- Saturated Fat: 4
- Carbohydrates: 58
- Fiber: 0.6
- Protein: 6.6
- Cholesterol: 200
Bake it
Give this Classic Victoria Sponge Cake recipe a try! Let me know how it goes for you! I love connecting and seeing your pictures and it really makes my day.
More tasty recipes for your next bakes
- Black Sesame Swiss Roll (video tutorial) – a cake for black sesame lovers
- Dark Deluxe Brownies with Sea Salt Flakes (video tutorial) – indulgent treats that you can’t resist
- Banana Cinnamon Bundt Cake – full of flavour in every bite
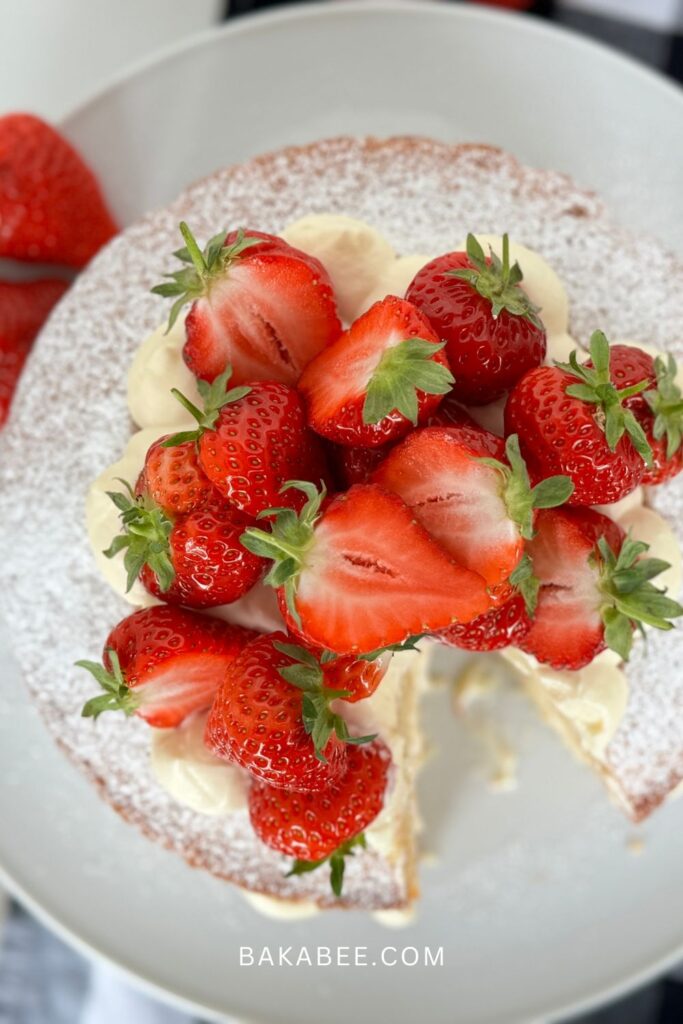
Thanks so much for stopping by! Hope you will enjoy this recipe.
If you’ve tried my Classic Victoria Sponge Cake with Cream and Fresh Strawberries recipe, please feel free to leave me a comment and let me know what you thought. The more we chat the more I know what recipes I should be making and sharing. If you have any recipe suggestions I would also love to hear them.
Rating the recipe once you’ve made this Classic Victoria Sponge Cake with Cream and Fresh Strawberries may also help other readers decide whether to make my cakes, so I would love it if you could come back and let everyone know what you think.
Happy baking!
Share this!

This Post Has 2 Comments
Yum! This looks amazing! Can’t wait to try this. Thank you for sharing.
Hi Danielle,
Thanks for stopping by! Let me know how it turns out! Happy Baking!