Watch this video tutorial
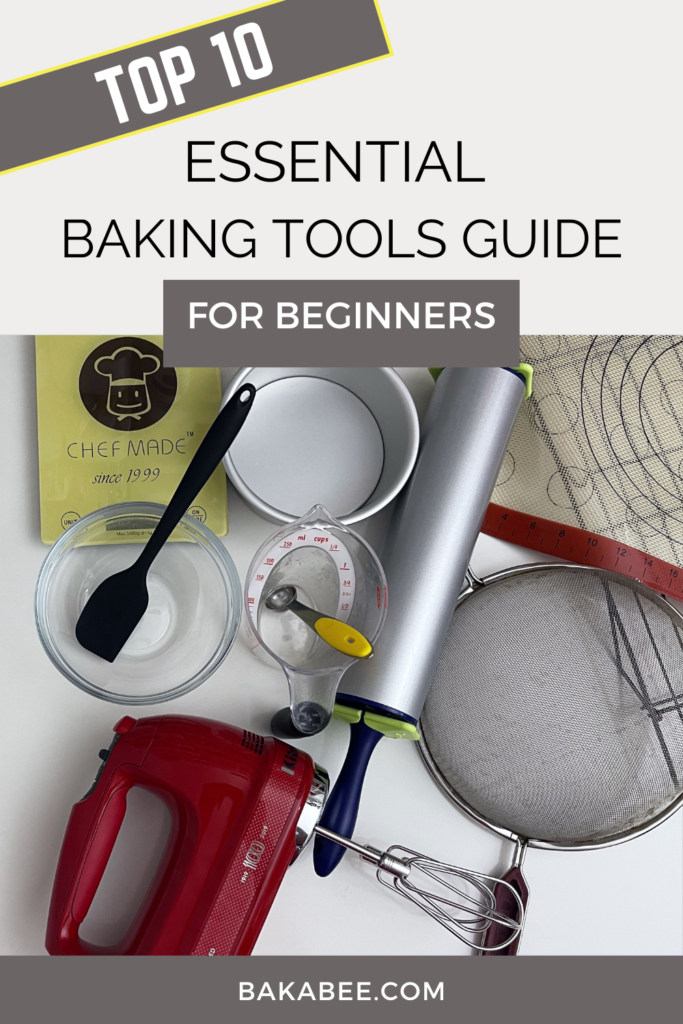
In this article – (part one of two) I am going to share with you 5 of my top 10 essential baking tools for bakers, to set up for home baking. I’ll be sharing the other 5 with you in part two. These choices are based on my own personal experience so take advantage of my process of trial and error to make sure you get only what you really need.
You’d love to bake? Don’t know where to start? You’re overwhelmed by the variety of baking tools on the market? You don’t know which mixing bowls or mixer you should invest in? Even choosing a silicone spatula or a set of measuring spoons is stressing you out? Need some good advice? Look no further…
I’ve been baking for a number of years and ran an online baking business for the last four years. Truthfully, to create stunning bakes for special occasions or to produce cute and instantly recognisable decorated cookies does need quite a range of tools. But that’s a totally different thing to being equipped for good quality home baking. Let me help you navigate through this confusing world of possibilities.
Although this is my ‘Top 10’ essential baking tools for bakers, there isn’t any priority in terms of their ranking. Every tool that I mention here is on the essential list. As new bakers, before you make any decision, please consider your personal baking preference, budget and resources.
10 Essential Baking Tools – #1 Mixer
There are two types of mixer, handheld mixers and stand mixers.
Hand-held mixers
A hand-held mixer can basically get the job done whether it’s beating butter, mixing batter or whisking meringue. When you choose yours, there are a few things that you need to pay attention to:
- Does it have a comfortable grip to hold? It’s important that you can hold it comfortably while mixing or beating the batter.
- How many speed levels does it have? There are different numbers of speed levels, commonly 5, 7 or 9 levels. Of course, the more levels you have, the more ability you have to mix batter precisely and to the consistency that you like.
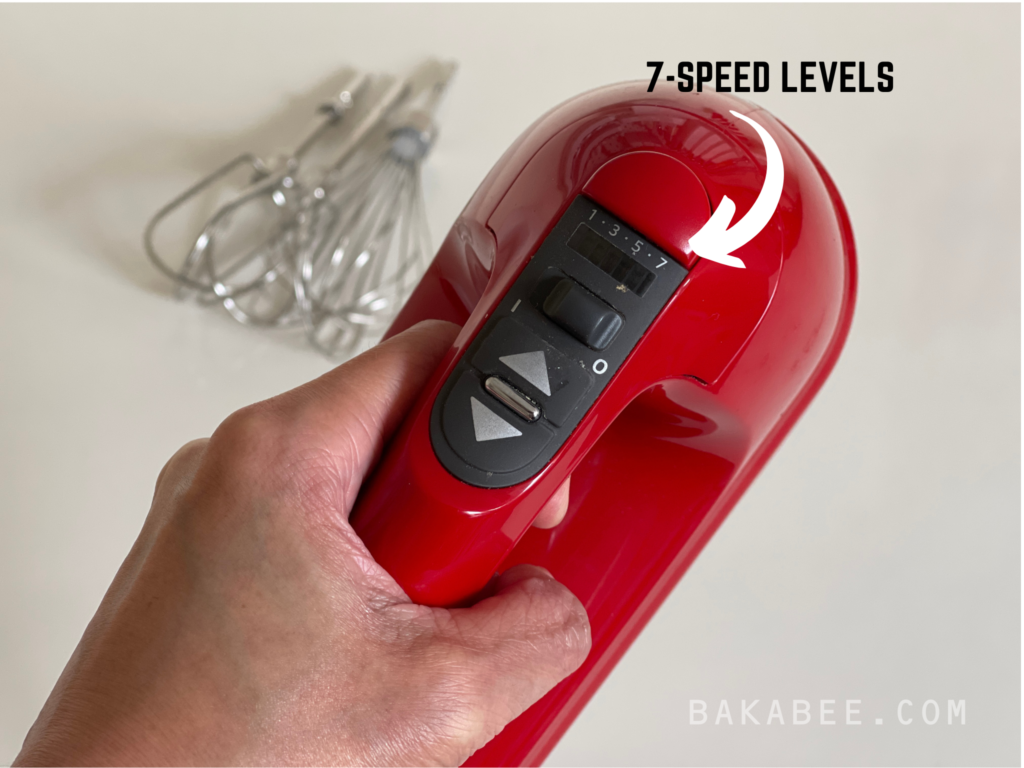
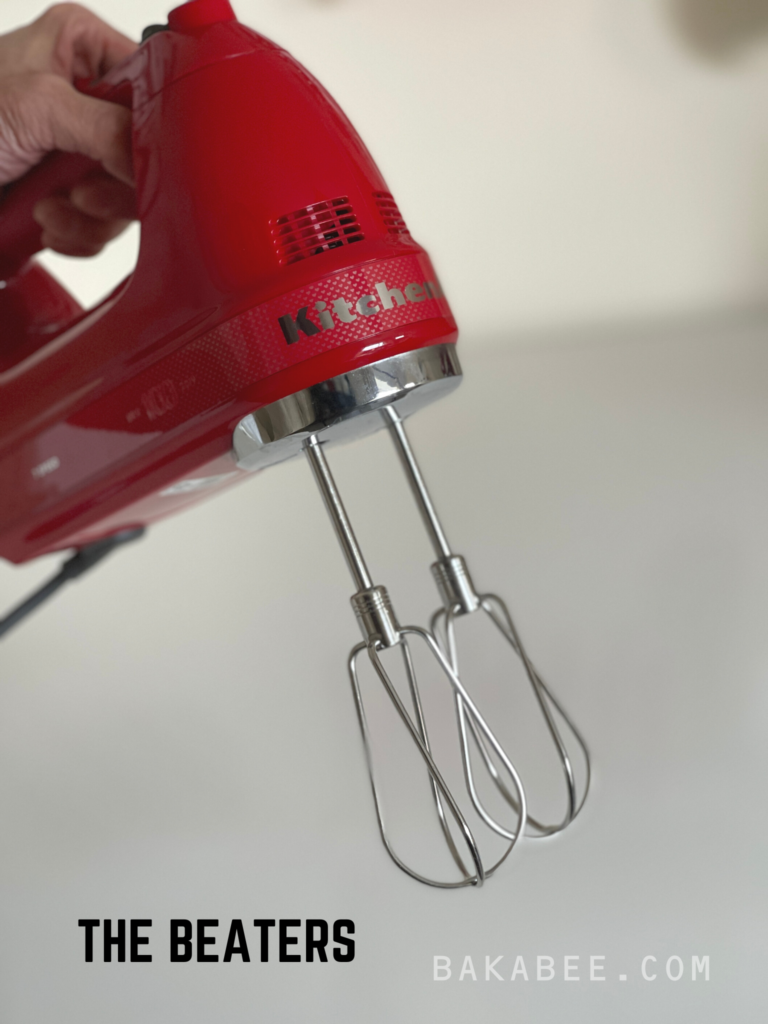
- What accessories come with it? From my experience, I mainly use the beaters and whisk the most. The beaters are for all the mixing jobs, beating butter or mixing batter. The whisk is mainly for whisking meringue and whipping cream. Other than that, I think it is unnecessary to buy a lot of additional accessories that you won’t need.
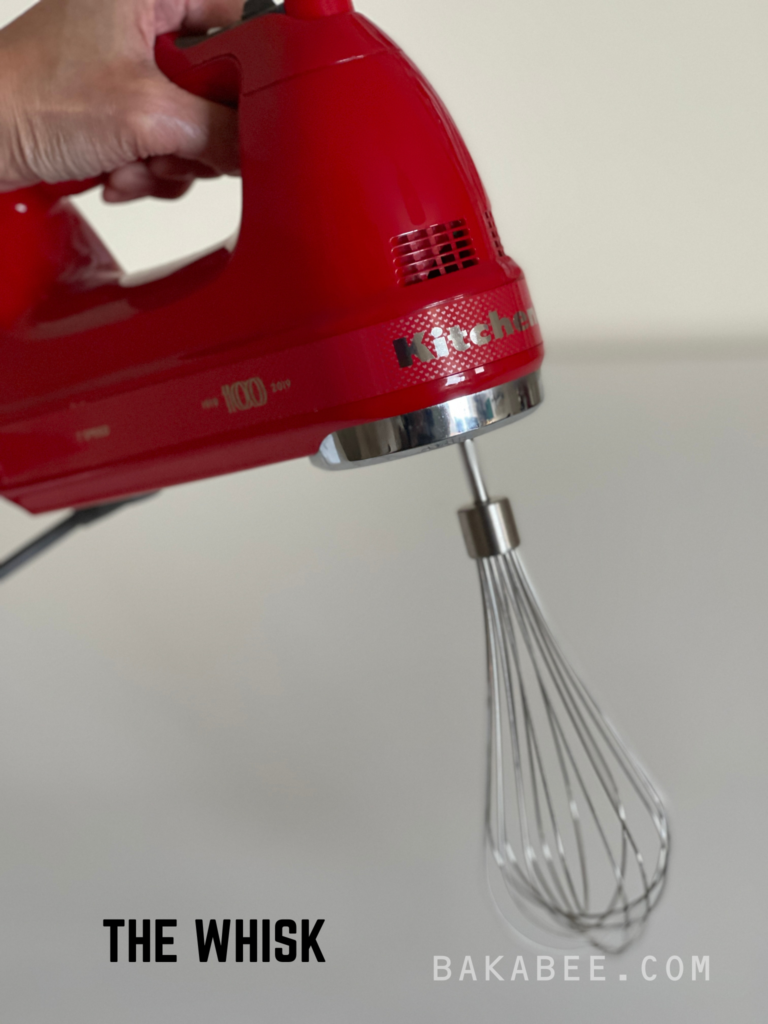
My baking buddy
Here is my KitchenAid 100 years limited edition hand held mixer (note: I am not sponsored to feature any brands, these are only the brands I have chosen from my own research). It’s lightweight and strong, with easy to control speed levels and is very comfortable to hold. I just love it. It’s been my baking partner for a long time now and it has never let me down. It’s suitable for all normal amounts of mixing (ie on a family scale).
I frequently use it for making cookies, cupcake and cakes. You can check out my Coffee Almond Cookies Two Ways or Dark Deluxe Brownies with Sea Salt Flakes to see how I use my baking buddy to create something very delicious.
However, one thing to note is that it does take a little longer to get mixing done to the desired consistency (compared with the stand mixer) due to its lesser power.
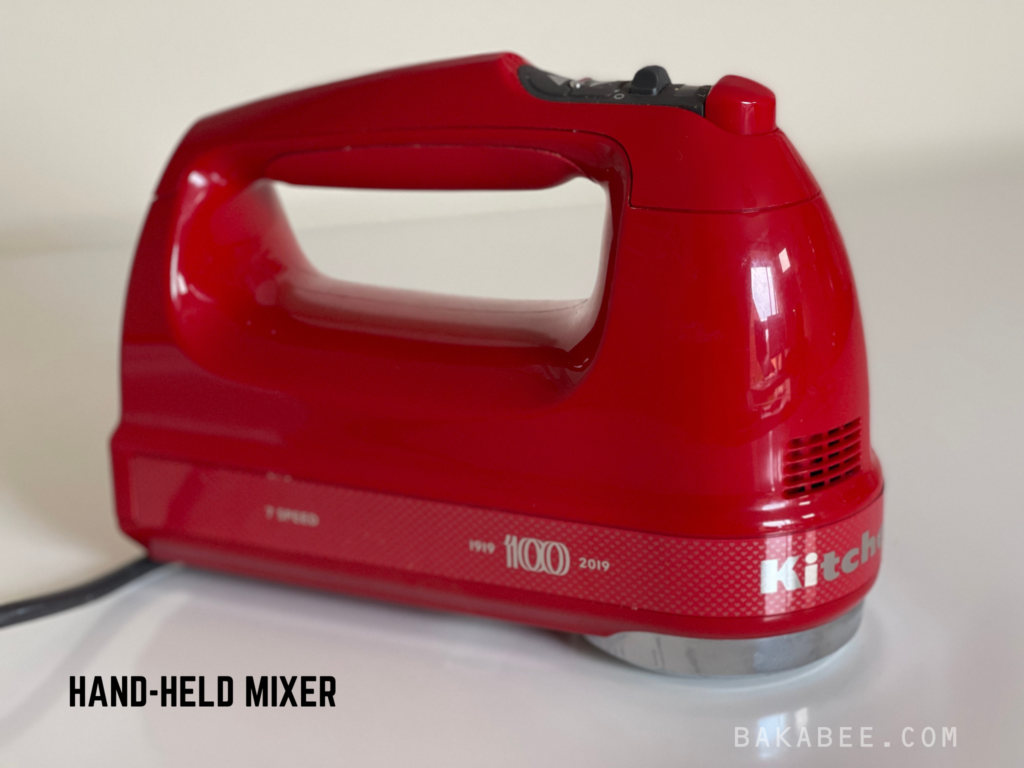
Conclusion: perfectly good for all family baking assignments, a less expensive option that might take just a little longer to blend and mix. Choose a quality brand.
Stand mixers
If you’re really serious about baking and you know that it’s not just a fad, you may consider investing in a stand mixer. The major benefit of using a stand mixer is that it gives you a free pair of hands to continue with other measuring or preparation jobs (or a nice cup of coffee!) while the mixer is doing its work. Stand mixers can also help with mixing, beating or kneading heavier and thicker batters or dough mixtures. On top of that, there are more options for accessories and attachments so a stand mixer can be more versatile in terms of usage.
You can check out my Nutella Braided Bread EASY recipe 2 Ways video tutorial to see how my stand mixer help me knead the bread dough with ease.
This is my KitchenAid 4.8L Tilt head stand mixer with a stainless mixing bowl and the pouring shield.
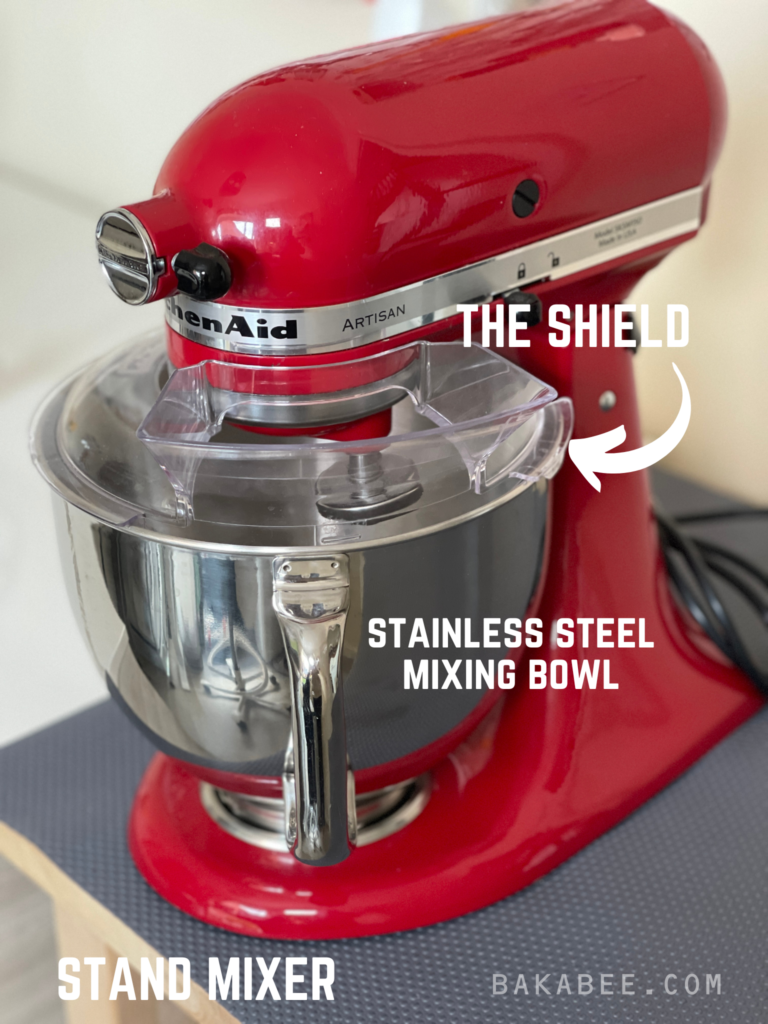
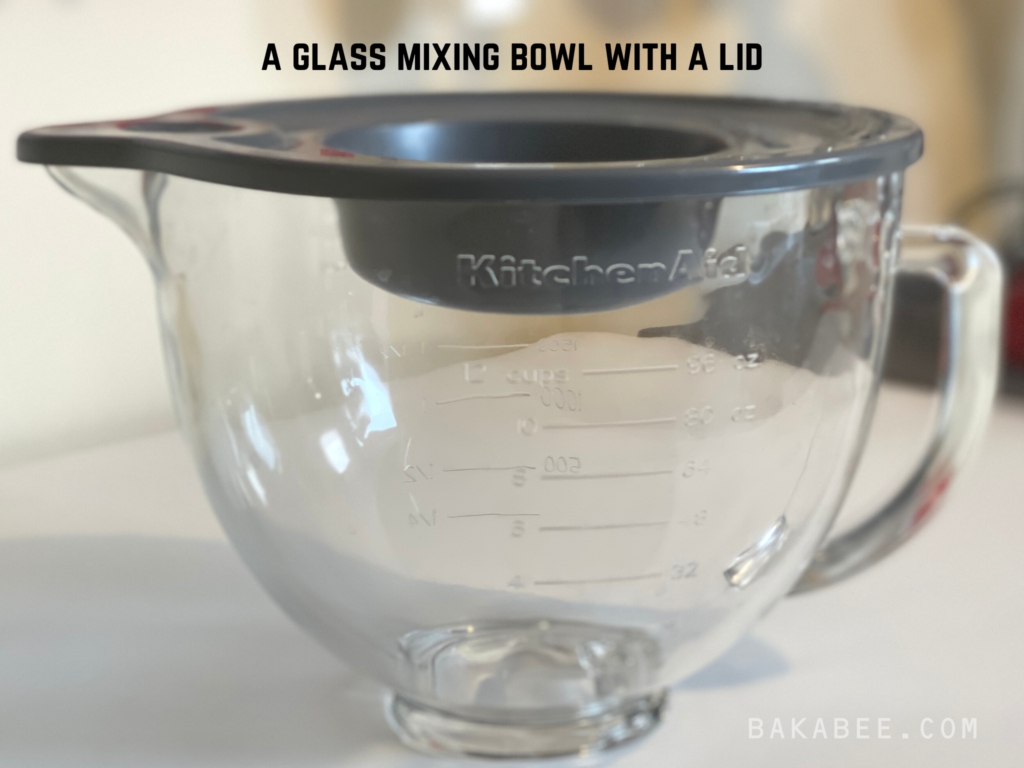
I bought one more KitchenAid mixing bowl because I used to bake a lot. I mean A LOT because of my baking business. This mixing bowl is made of glass. It comes with a lid which is very handy. I use it for proofing the bread dough or covering the royal icing from getting dry etc. However, if you think that your baking is on a family scale only, the standard stainless steel mixing bowl is probably enough.
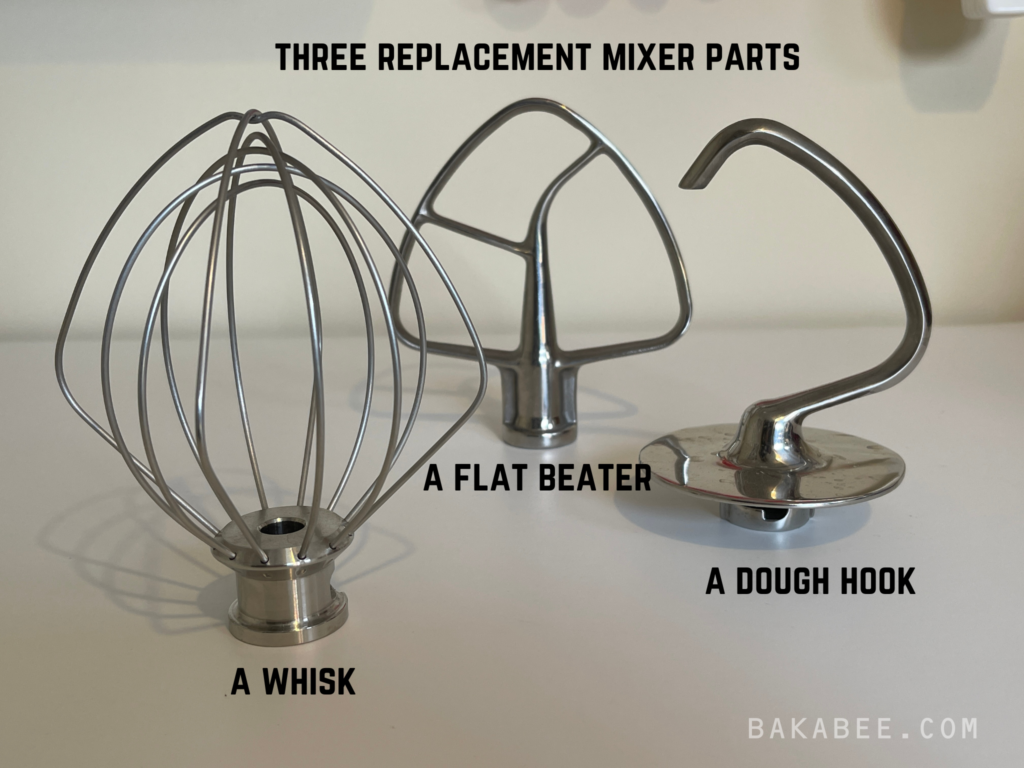
It comes with three replacement mixer parts, which are pretty standard. They are
- A flat beater – for all the mixing and beating jobs.
- A whisk – for whisking meringue and whipping fresh cream.
- A dough hook – for kneading bread dough.
KitchenAid stand mixers do have a wide range of attachment options to suit your baking and cooking needs. Here I have a vegetable slicer and shredder and a meat grinder. The attachments are simple to use, just needing to be attached to the power hub and then set to your desired speed. Grind or shred to create whatever dish you want from scratch. Love it!
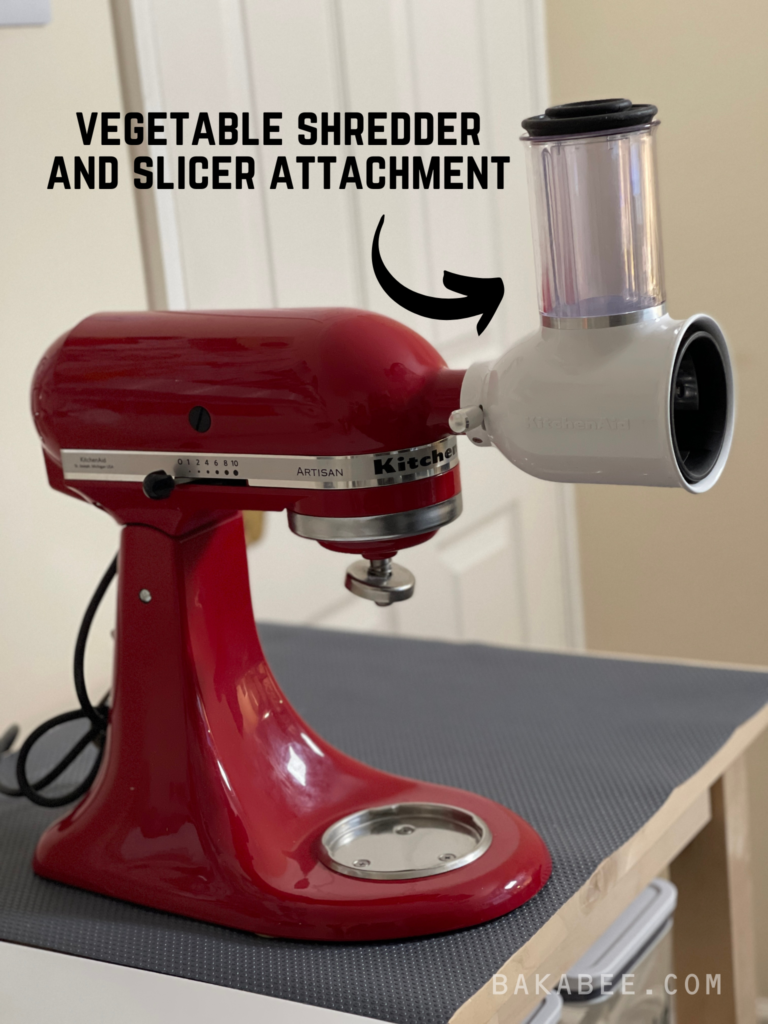
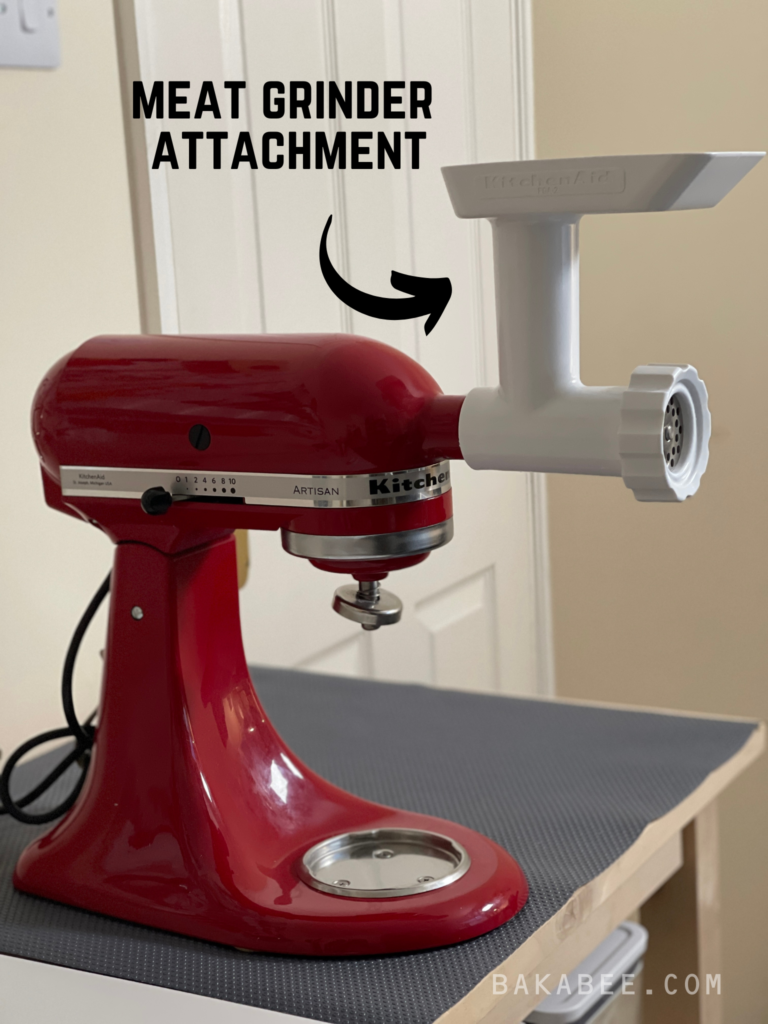
Conclusion: for committed bakers and cooks who will use the mixer and its accessories often enough to make it a value for money investment. Do some of the heavy lifting for you and leave your hands free. Choose a quality brand.
10 Essential Baking Tools – #2 Kitchen scale
A kitchen scale is a definite essential tool for baking and should always be of good enough quality to be accurate. However, there are a lot of choices on the market to choose from. Which one do you go for?
In my opinion, it doesn’t need to be fancy or expensive in order to be accurate. But I came up with TWO important factors that affected my choice:
- Lightweight – Scales need to be lightweight and portable because they need to be easy to move around the kitchen and store when not in use. Scales a single function device so they don’t need to be enormous!
- Easy to use – They need to be really easy to switch from one unit of measurement to another, for example, from ounces to grams. You don’t want to mess around with this in the middle of your bake – simplicity rules!
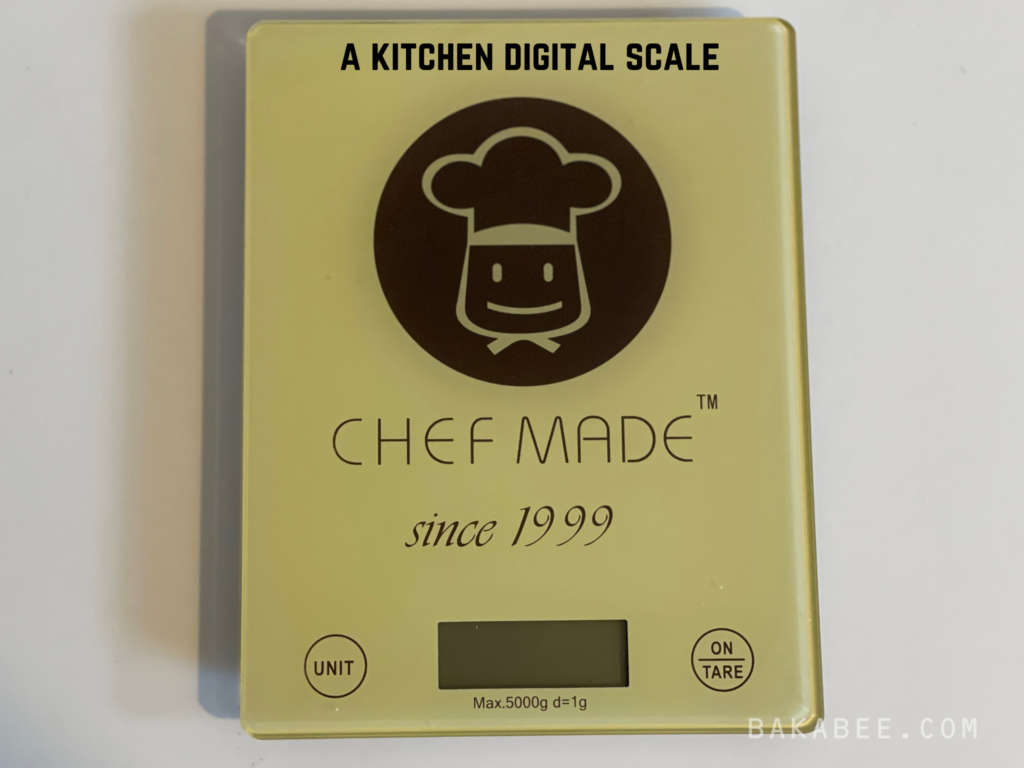
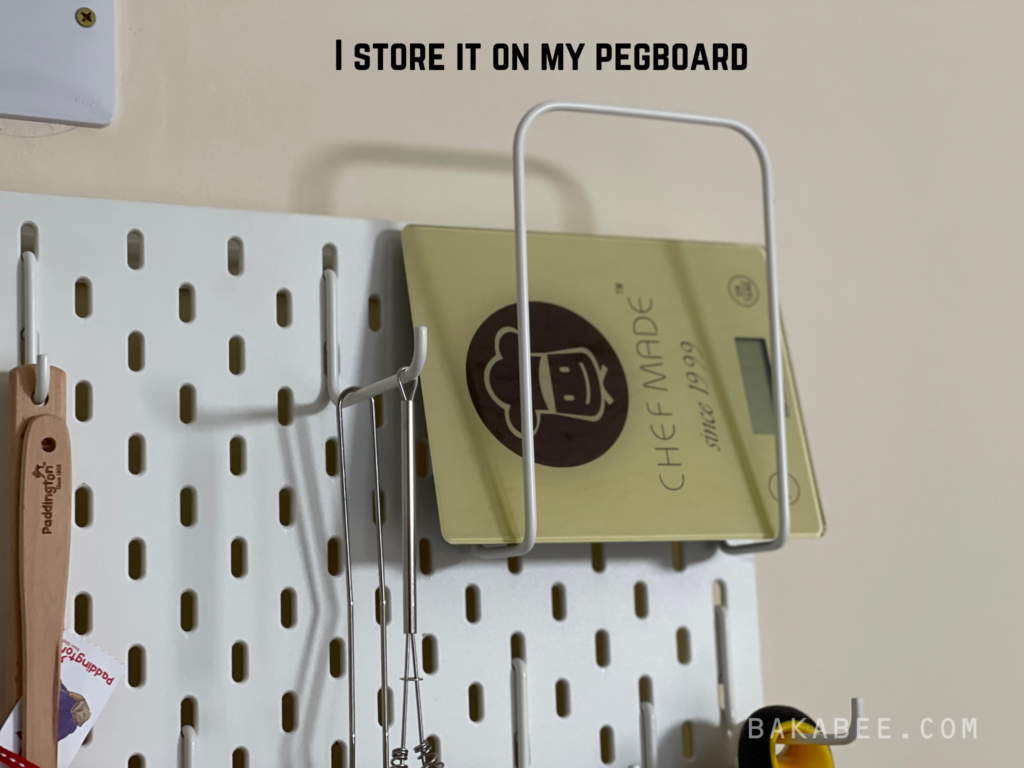
It is my kitchen digital scales which I’ve been using for years. This scale helps me does the job accurately and is totally reliable. It ticks the boxes for lightweight and thin. I store them on my pegboard, handy to grab and go whenever I need it.
10 Essential Baking Tools – #3 Measuring spoons & cups
Measuring spoons and cups are really useful in baking because they help us measure the exact amount of ingredients. Accuracy is the absolute priority in baking – it’s really about chemistry. If we just eye-ball the quantities of ingredients, I’m sure you don’t need me to explain what happens at the other end of the bake…disaster zone!
How do we choose?
Measuring spoons
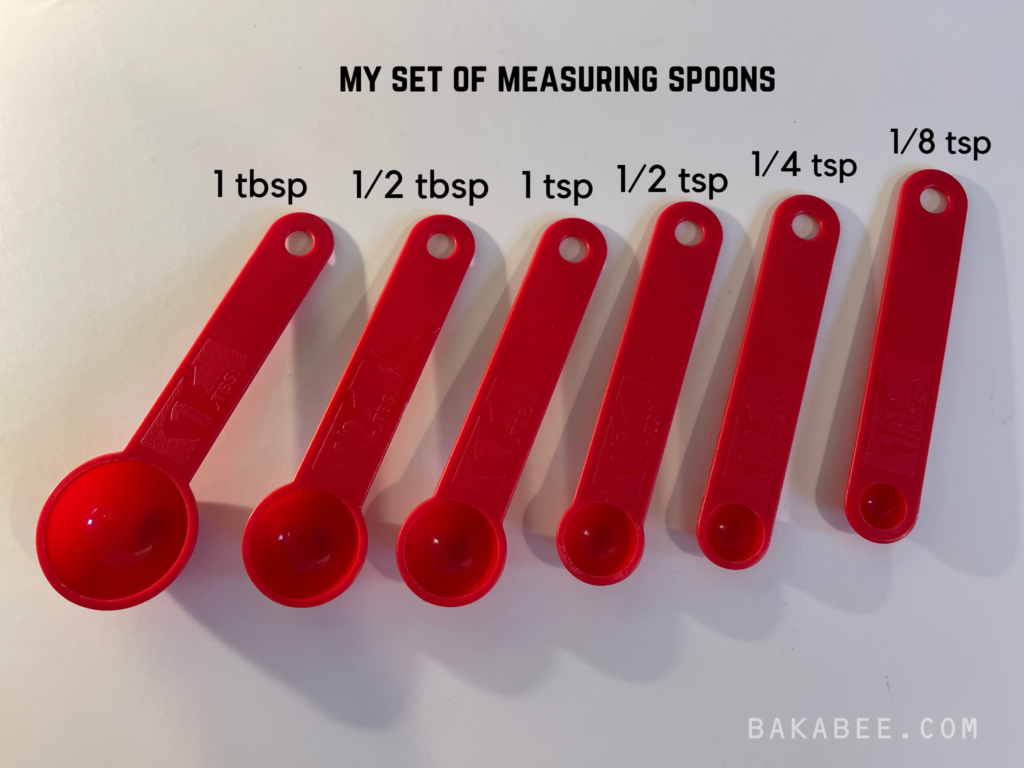
Measuring spoons always come in a set. I highly recommend you choose a set that includes a ⅛ tsp measure. The smallest in many sets is quite often ¼ tsp but if the recipe says that you need ⅛ tsp of baking powder and you don’t have that measure, all you can then do is use the ¼ tsp to measure half of it by eye. Welcome to the disaster zone… I like measuring my ingredients very precisely and I really recommend that you do the same thing. I use my ⅛ tsp to measure with precision when I need it, I recommend you get one.
Measuring cups
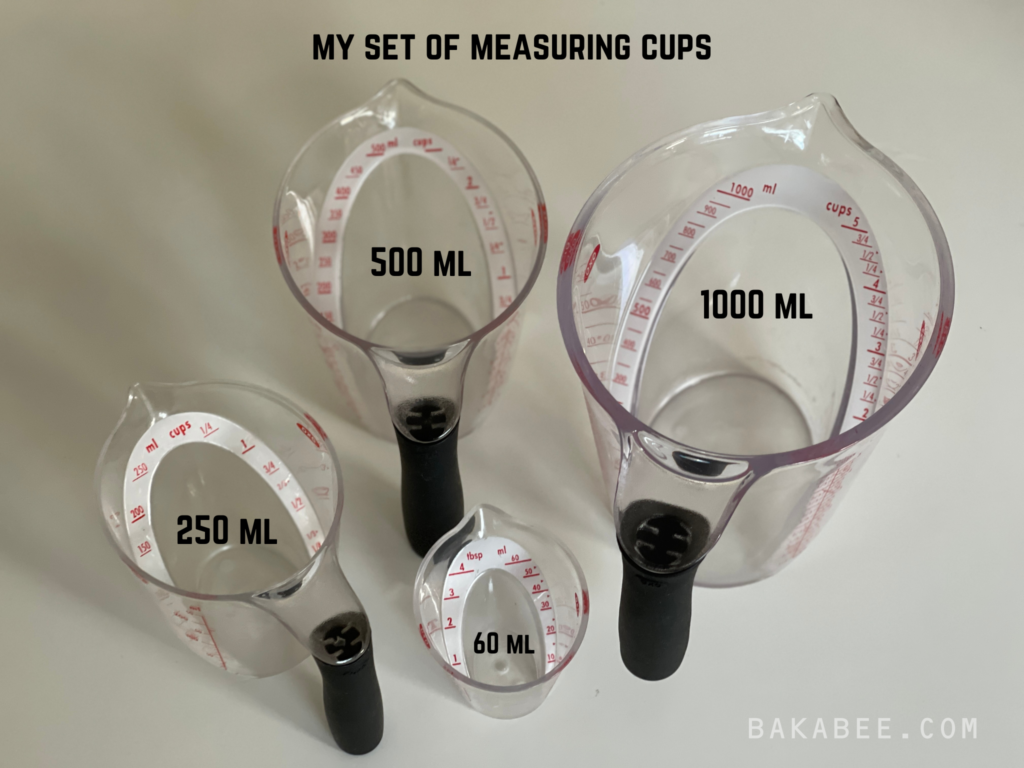
Measuring cups can be so varied in terms of price and design. However, no matter what design you choose, please invest in one that is heat-proof, either glass or plastic.
This is the set of measuring cups that I use (below), 60ml, 250ml, 500ml and 1000ml. I like them because the scale is angled so that it’s easier to see without moving the cups, as a result: more precise measurement.
10 Essential Baking Tools – #4 Silicone spatulas
Silicone spatulas are one of the must-have tools for baking. It’s a tool for mixing or stirring batter and the very best tool to clean a mixture or batter from the sides and bottom of a bowl without leaving precious ingredients behind. Again, there are a lot of choices on the market, different lengths, shapes, sizes and colours.
How to choose?
- Sufficient length – I use my spatulas most often when I need to scrape batter down the sides and the bottom of the mixing bowl. So the basic requirement is that it has to be slightly longer than the depth of the mixing bowl. However, if it’s too long, it’s quite hard to control so that won’t do the perfect job for you either. So long enough but not too long is the recommendation.
You do also need some shorter spatulas as part of the collection. Why? Because you’ll often need to stir or mix a smaller portion of batter or other ingredients. You don’t necessarily want a mixing bowl sized spatula to work in a small bowl.
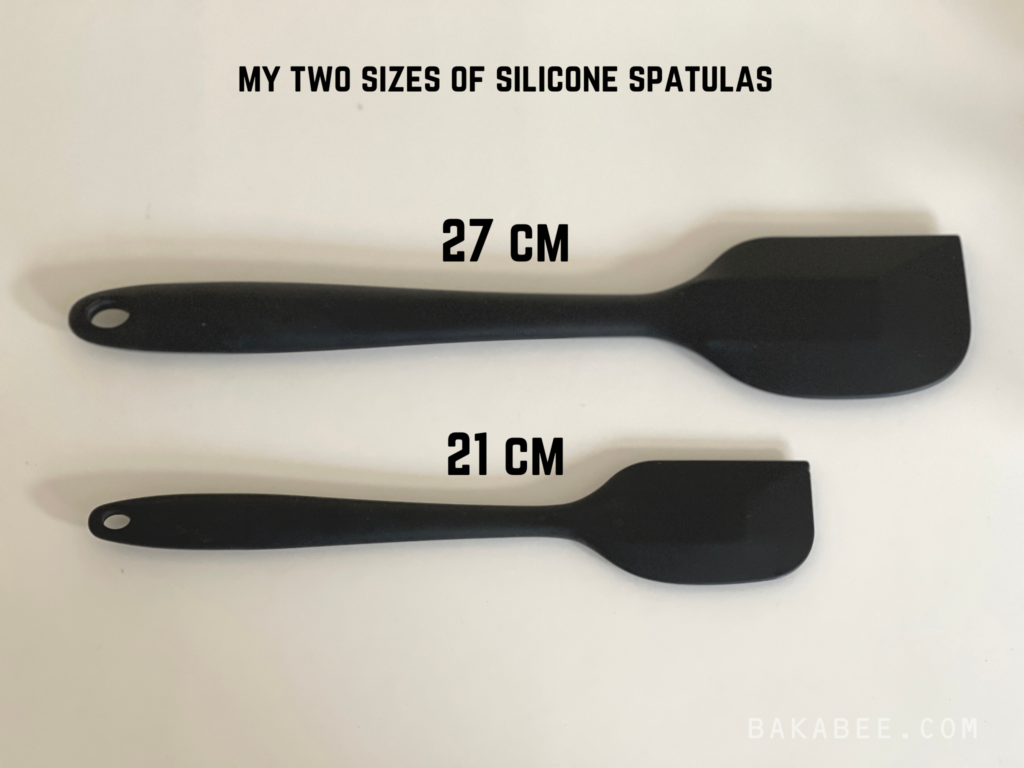
So here are my two recommended sizes of silicone spatulas. These are my 27 cm and my 21 cm spatulas.
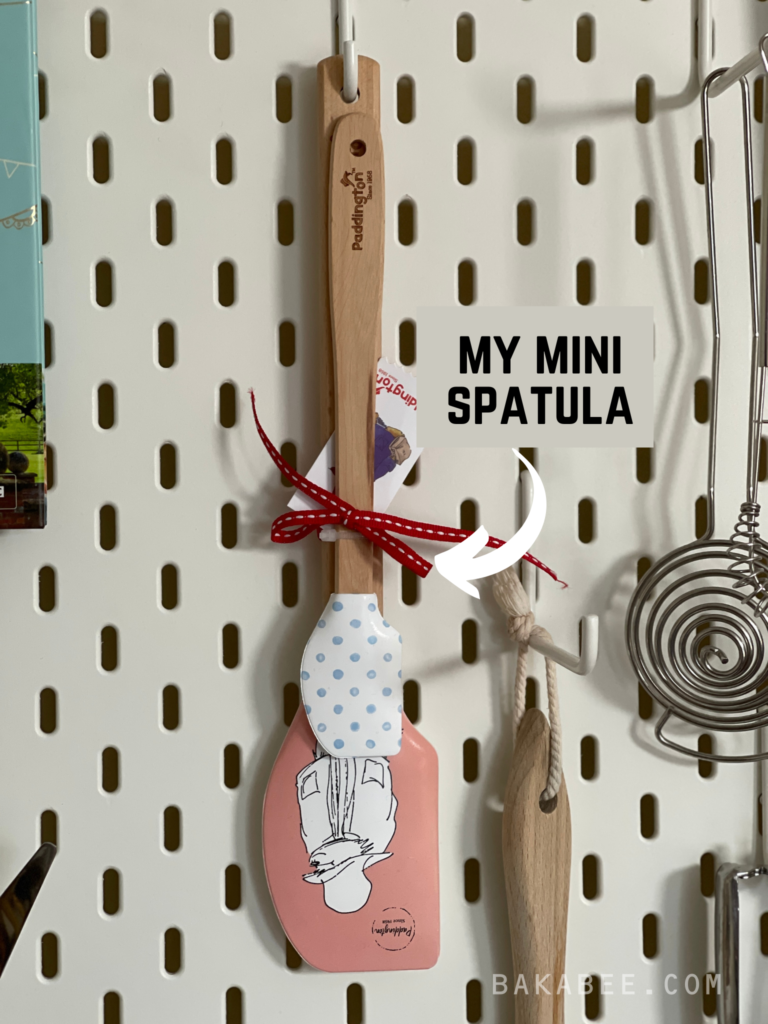
I confess I do have a few mini sized ones just for personal preference on specialist jobs – I actually have quite a large spatula collection, I can’t resist them!
- Sturdy handle – spatulas need to be strong enough to exert pressure because some doughs are quite thick and heavy. They need to be sturdy enough to mix, stir or fold all batters and doughs.
- Pliable and flexible head – the head needs to be flexible enough to get into the corners or sides of the mixing bowl, reaching the very last spec of ingredients. I have some that are more flexible for cleaning out and some that are stiffer for mixing.
- One-piece design – I prefer this seamless design more, although some designs come with wooden handles and look very pretty. For me, the one-piece is easier to clean, without any possibility of a tiny gap between the head and the stem where food and germs can get trapped.
10 Essential Baking Tools – #5 Mixing bowls
Mixing bowls are deep bowls for preparing and mixing ingredients. A shallow design is not a good idea for baking because it involves a lot of mixing, stirring, folding or whisking, sometimes with dry ingredients that can fly or wet ingredients that can splash. For me, these bowls need to meet the following FIVE criteria.
- Non-stain and odour-proof – buying a set of mixing bowls is a long term investment, they need to be non-stain and odour proof so they don’t leave any discoloration or lingering smells.
- Lightweight – it’s easier to pour or add mixtures or batter from one bowl to another if the bowl isn’t heavy. Otherwise you might end up needing two hands to hold the bowl, without a free hand to stir. Lightness gives flexibility.
- Heat-proof – bowls need to be heat-proof for cooking jobs such as making hot custard or being placed over simmering water to melt chocolate. Bowls which have a non-skid base (which I love for hand mixing) may not be ideal for this purpose so if you have the budget, you might choose a bowl for stability and another bowl for hot jobs.
- Microwave proof – it’s convenient to have bowls that can also be used in the microwave. The microwave is one of the essential home appliances for cooks. I use it all the time, no matter if it is for melting butter or chocolate, defrosting poultry or heating up food. We want our mixing bowls to have maximum versatility.
- Stackable – bowls need to be stackable for more efficient storage. Mixing bowls often come in a set of different sizes. If you invest in a set it can just take up one space for maybe three, five or even nine mixing bowls. Also, it will make your cabinet look tidier (I love tidy!).
Using the same dishware is one of my ultimate organisation tips. I explain it in detail in my video How to stay organised in my baking room. If you want to know the other nine tips, please check this out.
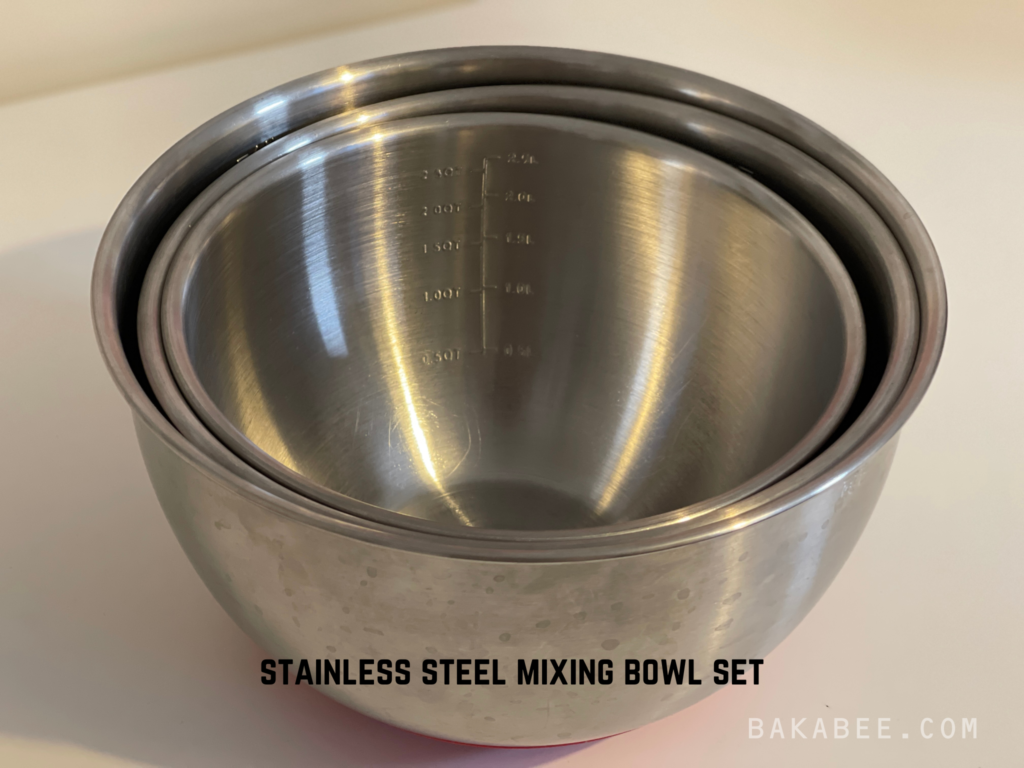
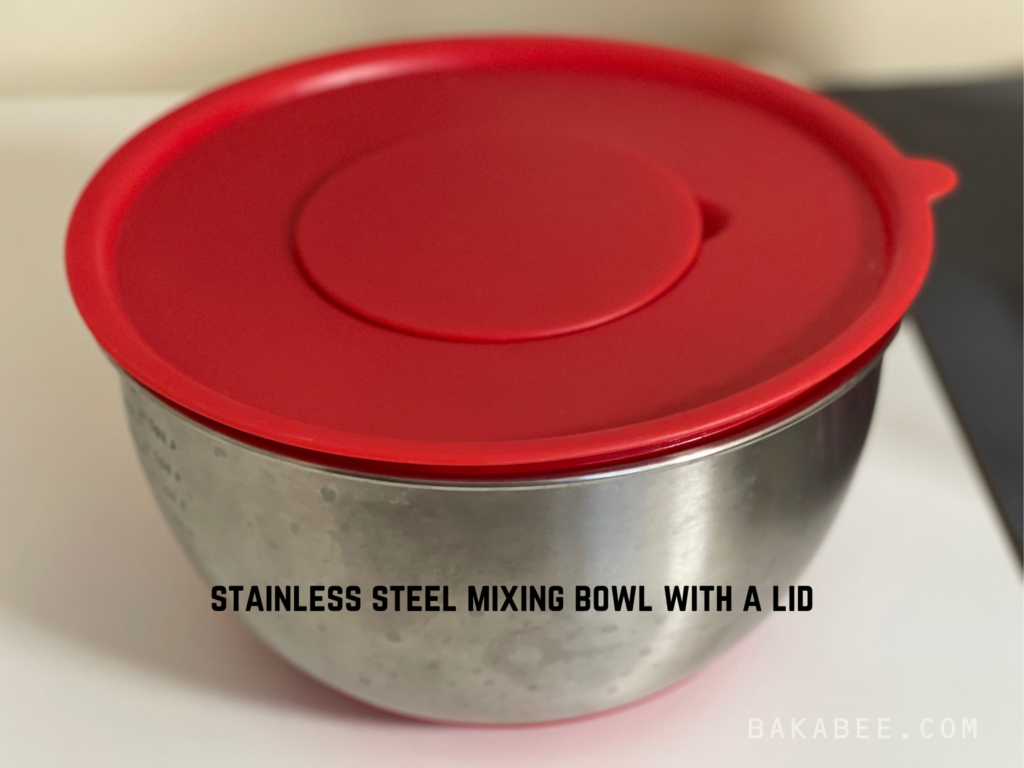
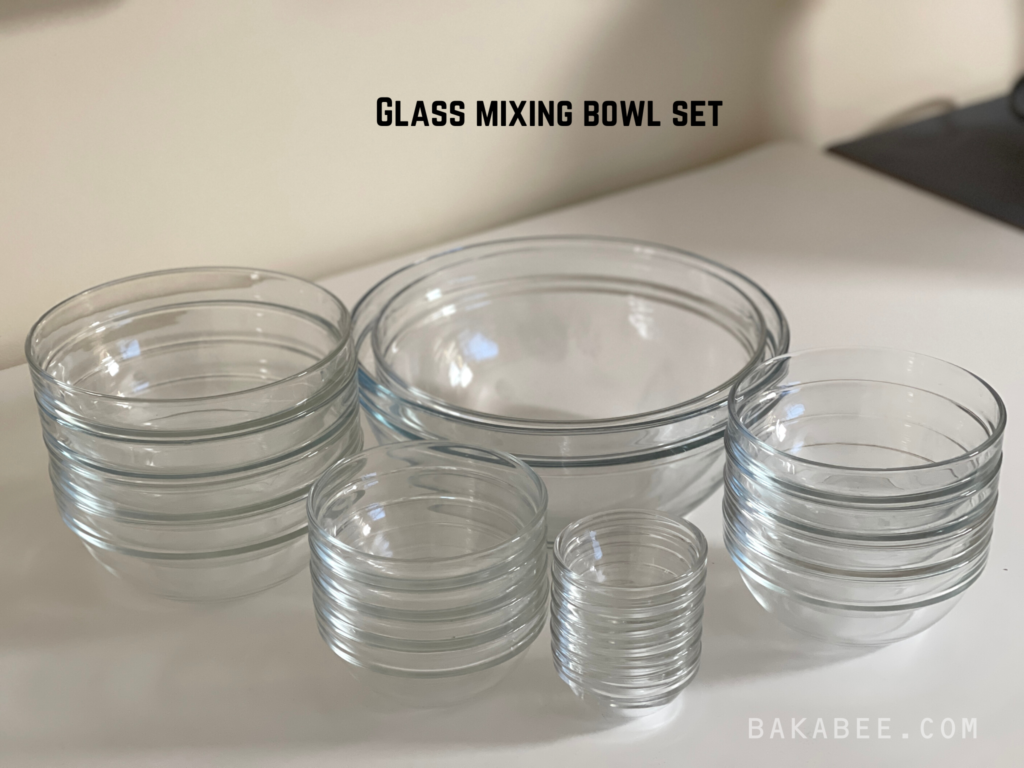
These are my two sets of mixing bowls. One set is made of stainless steel with lids, while the other set is made of glass.
The reasons for choosing the stainless steel mixing bowls
The stainless steel one is lightweight, stackable, non-stain and odour-proof. Because they come with lids, they are very handy for proofing bread dough or keeping dough moist, avoiding the use of cling film which is more environmentally friendly.
The reasons for choosing the glass mixing bowls
- The glass set is also non-stain and odour-proof, heat-proof, microwave proof and stackable. I invested in this glass set particularly because they are better for filming my videos, making it easier for my audience to see the ingredients. The downside is that they are not lightweight, especially the biggest one, which I find quite challenging to hold with one hand. As I’ve said earlier, this does make it hard to pour a mixture while scraping it down with a spatula in the other hand, so be warned!
- The other reason for investing in a glass set is that this design comes with a wide range of sizes. Here I have six sizes for different purposes. This means you don’t need to explore other designs to get the right size for a particular purpose; as a result, stackable bowls end up giving you a more organised cupboard and save storage space.
Save it to Pinterest for later
Thank you very much for stopping by. You can watch my 10 essential tools for home baking video tutorial to hear me talking about these ideas. I hope that my suggestions here can give you some ideas on where to start, what to invest in or how to choose the essential tools for your baking journey.
Please check out my Part 2 – the next 5 essential baking tools to see the all 10 essential baking tools to help you kick off your wonderful baking journey!
Please leave me comments if you have any questions. I would love to chat with you!
Happy Baking!

