Share this!
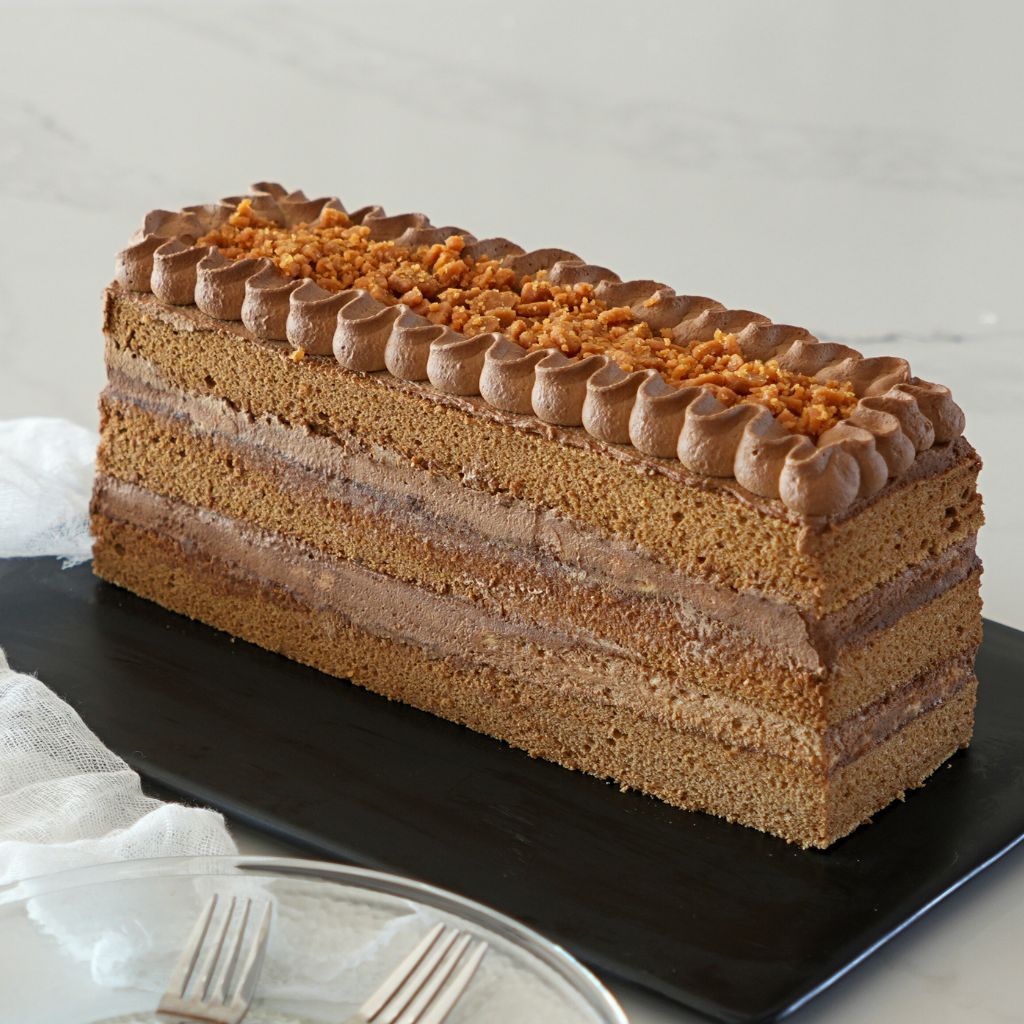
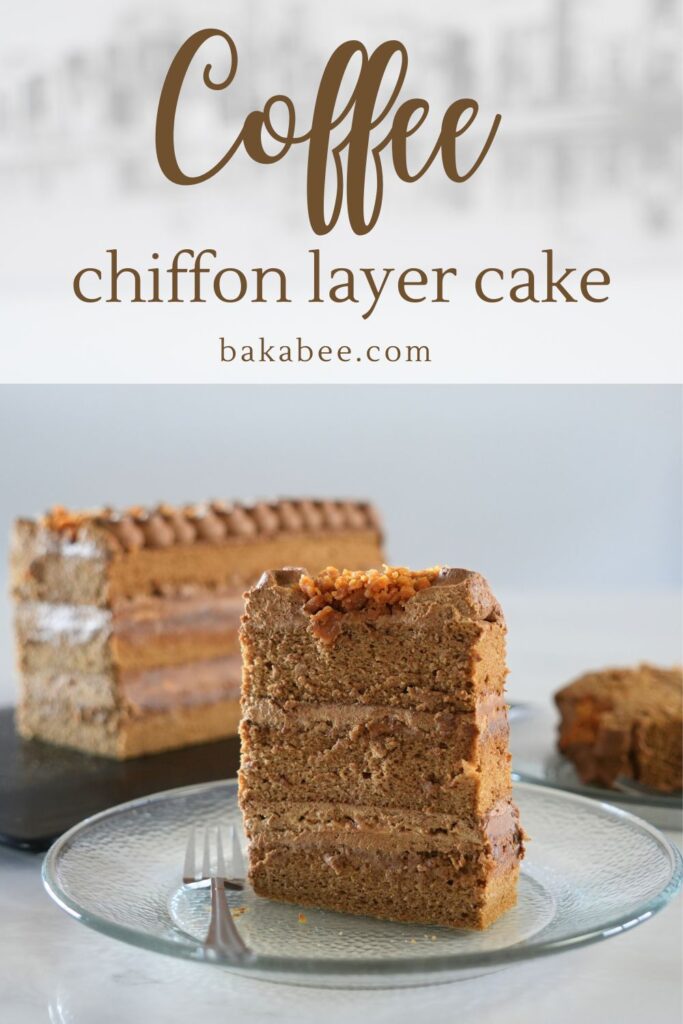
Imagine this Coffee Chiffon Layer Cake, before actually bake it! ☕✨
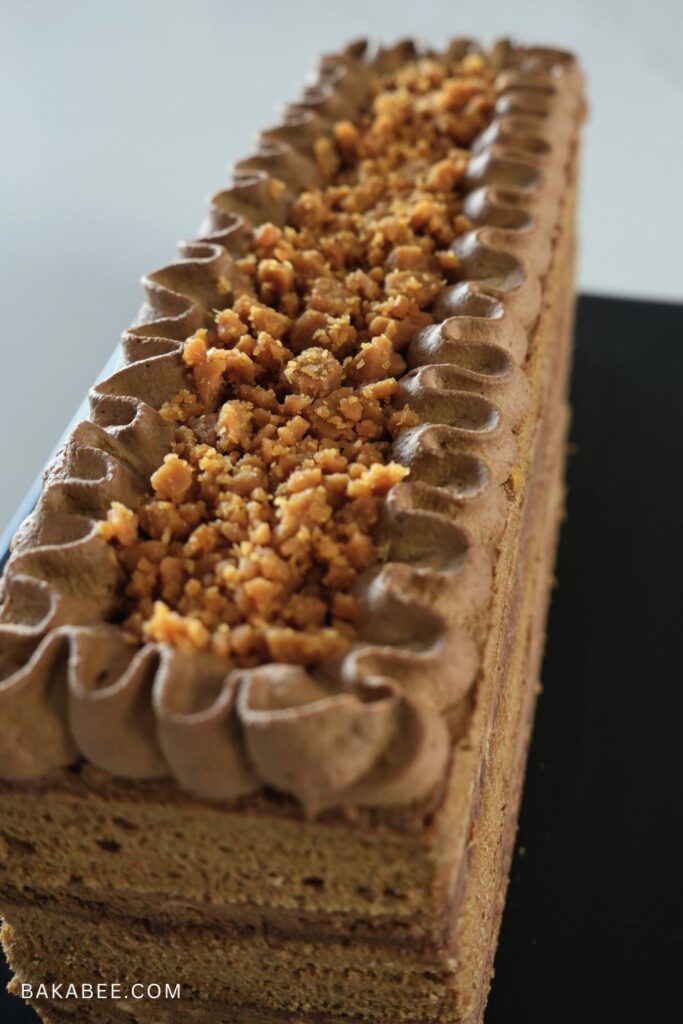
Layers of soft, airy coffee chiffon cake, not only filled with silky coffee whipped cream but also crunchy toffee in every layer. The perfect balance of lightness, creaminess, and a satisfying crunch in every bite!
This isn’t just a cake — it’s a coffee lover’s dream transformed into a showstopping dessert.
Ready to make it yourself? Let’s dive in!
Why you’ll like this Coffee Chiffon Layer Cake recipe
- Incredible Coffee Flavour – Every layer is infused with rich, aromatic coffee, making it a dream dessert for coffee lovers.
- Soft & Airy Texture – Chiffon cake is known for its light, fluffy crumb that practically melts in your mouth. Who doesn’t like it?
- Silky Coffee Whipped Cream – A smooth and creamy filling that enhances the coffee flavour without being too heavy.
- Crunchy Toffee in Every Layer – The contrast of textures between the soft cake, fluffy cream, and crisp toffee bits makes each bite exciting.
My go-to favourites
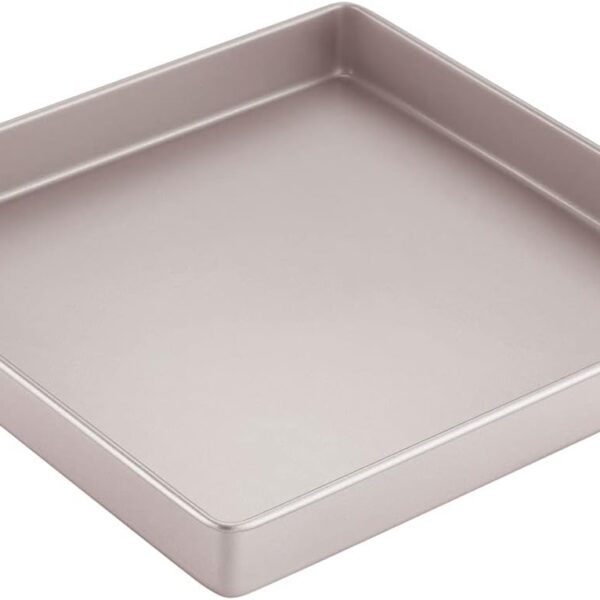 Buy Now →
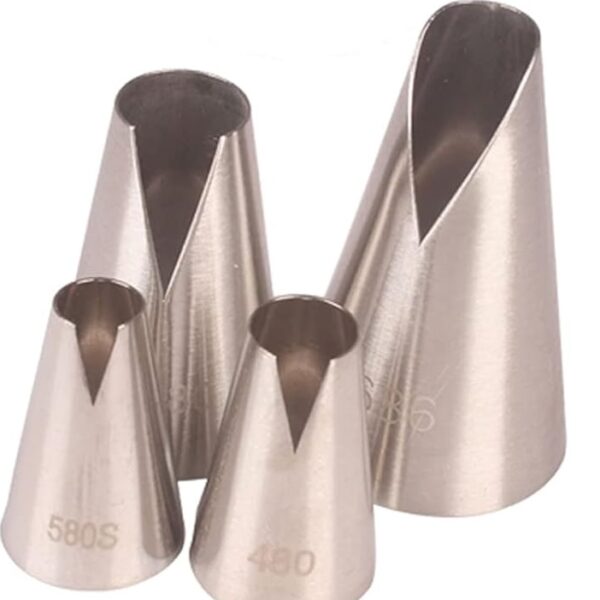
V-Shape Wave Piping Tips 4 Pcs
Buy Now →Ingredients for coffee chiffon cake
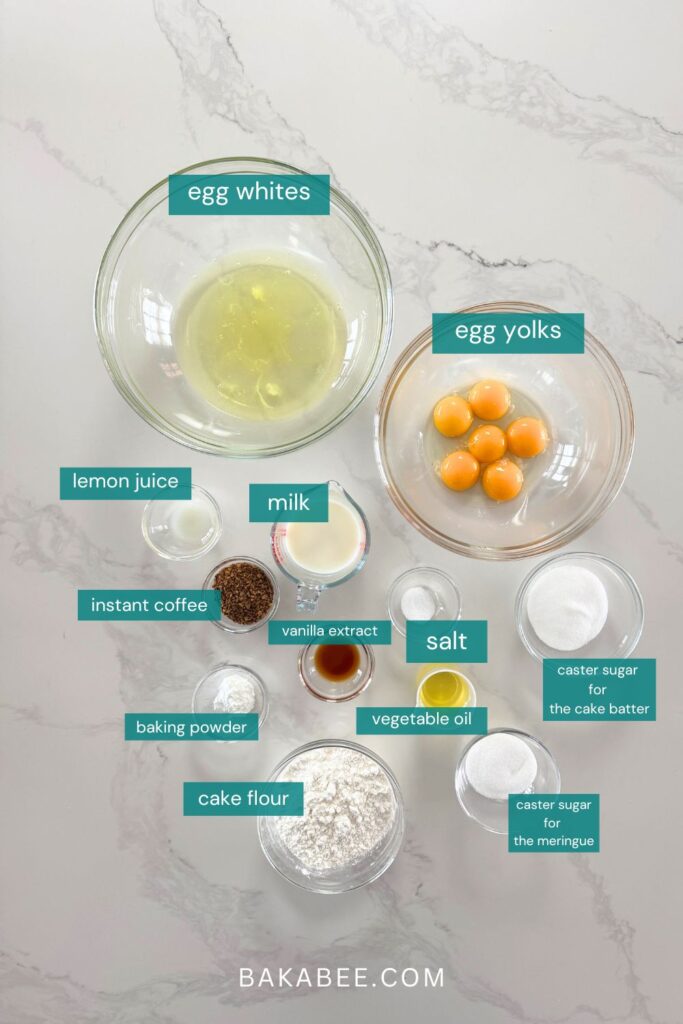
For the cake batter
- egg yolks
- caster sugar
- milk
- vegetable oil (or any flavourless oil)
- vanilla extract
- cake flour (sifted)
- salt
- baking powder
- instant coffee – dissolved in hot milk first
For the meringue
- egg whites
- caster sugar
- lemon juice ( or vinegar / cream of tartar )
For the coffee whipped cream
- double cream ( contain at least 33% fat) – gentle heat it to dissolve the instant coffee
- icing sugar
- instant coffee – dissolve in double cream to make coffee solution
- vanilla extract
- a pinch of salt
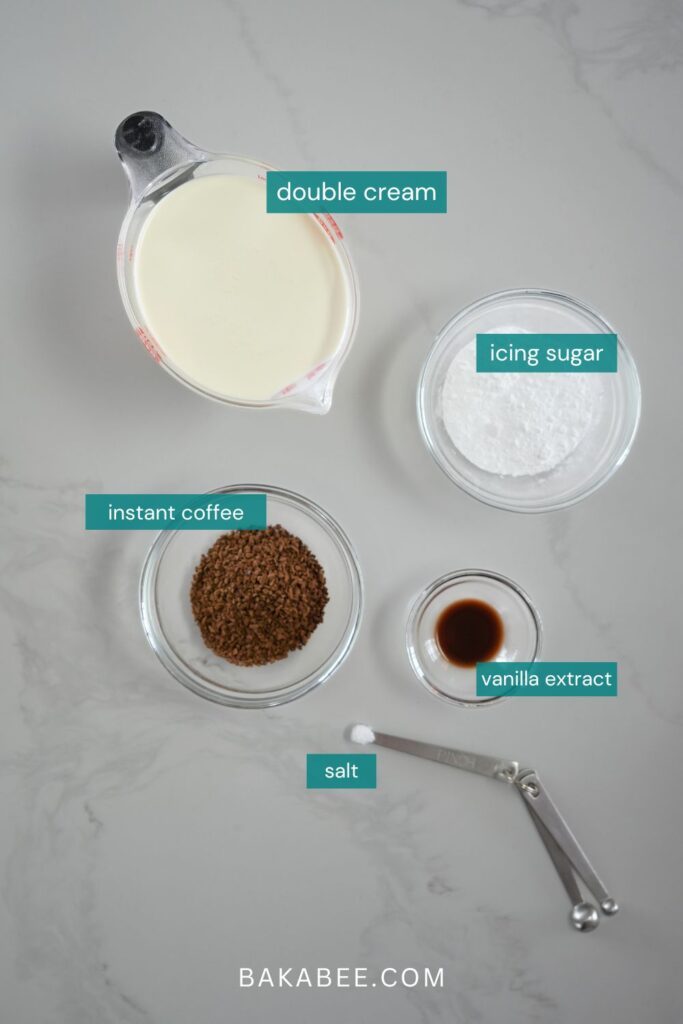
At a glance: Here is a quick snapshot of what ingredients are in this recipe. Please see the recipe card below for specific quantities
Step-by-step: How to make coffee chiffon cake
Here are some key tips for making the perfect coffee chiffon cake ! Be sure to scroll down to the printable recipe card for the ingredient amounts and watch my step-by-step video tutorial for a complete guide to learn how to make this lovely cake!
Chiffon cakes mainly have two parts of making the whole batter. We sometimes need to dissolve any kind of dry ingredients before mixing into the cake batter for easier mixing purpose. For this recipe, we need to dissolve the instant coffee in the hot milk before making the batter.
The first part is beating an egg yolk batter made with egg yolks, liquid (milk / oil), dry ingredients (flour / leavening agent).
The second part is whisking the meringue made with egg whites, stabiliser (lemon juice / vinegar / cream of tartar) and sugar.
Preparation
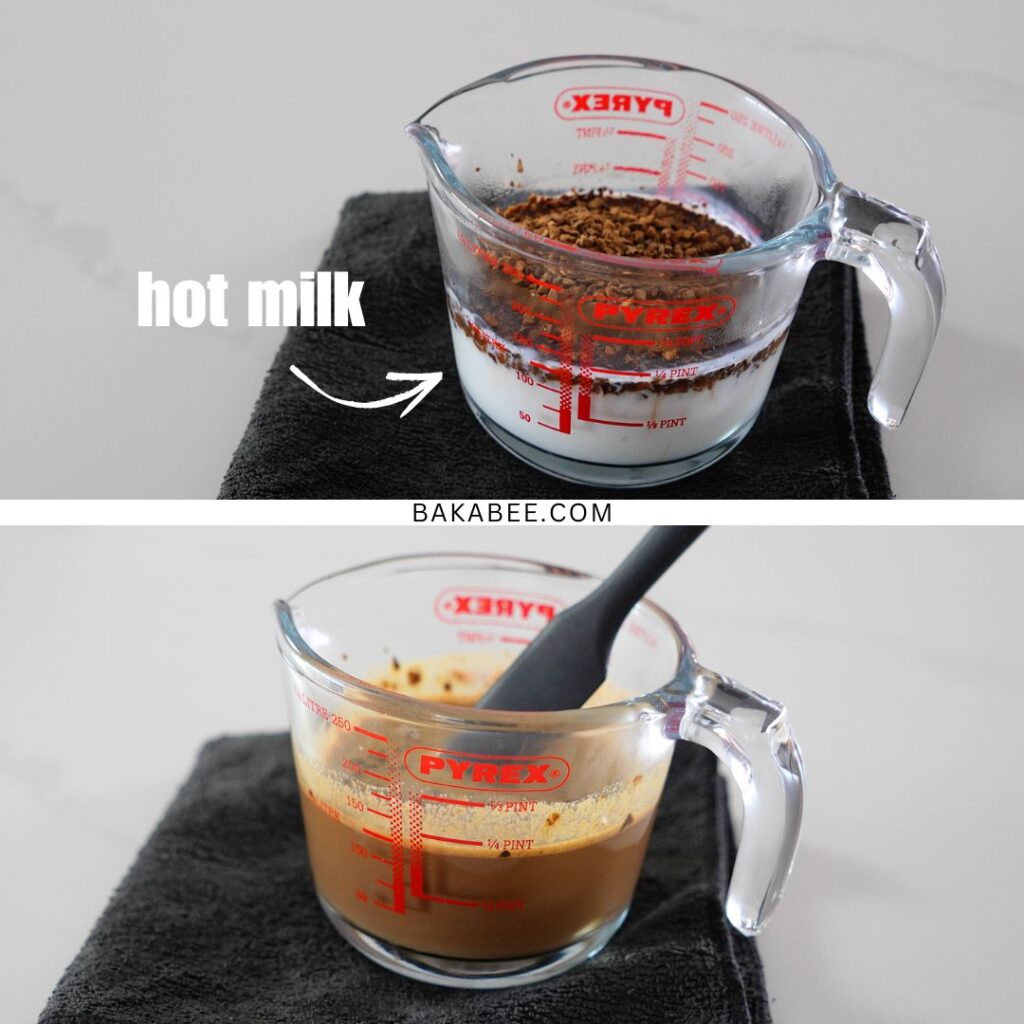
Microwave the milk for 30 seconds or until it is hot and add instant coffee.
Stir well until the coffee dissolves completely. Let it cool.
Once the preparation is done, we now can move on to Part 1, which is making the cake batter.
Part 1: Make the batter

Step 1: Add egg yolks and sugar in a medium mixing bowl.
Step 2: Beat the yolks until thick and fluffy and the sugar has dissolved.
Step 3: Add oil and vanilla extract.
Step 4: Beat the mixture until emulsified. It means blending everything together smoothly and creating a uniform mixture.

Step 5: Once blended, add the cooled coffee-infused milk.
Step 6: Mix until well incorporated.
Step 7: Sift in cake flour to help remove lumps and aerate the mixture for a light, fluffy cake.
Step 8: Add a pinch of salt.

Step 9: Mix at medium-low speed until everything is just combined.
Step 10: Once all the dry ingredients are ALMOST incorporated, stop the mixer.
Step 11: Finish mixing by hand to avoid over mixing.
Step 12: You’ll notice that it’s done when there isn’t any visible streaks of flour.
Part : Whisk the meringue

Step 13: Place the egg whites in a clean, grease-free, dry bowl and add lemon juice.
Step 14: Start whisking at medium-low speed until foamy.
Step 15: Gradually add caster sugar, around one-third at a time, give 30 seconds or so between each addition to allow the sugar to dissolve.
Step 16: Once all the sugar is added, turn the mixer to medium-high speed and continue to whisk until stiff peaks form.

Step 17: Add a small portion of meringue to the yolk batter to loosen it.
Step 18: Add a small portion of meringue to the yolk batter to loosen it.
Step 19: Whisk until no white no white streaks remaining.
Step 20: Then add the next portion.

Step 21: Be patient, keep folding gently.
Step 22: When all the meringue is fully incorporated, the batter becomes airy and velvety.
Step 23: Line only the bottom of the pan, leaving the sides un-greased.
Step 24: Pour the batter into the prepared pan.

Step 25: Use an offset spatula to level the batter for even baking.
Step 26: Especially around the edges and the corners.
Step 27: Before baking, lift the pan a few inches off the work surface and tap it down to release any trapped air pockets in the batter.
Step 28: Bake in a preheated oven for 10 – 12 minutes.
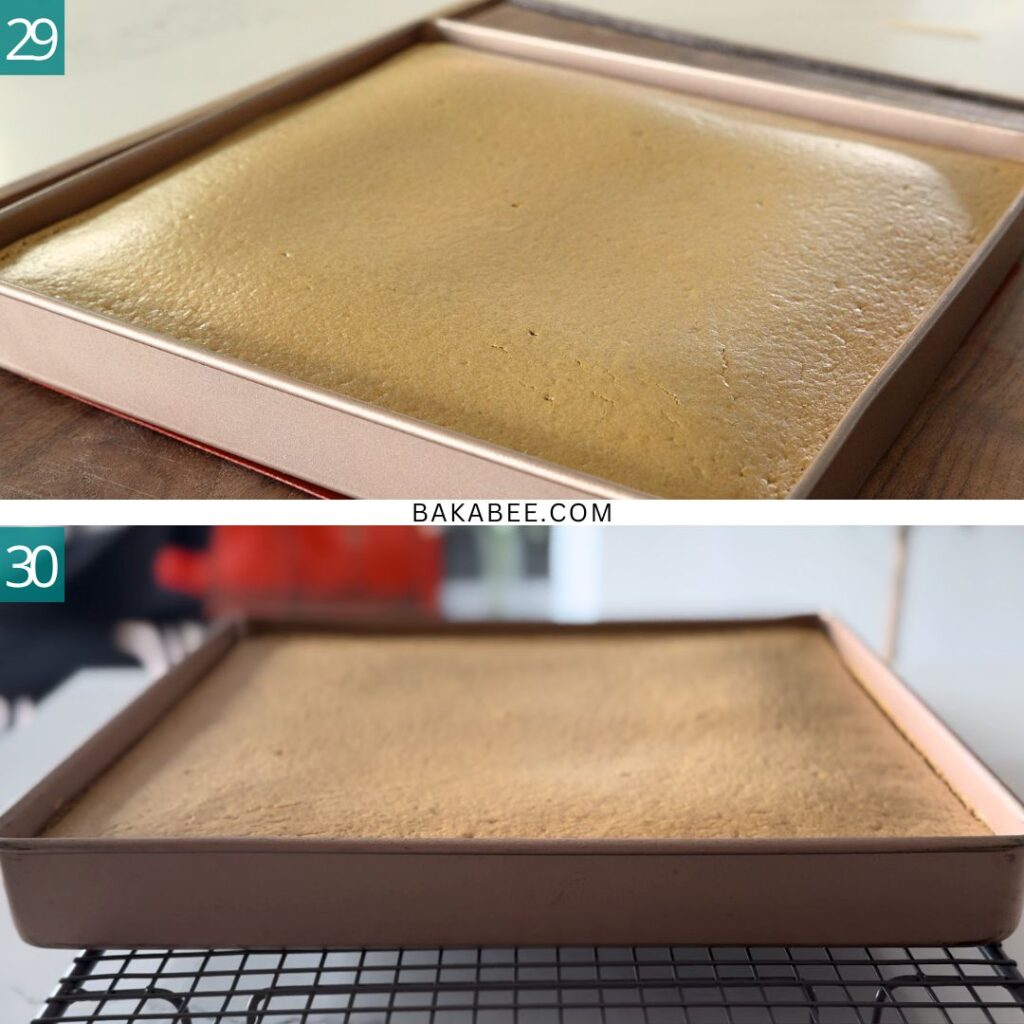
Step 29: You can check for doneness by inserting a skewer into the centre and it comes out clean. Once it’s done, remove it from the oven immediately.
Step 30: Let the cake cool completely in the pan. As you can see, the cake has no sign of deflating, which is exactly I was hoping for.
Tips for making the BEST coffee chiffon layer cake
- Use the Right Coffee – For a deep coffee flavour, use instant coffee or espresso powder dissolved in warm water. Avoid adding too much liquid, as it can affect the cake’s texture.
- Whip Egg Whites to the Right Stage – The secret to chiffon cake’s airy texture is properly whipped egg whites. Beat them until soft peaks form, then gradually add sugar and continue whipping until glossy, stiff peaks form.
- Gently Fold the Batter – When folding the whipped egg whites into the batter, use a whisk and a gentle hand to avoid deflating the air, which keeps the cake light and fluffy.
- Ungreased the Sizes of the Pan – Chiffon cakes need to cling to the sides of the pan as they bake. I prefer to line just the bottom of the pan and leave the sides ungreased. This helps the cake rise properly and makes it easier to remove from the pan after baking.
- Don’t Rush the Cooling Process – Let the cake cool completely before removing it from the pan. If it’s still warm, it may stick or tear apart.
How to serve this Coffee Chiffon Layer Cake
- Chill Before Serving – Let the assembled cake rest in the fridge for at least an hour to allow the flavours to meld and the coffee whipped cream to set. This makes slicing easier and enhances the taste.
- Use a Sharp Knife – For clean slices, use a sharp, serrated knife and wipe it clean between cuts to keep the layers neat.
- Plate with a Finishing Touch – Serve each slice with a light dusting of cocoa powder, extra toffee crunch, or a drizzle of coffee syrup for added flavour.
- Pair with a Drink – This cake goes beautifully with a cup of black coffee, a latte, or even a glass of cold brew to complement its deep coffee notes.
- Serve at the Right Temperature – If stored in the fridge, let the cake sit at room temperature for about 10 – 15 minutes before serving to bring out the best texture and flavour.
Check out the video tutorial
Recipe Frequently Asked Questions
Make sure to whip the egg whites to stiff peaks and gently fold the meringue in with a light hand.
Instant coffee or espresso powder is recommended because it provides a stronger flavor without adding extra liquid. If using brewed coffee, reduce the amount of other liquids in the recipe to prevent the batter from becoming too thin.
Yes! You can bake the chiffon cake a day in advance and store it wrapped at room temperature. The whipped cream and assembly should be done on the day you plan to serve it for the best texture.
If you want a different flavour pairing, try vanilla whipped cream, chocolate ganache, or mascarpone frosting for a delicious twist.
More chiffon cake recipes you might like
Light, airy, and perfectly fluffy, with a delicate vanilla flavour. It’s the ideal balance of sweetness and texture.
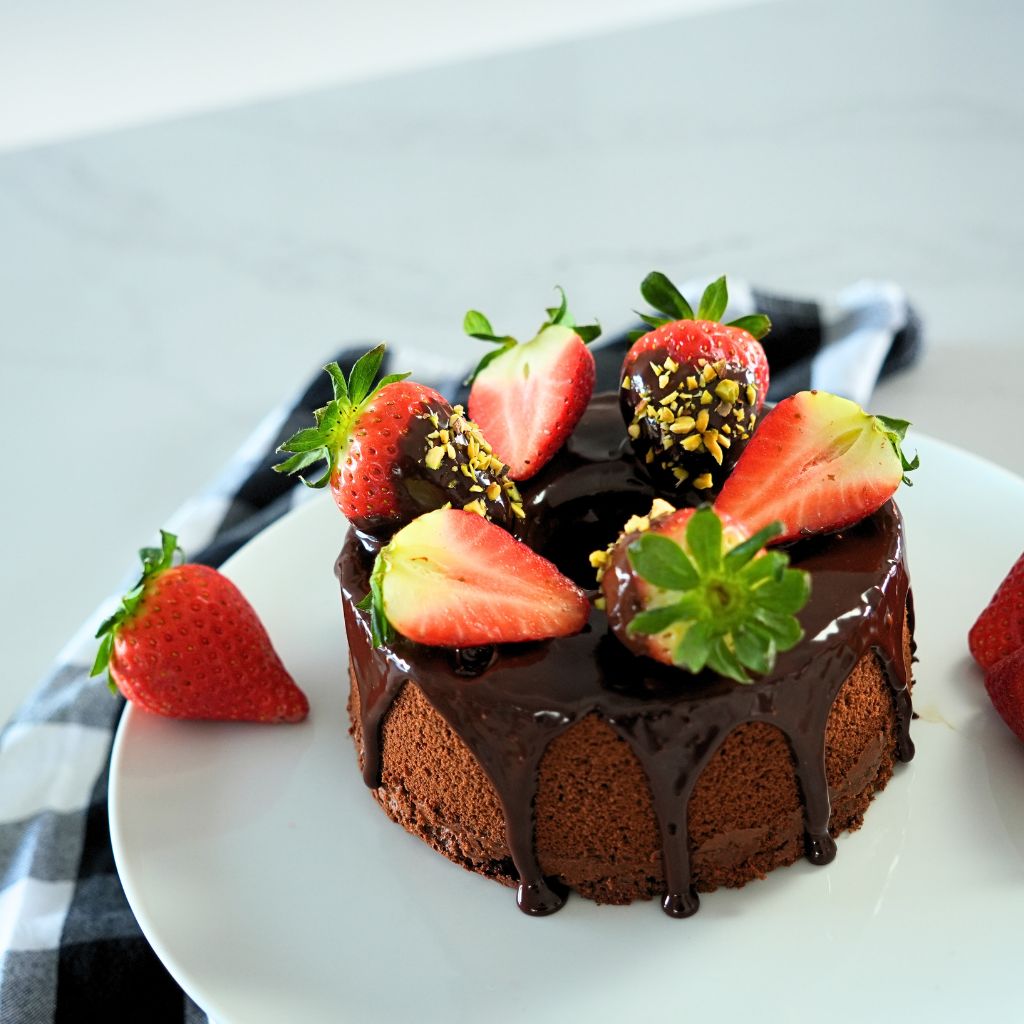
Chocolate Chiffon Cake
Rich and moist, with a light, airy texture. Topped with velvety chocolate ganache and fresh strawberries, it’s a decadent treat!
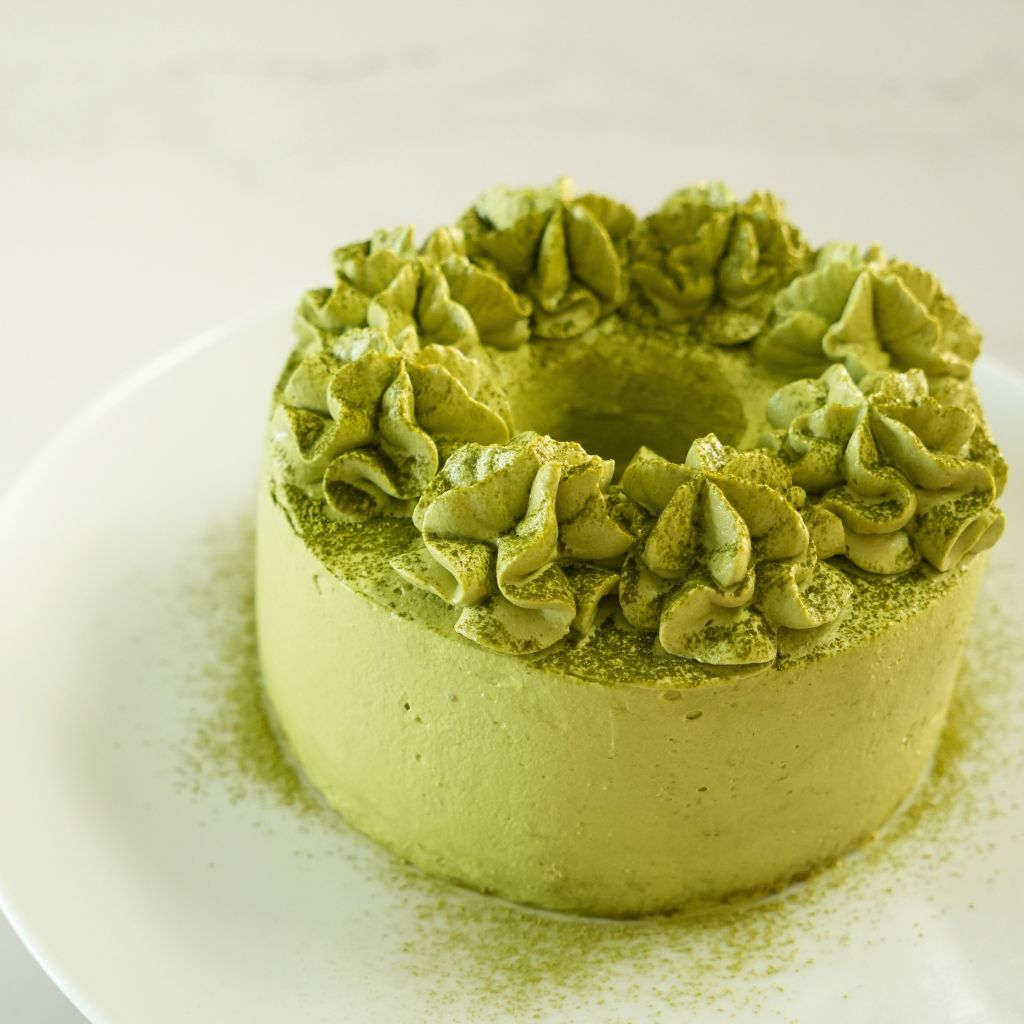
Its soft, delicate crumb pairs beautifully with a smooth, slightly sweet finish, making it a perfect treat for matcha lovers.
Did you make this recipe?
Let me know if you try out this recipe – I love seeing your creations! Tag me on Instagram @bakabeecom and be sure to leave me a comment / ⭐️⭐️⭐️⭐️⭐️ rating below!
Coffee Chiffon Layer Cake
- Author: Bakabee
- Prep Time: 1 hour
- Chill Time: 2 hours 15 mins
- Cook Time: 12 mins
- Total Time: 3 hours 27 minutes
- Yield: 1 3-layered cake 1x
- Category: cake, desserts, afternoon tea
- Method: Bake
- Cuisine: Western, Asian
Description
This coffee chiffon cake is light, airy, and packed with bold coffee flavour. Paired with a luscious coffee whipped cream and a crunchy toffee topping, it’s an irresistible twist on a classic chiffon cake!
Ingredients
For the cake batter
- 6 egg yolks
- 30 g caster sugar
- 100 ml milk
- 60 ml vegetable oil
- 1 1/2 tsp vanilla extract
- 150 g cake flour (sifted)
- 1/2 tsp salt
- 1 tsp baking powder
- 15 g instant coffee
For the meringue
- 6 egg whites
- A few drops of lemon juice
- 50 g caster sugar
For the coffee whipped cream filling
- 500 ml double cream (chilled)
- 40 g icing sugar
- 2 tbsp instant coffee (used 3 tbsp in my video, adjust to your preference)
- 1 tsp vanilla extract
- a pinch of salt
For the toffee topping
- 60 g unsalted butter, chilled & cubed
- 95 g caster sugar
- 1/2 tsp salt
Instructions
Make the Coffee Chiffon Cake
- Line only the bottom of a 11-inch baking sheet pan (do not grease the sides) and preheat the oven to 160°C (320°F)
- Microwave the milk for 30 seconds and then dissolve the instant coffee in it. Let it cool.
- In a mixing bowl, beat egg yolks with sugar until pale and thick. Add oil and vanilla extract, mixing until emulsified. Stir in the cooled coffee-infused milk.
- Sift in cake flour, baking powder, and salt. Mix until just combined.
- Beat egg whites with lemon juice until foamy. Gradually add sugar and whip until stiff peaks form.
- Add a small portion of meringue to the yolk batter to loosen it. Then gently fold in the rest in stages until fully incorporated.
- Transfer the batter into the pan, leveling it with an offset spatula. Tap the pan on the counter to release air bubbles.
- Bake in a preheated oven at 160°C (320°F) for 10–12 minutes.
- Let the cake cool in the pan before unmolding.
Make the Coffee Whipped Cream
- Heat the double cream gently and dissolve the coffee. Let it cool completely, then chill for at least an hour.
- Sift in icing sugar and add a pinch of salt. Whip at medium speed until stiff peaks form—not too stiff or too soft. Refrigerate until ready to use.
Make the Crunchy Toffee Topping
- Add sugar, butter, and water to a saucepan and bring to a boil. Stir constantly until butter melts.
- Once the butter has melted, stop stirring but keep an eye on the colour. When it turns amber, remove from heat.
- Pour onto a silicone mat and let it harden completely.
- Break into small pieces.
Assemble the Cake
- Slice the cooled chiffon cake into three even slices, around 8.5 cm (w) each.
- Spread a layer of coffee whipped cream between each layer.
- Add the toffee crunch into the middle of the layer and cover with a thin layer of coffee whipped cream.
- Repeat steps 2 & 3 for the second layer.
- Place the last slice on top and cover it with a thin layer of coffee whipped cream.
- Chill the cake for 15 minutes to set.
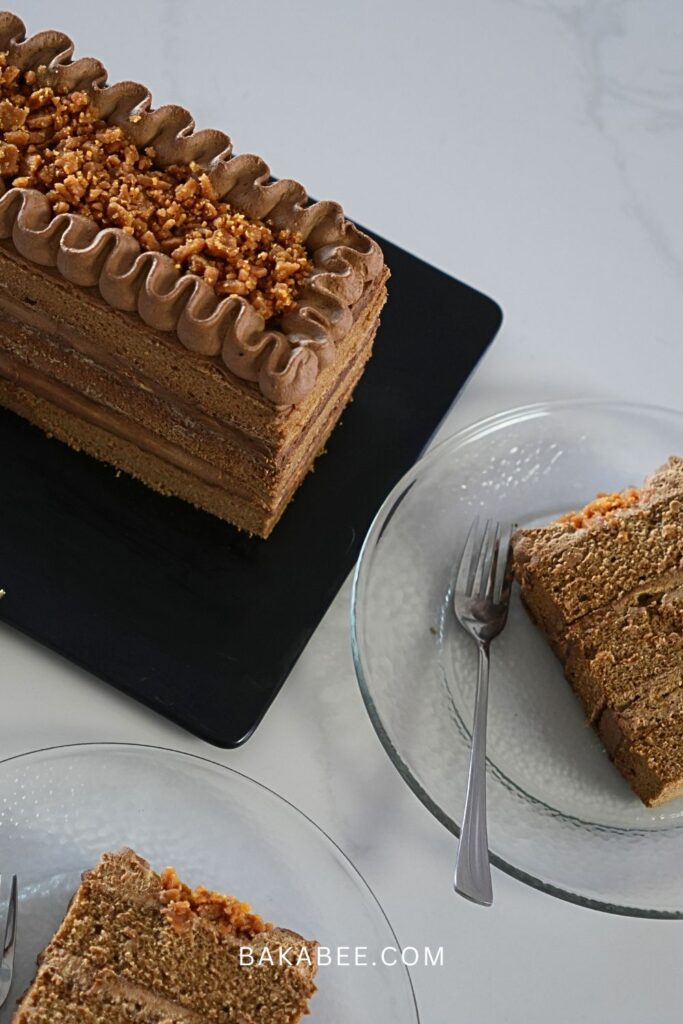
- Pipe a border around the top of the cake and sprinkle the crunchy toffee pieces on top for texture and extra flavour.
- Slice and serve this delicious coffee chiffon cake! The combination of airy cake, creamy coffee whipped cream, and crunchy toffee is simply irresistible.
Notes
- Watch my video tutorial here to see how this stunning layered cake comes to life.
- Around 65 g per egg (without shell).
- Each slice is around 8.5 cm (w).
- Let the cake cool completely in the pan.
- The cake can be kept in the refrigerator for up to three days. Take it out for 15 minutes to return to room temperature before serving.
Thanks for joining me in the kitchen today. Hope you’ll love this! Enjoy and keep baking! 💛
Share this!

