Share this!
This lemon curd tart with fresh berries recipe that I want to share with you is a perfect dessert which is wonderfully tasty and has a ‘wow’ factor at the same time. The buttery pie crust is filled with tangy homemade lemon curd, on top there are slightly sharp berries … yum!!!
I like hosting dinner parties, it’s such a great way to gather with friends and family -talk, drink, catch up, all enriched with some great food and desserts. Actually, I think this is really just an excuse for me to cook more and to eat more food. 😄
As we are talking about dinner parties, nothing is better than to present a dessert which will definitely 100% to impress your guests. This homemade lemon curd tart that I want to share with you, ticks all the boxes. It’s mouth-zingingly taste and definitely excite your taste buds. Present this for dessert and I’m sure you and your guests will have a wonderful evening gathering.
If you are looking for a dessert that ticks these boxes for your next party, look no further: this is the ONE.
Homemade is always better
Since I learned how to make lemon curd at home, I will never go back to a store-bought one. It’s so easy to make and doesn’t take much time. It’s totally worth it to make it yourself.
What you’ll need
- Eggs – 5 egg yolks plus 2 whole eggs, you can use the leftover egg whites for making meringue, don’t throw them away!
- Lemon juice – freshly squeezed is better, you’ll need around 2 – 3 fresh lemons.
- Caster sugar – to balance the tanginess from the lemon juice.
- Zest of lemon – to enhance the lemon flavour and fully use the lemon.
- Chilled salted butter – cut it into cubes and keep it in the refrigerator, it adds a bit of saltiness to the tangy lemon curd, but if you don’t like this seasoning, use unsalted butter instead.
Homemade silky smooth lemon curd in just 4 simple steps
- Place the egg yolks, whole egg, lemon juice, caster sugar and zest of lemon in a heat proof mixing bowl, whisk them gently first.
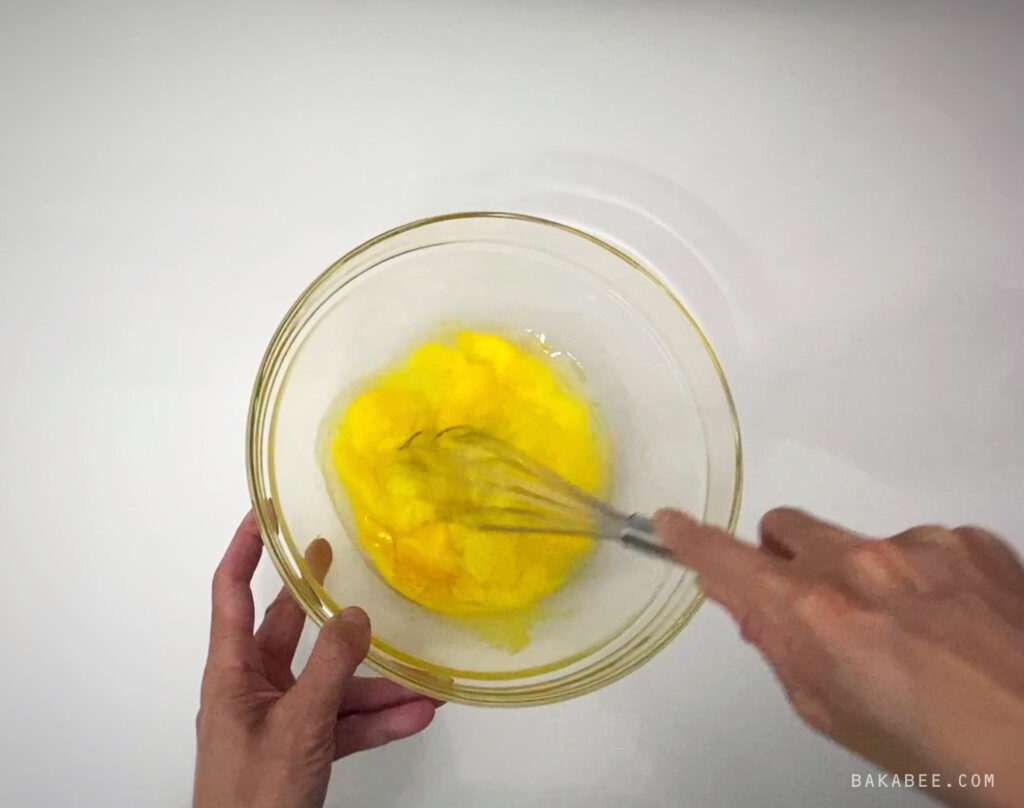
- Using the double-boiler method, also known as bain-marie, gently and slowly cook the mixture, while continuing to whisk.
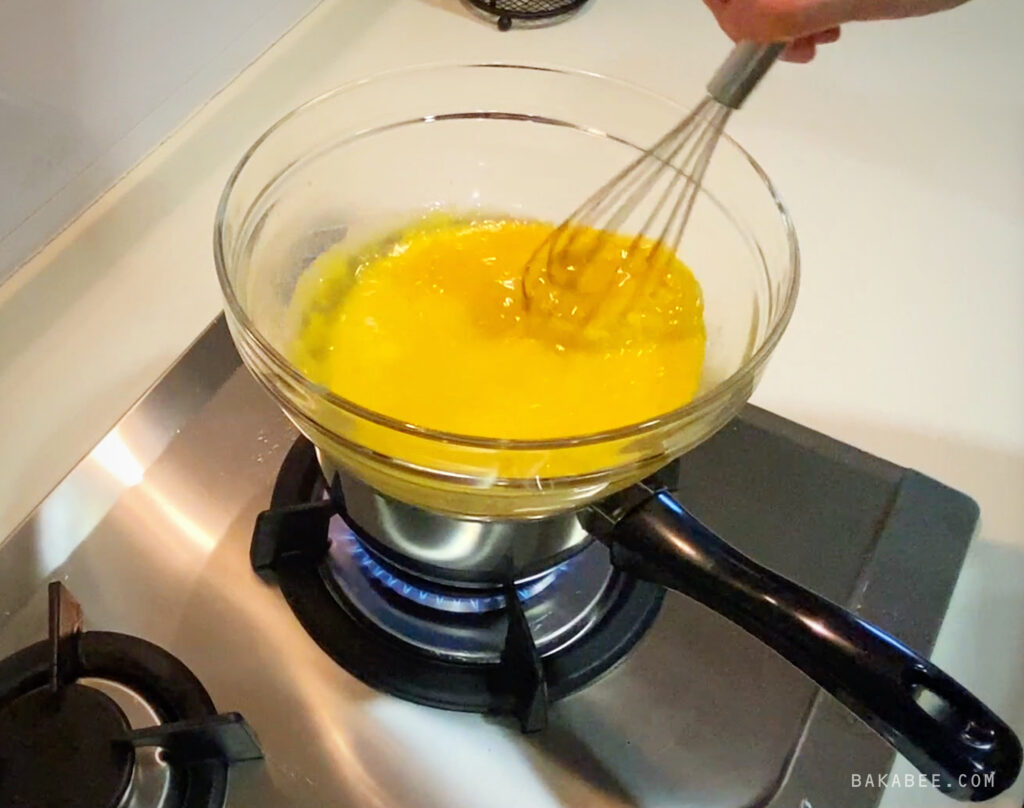
- Once the mix thickens, remove it from the heat and add in the chilled butter, then keep stirring until everything is well mixed.
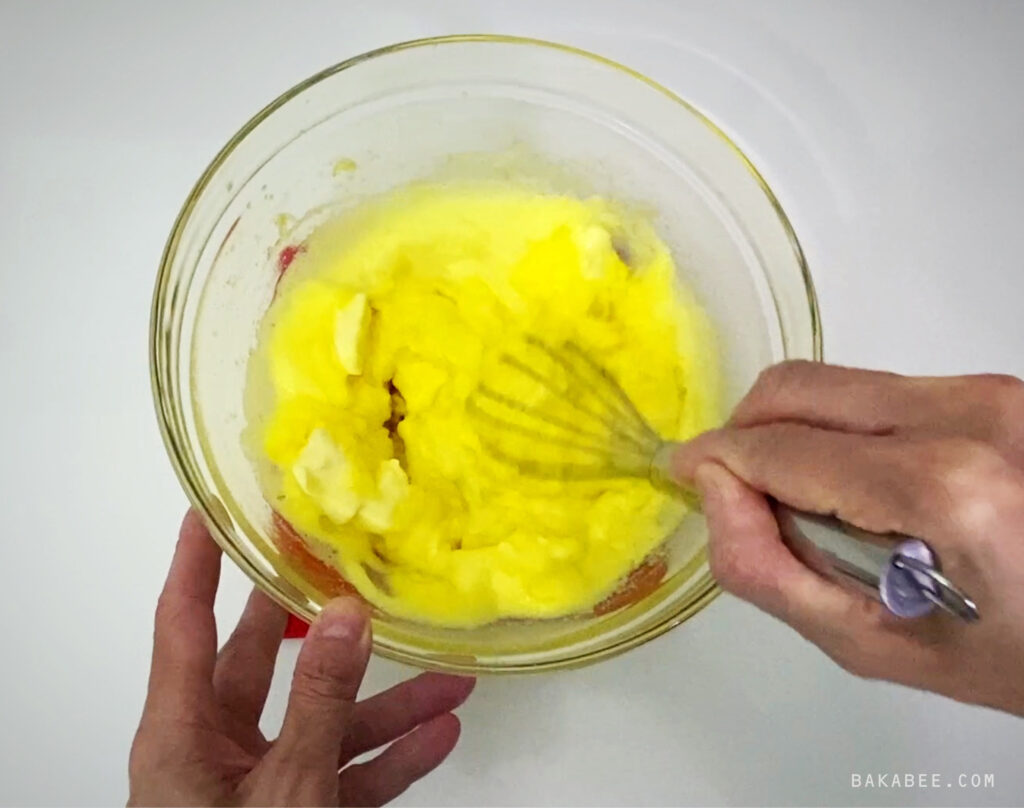
- Press the mix through a sieve to produce silky smooth lemon curd; store it in an airtight jar in the refrigerator until needed.
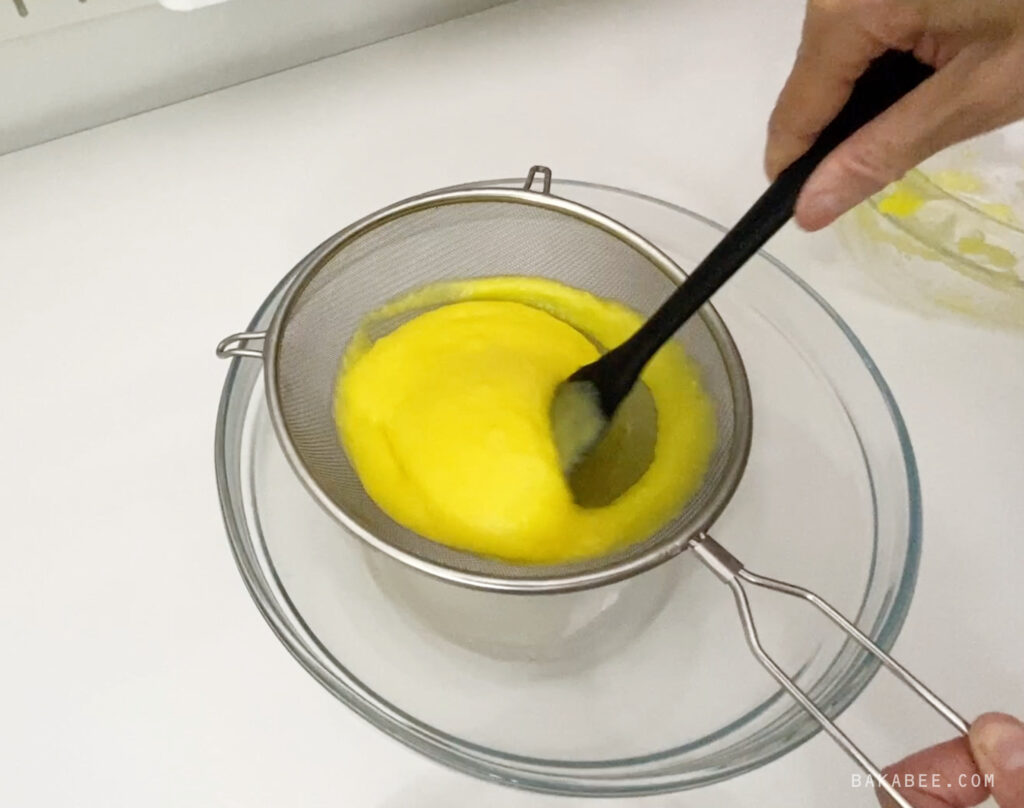
Homemade lemon curd is done. Yes, that’s it. Easier than you thought, isn’t it?
What’s next?
Pie crust … lots of bakers are a bit hesitant when it comes to making pie crust. But actually it’s easy to make, nothing complicated, you can do it. Let’s get your apron on and bake!
Ingredients are already in your cupboard
- All purpose flour – sift it before mixing, to get rid of any lumps.
- Sea salt – to season the flour.
- Unsalted butter – softened enough to more easily create the fluffy texture.
- Egg – lightly beaten for easy mixing.
- Caster sugar – to sweeten the pie crust (but I promise it will not be too sweet).
I’m sure you’ll have all these staple ingredients in your baking cupboard. As I said, it’s just a simple pie crust, as simple as you can imagine!
Follow my tips in the next few paragraphs, I’m confident that you can also create a pie crust that you and your friends would like.
Watch the video tutorial instead
How to bake a pie crust successfully
- Season the flour with a little bit of sea salt first and set it aside. From experience, I always handle the dry ingredients in this way to make the mixing process a lot smoother.
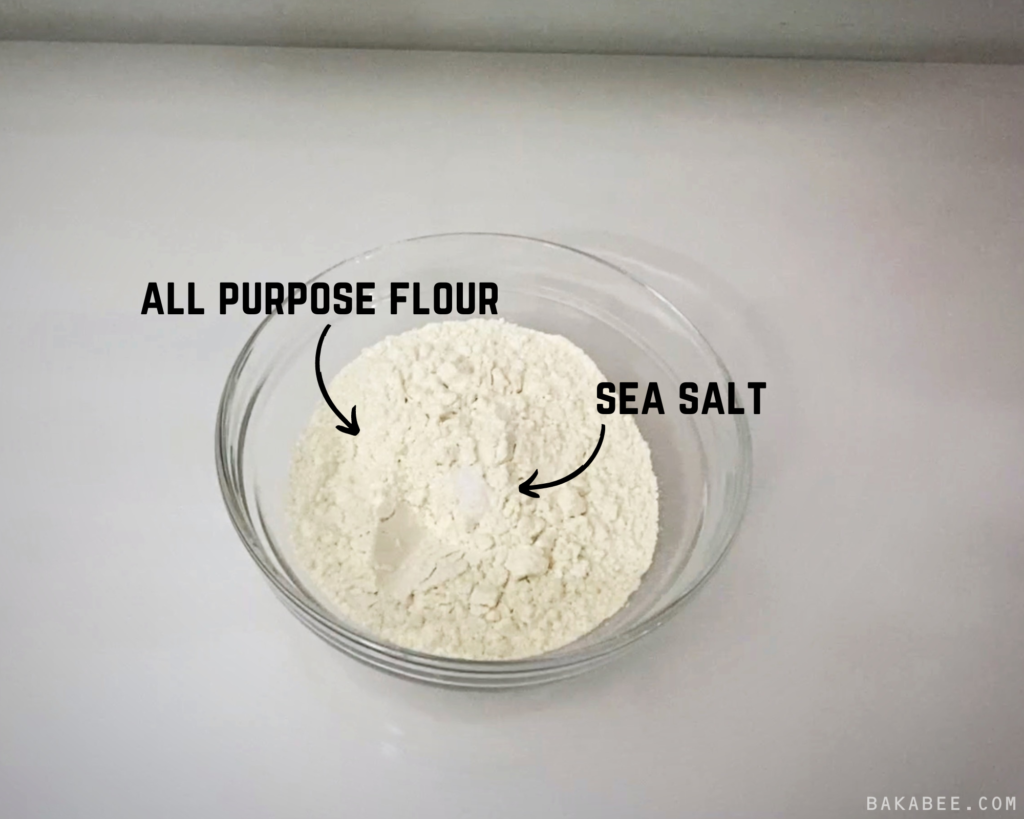
Pro tip: I prefer using a stand mixer instead of a hand held one, although both can do the job well. If you have a stand mixer, it saves some effort holding the mixer in one hand while holding the mixing bowl in the other.
- In the mixing bowl of your stand mixer, with a paddle attachment at medium speed, beat the butter until fluffy in texture and pale in colour. Do this before mixing in the sugar. I like this method rather than creaming the butter and sugar together. I find it’s easier to control the texture of the butter this way.
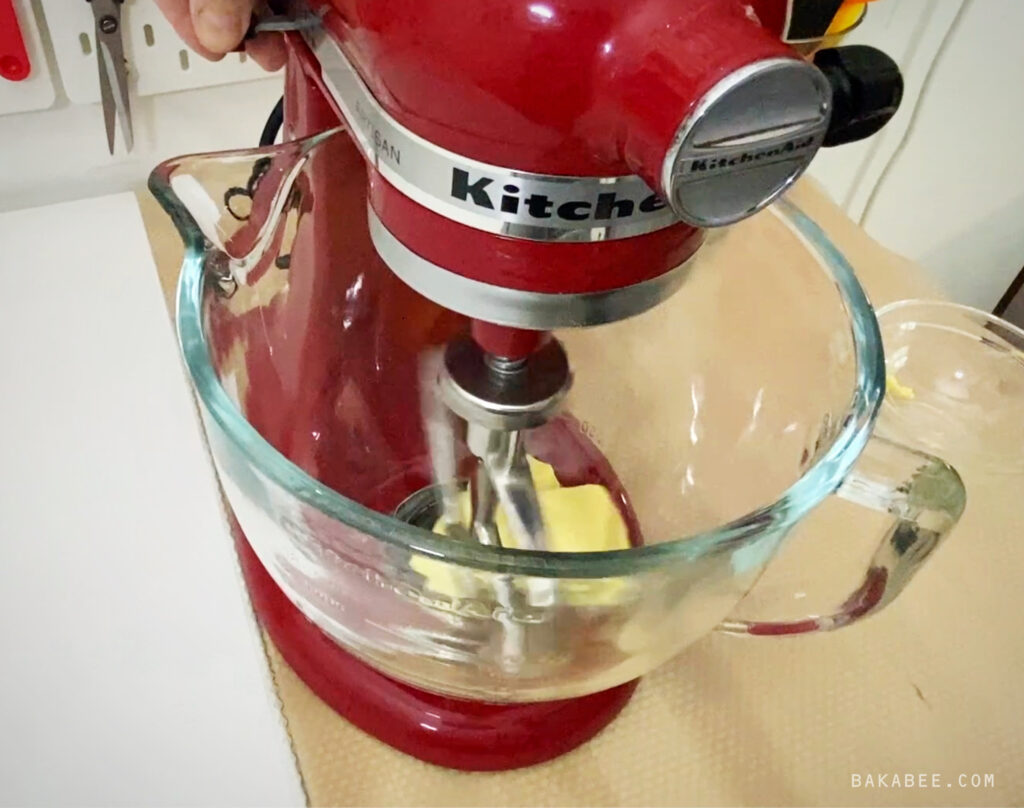
- Once the butter turns to our desired texture, add the sugar and continue to beat the mix until well incorporated. This method also gives extra time to make the butter even fluffier. That is the key element of a very buttery pie crust: always look for a fluffy mixture.
- Now add the lightly beaten egg, little by little, while the mixer is still mixing. The mixture might curdle slightly at this stage, but don’t worry, it’s normal.
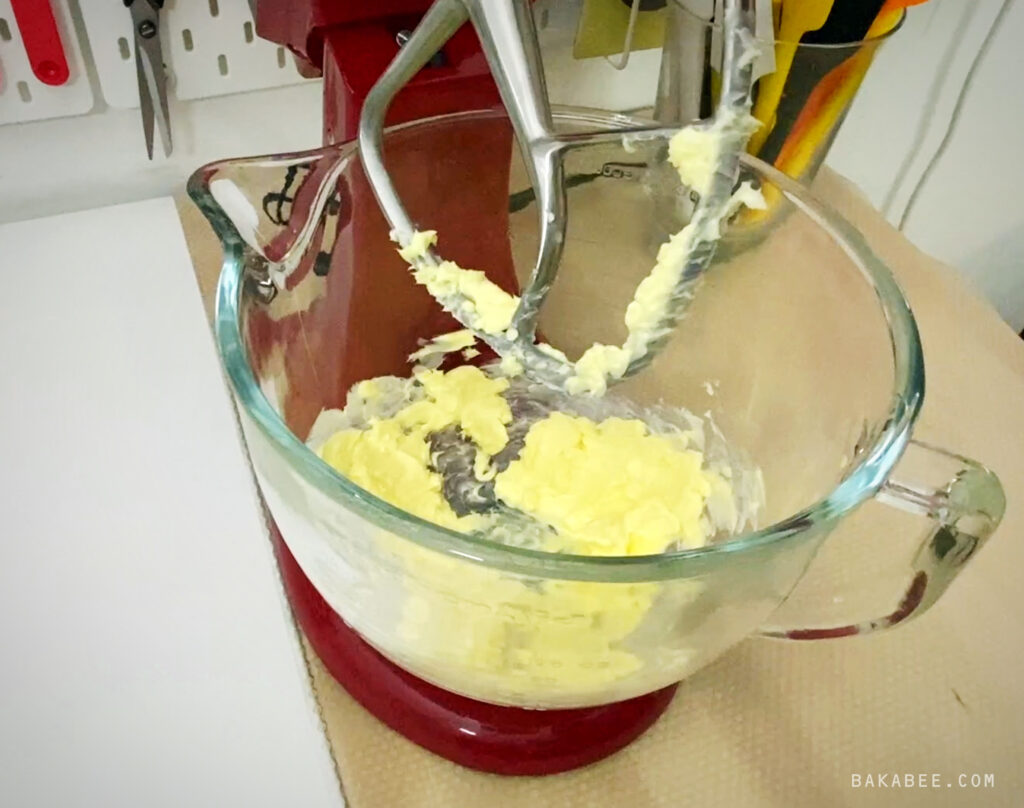
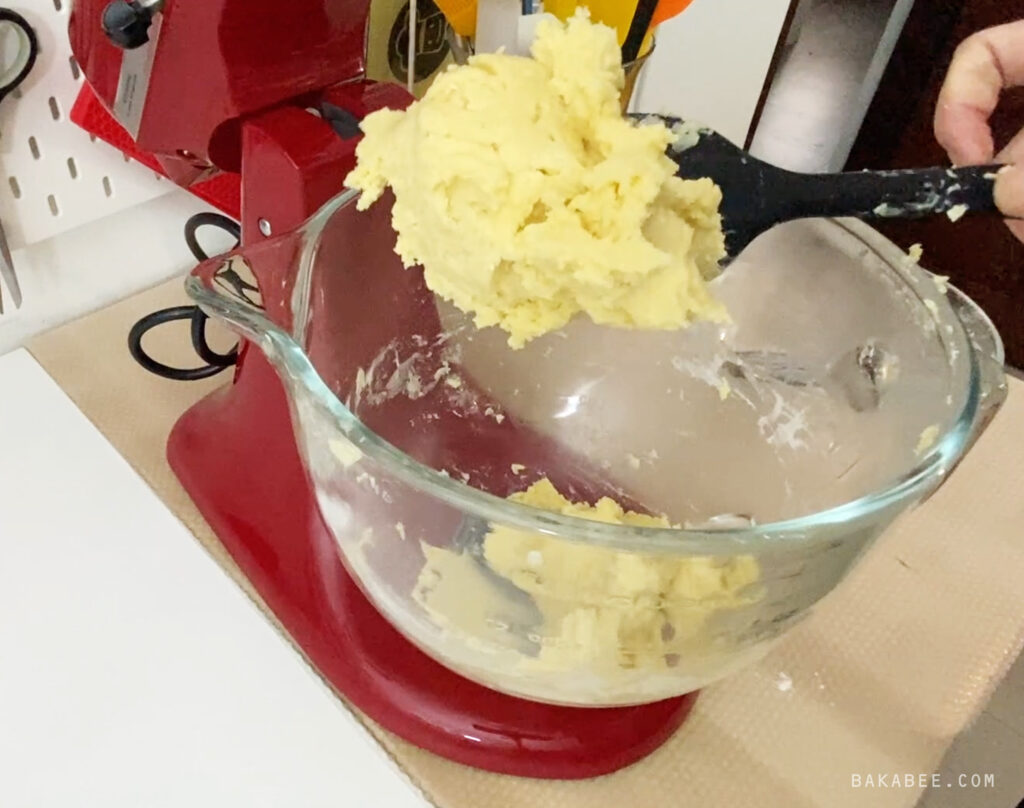
- Add the dry ingredients (remember to turn the mixer to medium low speed because you don’t want the flour to fly up into your face). Keep an eye on it, once the mixture turns into a dough, stop the mixer immediately because we don’t want to over-mix the dough, which will create a tough texture.
- Finally, wrap the dough well in a sheet of cling film to prevent it from drying out. Place it in the refrigerator to chill for 30 to 60 minutes.
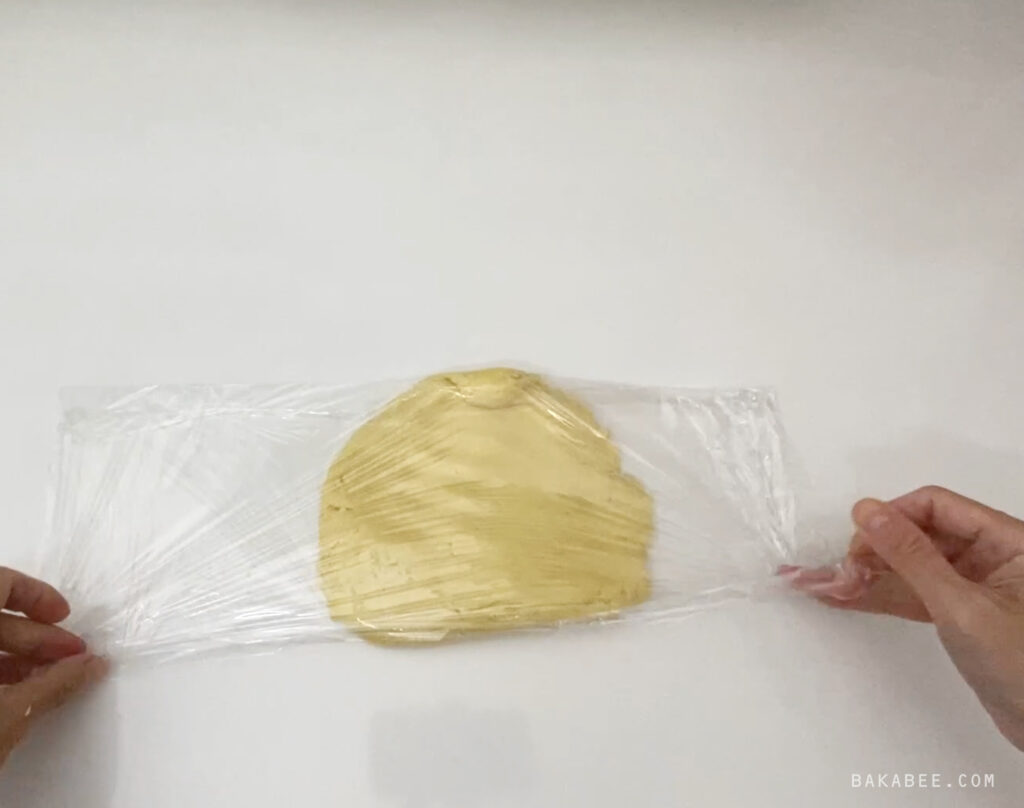
The dough is done! Nothing difficult, was there? The whole process is just like making a cookie dough. By the way, if you are interested in making cookies, check out my Cookie Gift Box video tutorials, Part one and Part two. There are six flavours in all, I’m sure there will be some that you can’t resist (for me, it’s all six!).
Alright, back to the pie crust! Once it has finished chilling, it’s time to blind bake (or pre-bake) it, in order to achieve a flaky and crispy pie shell. This will also prevent undercooking of the pastry.
How you mould the tart shell
There are two ways of doing it, I prefer using my hands rather than using a rolling pin. As I said, the dough is just like cookie dough and it’s very forgiving. If it breaks while moulding it into the tart tin, just use some dough to patch it back. Once it’s baked, no one can see the patches – it’s your little secret! (watch my video for the details).
Steps:
- Place the chilled dough in the centre of the tin.
- Use both thumbs to push the dough to the sides of the tin to form the rim of the tart first.
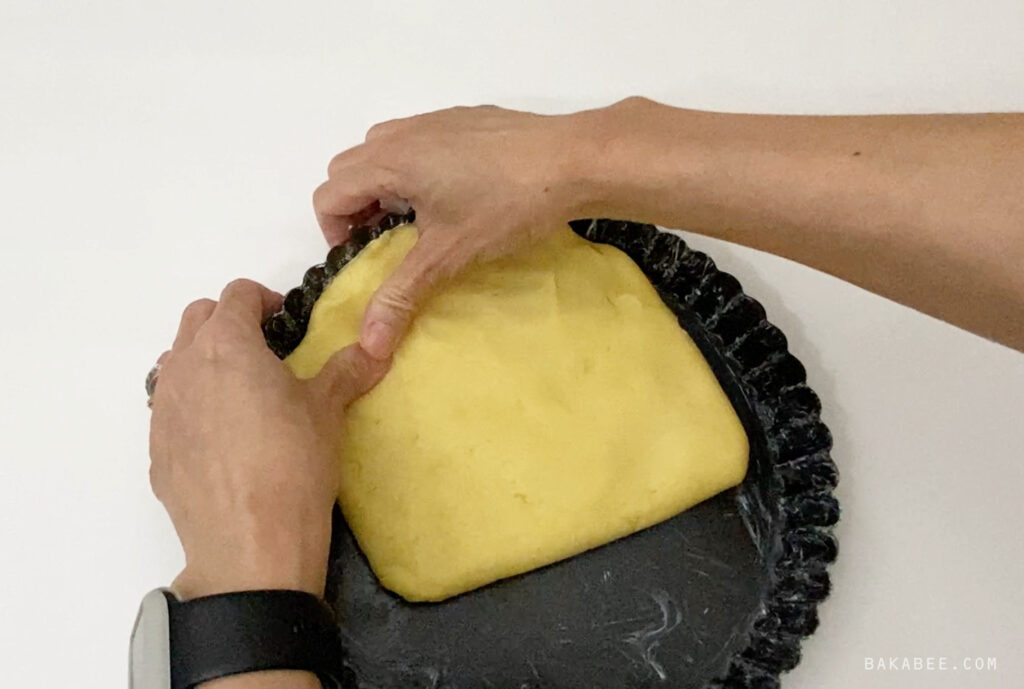
- Continue to push and stretch the dough to cover the base of the tin.
- Use your fingers to feel the thickness of the dough, try your very best to mould it as evenly as you can.
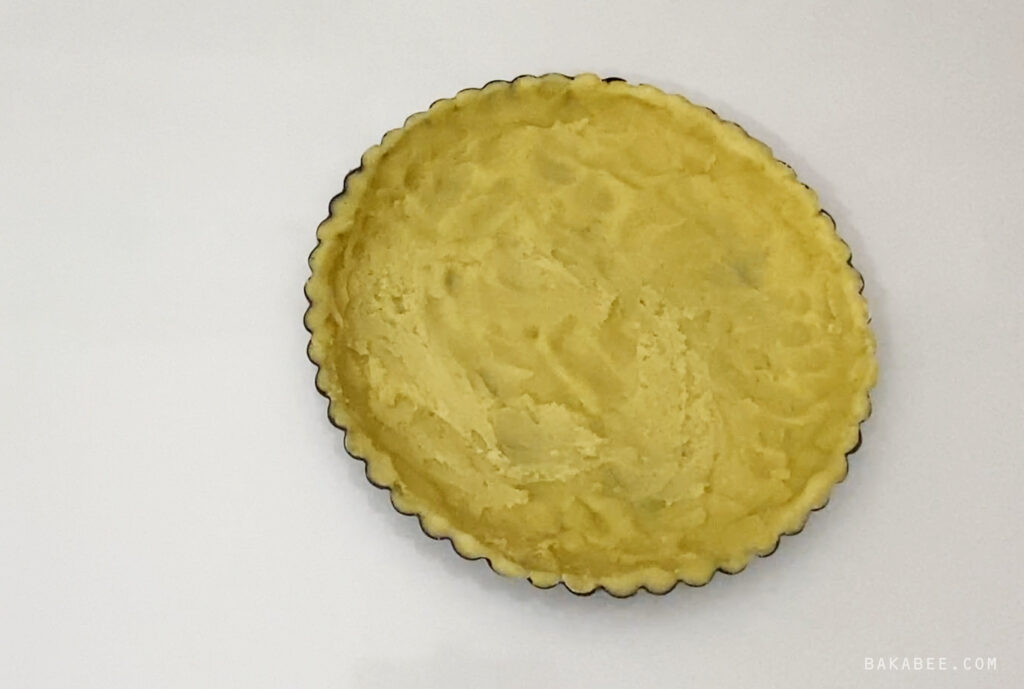
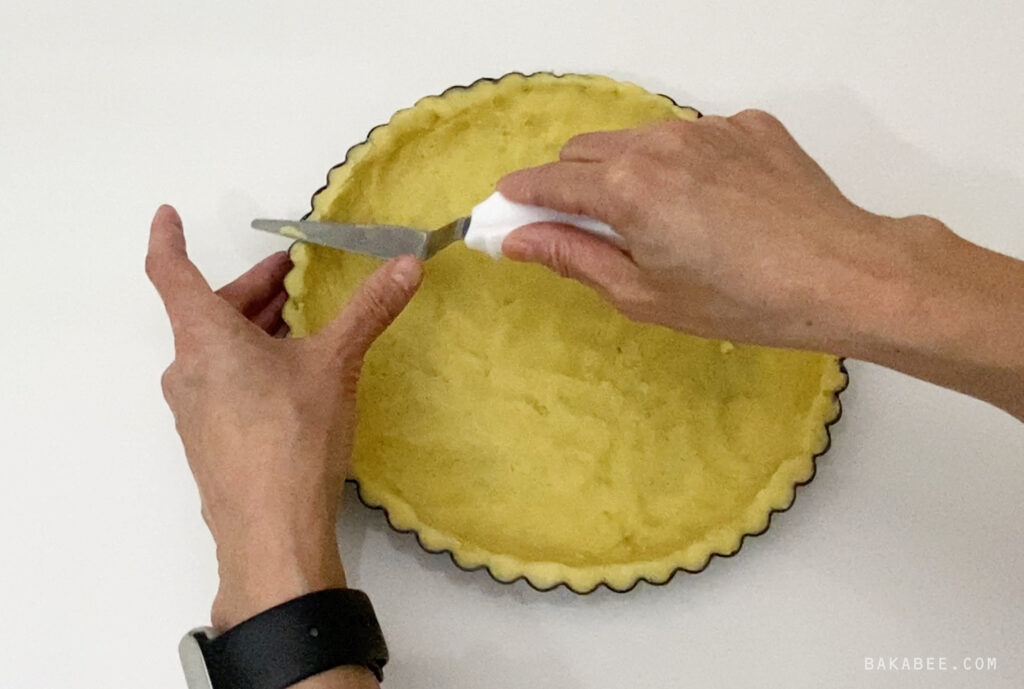
- Once you’re happy with it, use a sharp knife or an offset spatula to trim off the edges to make it look neat.
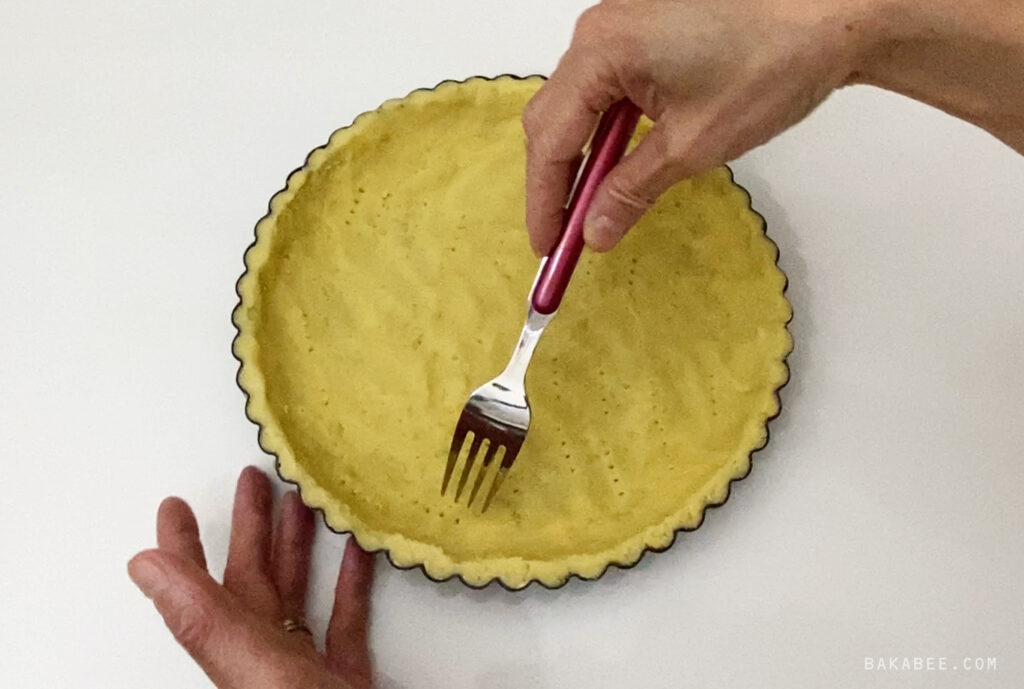
- This step is a MUST. Use a fork to poke holes in the tart shell. The holes will allow the steam to escape from the tart shell during baking in order to avoid it from puffing up. Otherwise, the tart shell will end up all puffed up leaving no space for the lemon curd filling, obviously that’s not the aim!
- Bake the tart in a preheated oven at 180℃ for about 20 to 25 minutes or until the edges turn golden brown and the surface of the tart appears dry.
- Once it’s done, remove the tart from the oven. While it’s still warm, brush on a thin layer of beaten egg white.
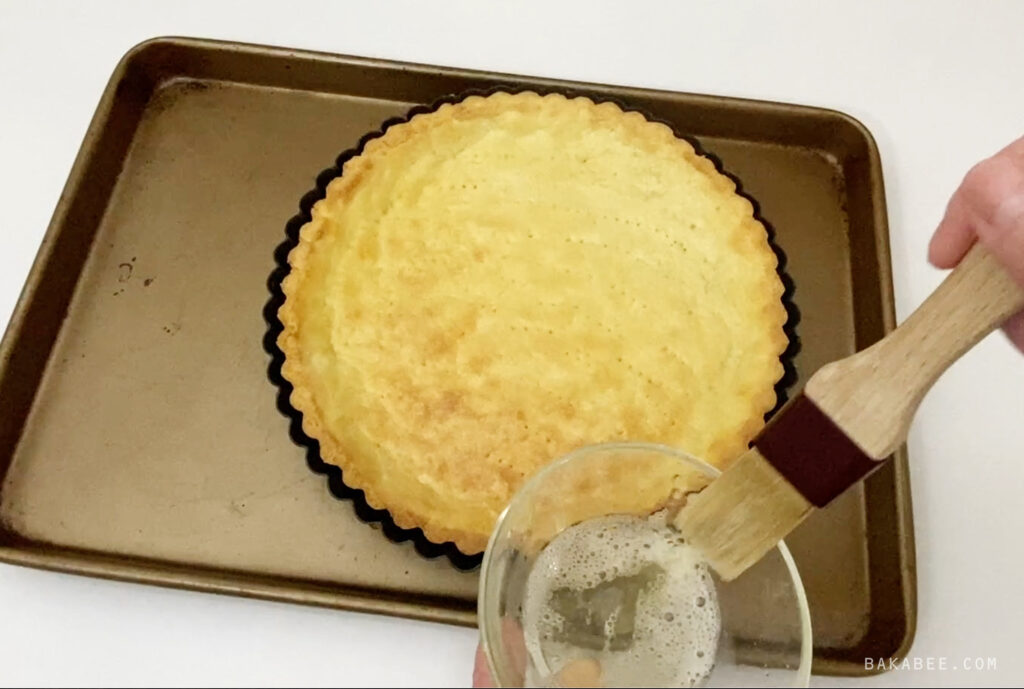
Pro tip: Brushing on a thin layer of egg white creates a barrier between the filling and the tart shell, preventing the filling from softening the pastry.
- Return the tart shell to the oven and continue to bake it for another 3 to 5 minutes to dry out the egg white wash.
The tart shell is done! At this point, once the tart shell has cooled completely, you can keep the baked shell in the fridge or freezer for any unexpected guests. Of course, you know that it needs to be wrapped very well to prevent it from drying out.
Pro tip: A baked tart shell needs to be cooled completely inside the tart tin before removing it. Otherwise, the tart shell might break during the un-moulding.
Assemble the tart
Step 1 – Lemon curd
This is the easiest part because both essential components are done! What you need to do now is to make the tart look pretty.
Scoop the chilled lemon curd into the COMPLETELY cooled tart shell. Use an offset spatula, this is a great tool to even out this kind of texture mix, like spreading buttercream.
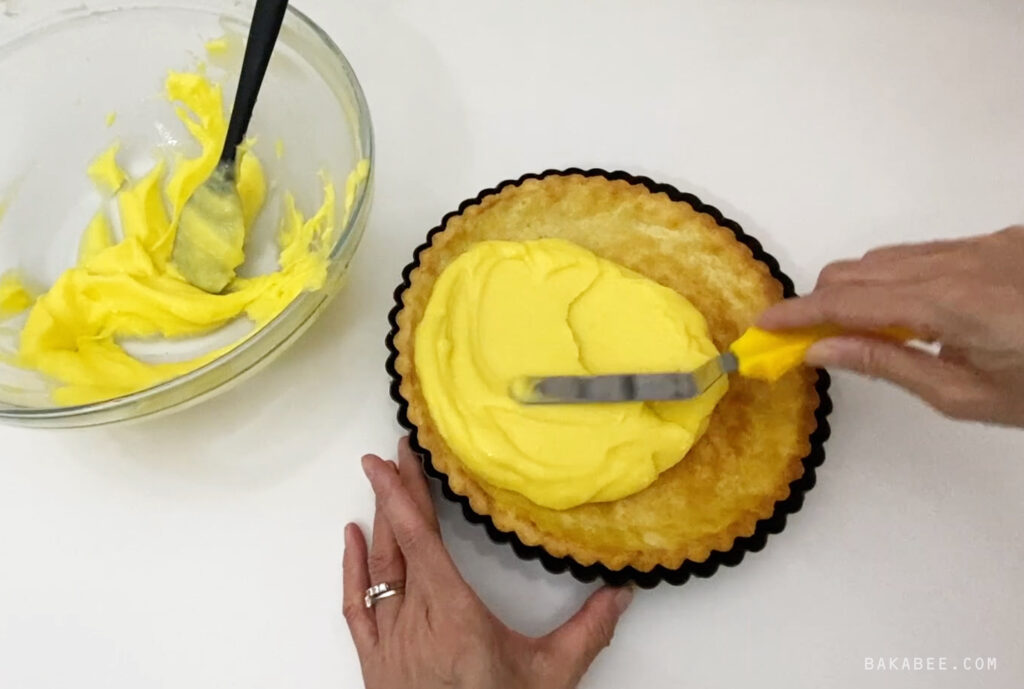
If you’re interested in investing in baking tools for your baking journey, check out my posts Top 10 essential tools for beginners – Part one and Part two. I explain in detail what essential tools you need for your baking.
Once you’re happy with how it looks, place the whole tart in the refrigerator for about 2 to 3 hours to allow the lemon curd to set.
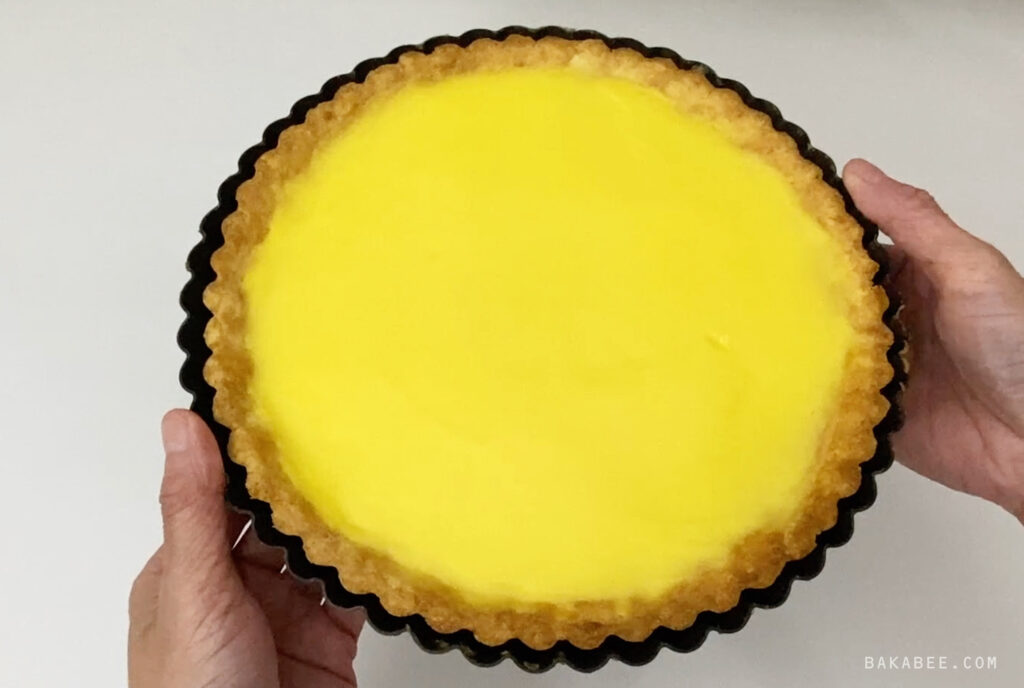
Step 2 – decorate it with fresh berries
Finally, the most satisfying part of the bakes, DECORATING. You can decorate in any way you like to suit the occasion or the theme of your party.
I chose to use berries for two reasons.
Firstly, I like the vibrant colours – red and blue from the strawberries and the blueberries and a touch of green from the strawberry leaves. This looks really beautiful in contrast to the sharp lemony yellow. It’s the three primary colours on a tart!
Secondly, the flavour contrasts are also perfect: buttery pie crust, tangy lemon curd, fresh sharp berries. Mmmm … it’s de-lic-ious!!!
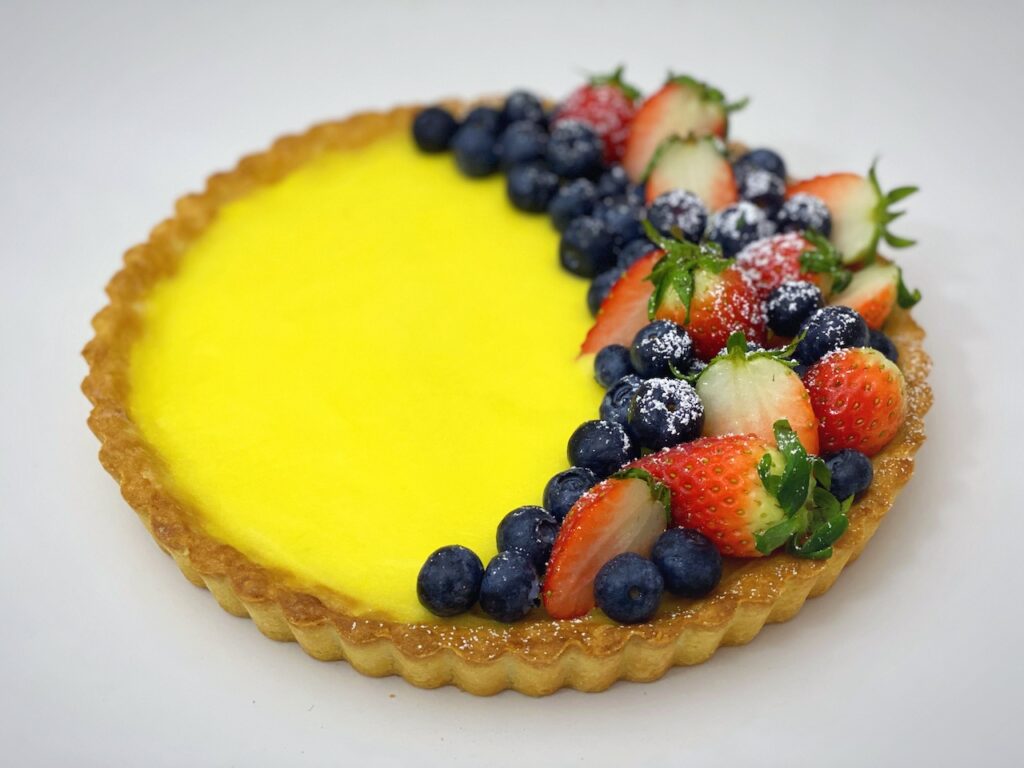
There it is! How easy is that! I’m sure your friends and family will be impressed that you’ve made your pie crust from scratch with homemade lemon curd and that you’ve decorated this beautiful tart all by yourself! You should be proud!
Save it to Pinterest for later
FAQs
- Can I make the lemon curd in advance? Yes, you can. I always have a jar of homemade lemon curd in my refrigerator.
- Can I freeze the dough before moulding the tart shell? Yes, you can. However, I prefer not to do this. I like moulding the tart shell first then I freeze it. Alternatively, I freeze the baked tart shell instead.
- How long can I keep the whole tart? The best is to consume it on the same day it is baked, always the rule of thumbs. But if you can’t finish it at once, I store the tart in an air-tight container for up to 3 days in the refrigerator.

Lemon Curd Tart with Fresh Berries
- Prep Time: 35 minutes
- Cook Time: 25 minutes
- Total Time: 3 hours
- Yield: 8 slices 1x
- Category: dessert
- Cuisine: American, European
Description
Could there be a more high impact dessert than a stunningly eye-catching lemon curd tart? Visually – the striking lemon yellow curd with blue and red berry embellishments; and the taste – simply exquisite contrasts of slightly sweet pastry, tart lemon and sharp fruits. There is nothing that completes a dinner party with more style than this tasty tangy tart and it’s really very simple to make (but don’t tell your guests that).
Ingredients
Lemon curd
- 5 egg yolks
- 2 eggs
- 110 ml fresh lemon juice
- 110 g caster sugar
- 1 zest of lemon
- 60 g salted butter (chilled and cut it into cubes)
Sweet crust pastry
- 195 g all purpose flour (sifted)
- 1/8 tsp sea salt
- 113 g unsalted butter (soften)
- 50 g caster sugar (lightly beaten)
- 1 egg
- 1 egg white (beaten)
Decoration (optional)
- 10 pieces fresh strawberries (some slices in half)
- some blueberries
- some icing sugar (optional)
Instructions
Make the lemon curd
- Cut the chilled unsalted butter into cubes. Chill in the refrigerator until needed.
- Add 5 egg yolks, 2 whole eggs, fresh lemon juice, caster sugar and zest of lemon into a heatproof bowl.
- Whisk the ingredients gently.
- Place some water in a saucepan, turn on to medium heat. Place the egg mixture on top of the saucepan. Use the double-boiler method to cook the mixture gently and slowly.
- Keep stirring it until it thickens. It will take around 8 to 10 minutes to finish the process.
- When the mixture has thickened, remove it from the heat and place the mixing bowl onto a heatproof mat.
- Add in the chilled butter cubes and mix them well, using a whisk.
- Sift the mixture once in order to produce a silky smooth lemon curd. Press the lemon curd through the sieve using a silicon spatula.
- Cover the curd with cling film or store it in a sanitised jar and place in the refrigerator until needed.
Make the sweet crust pastry
- Add the all purpose flour and sea salt into a mixing bowl. Mix them well and set aside.
- Place the unsalted butter in a mixing bowl of a stand mixer with a paddle attachment. Beat at medium speed until it is fluffy. Scrape down the sides of the bowl to make sure all the butter is well beaten.
- Add the sugar and continue to beat well until the mixture becomes fluffy in texture and pale in colour.
- Turn the speed slightly slower, add the beaten egg slowly into the butter mixture. The mixture might become curdled at this stage, don't be concerned, it's normal.
- Add in the flour mixture. Mix well at medium low speed until it turns into a dough.
- Stop the mixer once or twice to scrape down the sides of the bowl to make sure all the flour is well mixed.
- Once it turns into a dough, stop the mixer.
- Prepare a sheet of cling film on the work surface. Place the dough in the centre of it and wrap well.
- Chill the dough for about 30 minutes or until it becomes firm.
Mold the tart shell
- Preheat the oven to 180°C.
- Prepare a 9" removable bottom tart tin and slightly grease the bottom and the sides. This step is optional but recommended.
- Remove the chilled dough from the refrigerator and unwrap it. Place in the middle of the tin.
- Push and stretch the dough – to the sides of the tin first then gradually push and stretch to cover the bottom of the tin. Try to mould it as evenly as you can.
- Once you're happy with the tart shell, use a sharp knife or an offset spatula to trim off the rim of the shell to make it look neat and tidy.
- Use a fork to poke some holes in the dough before blind baking the tart shell.
- Place the tart on a baking tray before baking it for easy handling.
- Bake the tart shell in a preheated oven for 20 to 25 minutes or until the edges turn golden brown and the pie crust appears dry.
- When the pie crust is still warm, lightly brush the surface with the beaten egg white to create a barrier between the filling and the crust.
- Place the tart shell back in the oven for another 3 to 5 minutes to dry the egg white out.
- Once it's done, place the tin on a surface until the pie crust cools down completely before unmolding it.
Assemble the tart
- Make sure the pie crust is completely cooled and the lemon curd is chilled.
- Scoop the lemon curd into the pie crust as much as you want and level it with an offset spatula. Try to make the top as smoothly as you can.
- When you're happy with it, chill the whole tart in the refrigerator for about 2 to 3 hours or until the lemon curd is set.
- Place a tall glass on the work surface and put the tart tin the middle. Gently wiggle the tin the rim of it should come out easily.
- Use an offset spatula to gently and slowly slice around the bottom of the tart. Once you've gone right, use the spatula to slightly lift up the tart and move it away from the bottom of the tin.
- Place the tart on a serving plate.
Decorate the tart
- Place the berries on top of the set lemon curd in any way you like to make the tart look pretty.
- Dust some icing sugar on top before serving. This step is optional but recommended.
Notes
- Watch my video tutorial to see the process in motion.
- I use salted butter because it adds a bit of saltiness into the tangy flavour, just my personal preference. If you do not like it, you can use unsalted butter instead.
- You can use any seasonal fruits you like to decorate the tart. If you don’t like fruit, you can just simply use lemon slices or leave it plain – but feel free to unleash your imagination here, candied lemons, chocolate shavings, anything that you like to pair with lemon to your own taste.
Nutrition
- Calories: 390
- Sugar: 21.5
- Sodium: 190
- Fat: 22.3
- Carbohydrates: 40.4
- Fiber: 1
- Protein: 8.5
- Cholesterol: 210
More delicious recipes for your next bake
- Pastéis De Nata ~ Portuguese Custard Tarts – review the secret of making this well-known Portuguese desserts
- Black Sesame Pastry Sticks -perfect savoury snacks for any occasions
- Lemon Coconut Muffins (Gluten Free & Refined Sugar Free) – a healthy choice of baking
Keep baking! 😉
Share this!


